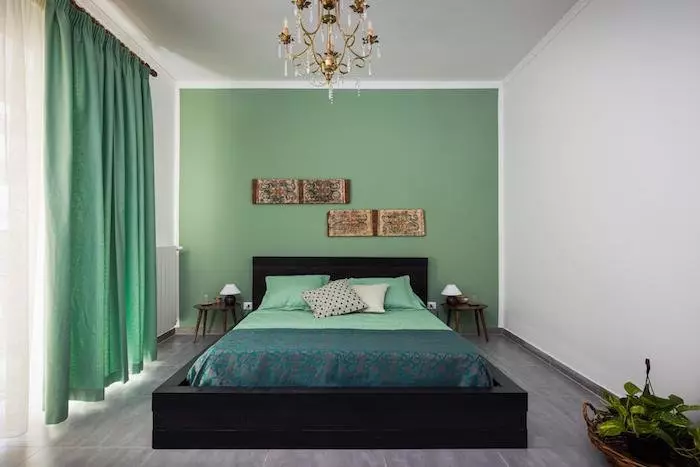
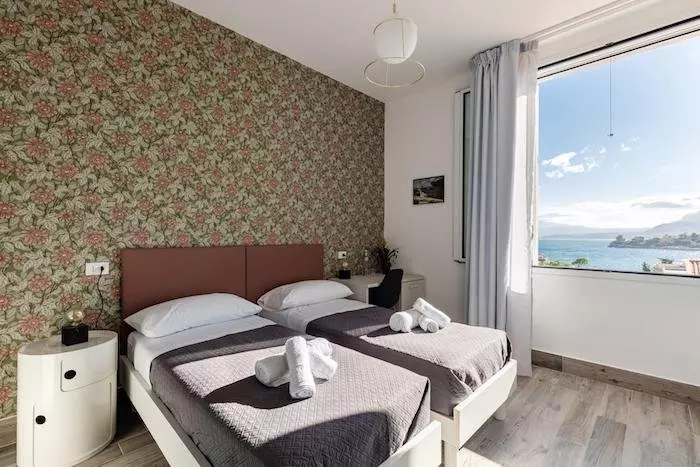
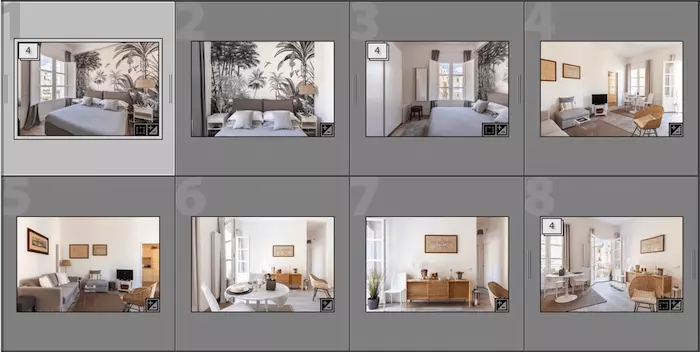
Good lighting is crucial for effective real estate photography. It has the power to transform a room from cold and uninviting to warm and welcoming. If you're looking to enhance your real estate photography skills, here are eight tips to improve your lighting and capture stunning shots.
1. Master the Magic of Natural Lighting
If you flip through interior design magazines, you'll notice that most of the shots use natural light. It's the best source of lighting for capturing interiors. Simply open the windows and curtains and let the sun work its magic. Consider these tips for shooting with natural light:
- Choose the best hour of the day, which is usually around midday. However, some properties may have optimal lighting in the morning or afternoon.
- Open all the blinds to maximize sunlight exposure. You can use net curtains to help mitigate contrast from the windows.
- Turn off every light in the room to avoid color casts and to achieve uniform white walls, which can be easily adjusted during editing.
 Picture: A beautiful real estate shot of the interior of a bedroom
2. Utilize Bounced Flash to Reveal Shadow Details
While natural light is excellent, it can create strong shadows that require extensive processing. A bounced flash can come to your rescue. Here's how you can use it effectively:
- Never point the flash forward as it can produce harsh shadows. Keep it on the camera and tilt the bulb towards the ceiling and slightly backward.
- Adjust your camera settings to get the correct exposure and ensure that only the shadows are affected by the flash. This way, the main light will come from the window, resulting in a natural-looking image.
 Picture: A beautiful real estate shot of the interior of a bedroom
3. Mimic Natural Light with Flash
As a real estate photographer, your goal is to enhance the natural beauty of a space. Sometimes, the existing light in a room may be dull and flat. In such cases, you can mimic natural light using flash. Follow these steps:
- Point the flash towards the same wall where the window is located to create a soft and diffused light coming from that direction.
- Ensure that the flash and the bright spot on the wall are not captured in your framing. If unavoidable, take a second shot without the flash and mask the unwanted elements in post-processing.
 Picture: A beautiful real estate shot of the interior of a bedroom
4. Highlight Character with On-Site Lighting
Sometimes, light fixtures can be an appealing feature of a property. To capture their details effectively, follow these steps:
- Turn on the lights to showcase their presence.
- Use natural light and bounced flash to fill the shadows in the room. Balancing three light sources – light fixtures, window light, and flash – can be challenging but rewarding.
- Adjust the exposure to prevent blowing out the highlights around the lamps using the histogram on your camera. Consider using additional flashlight to fill the shadows and reduce the overall dynamic range of the scene.
- Alternatively, capture multiple exposures and merge them into a single HDR image during post-processing to maintain all the details.
 Picture: A beautiful real estate shot of the interior of a living room (Photo by Vecislavas Popa from Pexels)
5. Master HDR for a Natural Look
Bracketing is a useful practice for real estate photography. HDR (High Dynamic Range) allows you to capture different exposures and combine them during post-processing. However, be cautious not to over-process your images. Follow these tips:
- Avoid pushing the sliders for highlights and shadows to the extremes in Lightroom, as it can result in unnatural-looking images.
- Use local adjustments to recover highlights and shadows selectively where needed, preserving the correctly exposed parts of the image.
 Picture: A beautiful real estate shot of the interior of a kitchen
6. Capture the Window View Naturally
One of the biggest challenges in real estate photography is capturing both the interior and exterior views as our eyes perceive them. To achieve this, follow these steps:
- Use exposure bracketing, ensuring that the fastest shot is correctly exposed for the exterior.
- Merge the bracketed shots into a single HDR image during post-processing.
- Use local adjustment tools to recover the highlights around the window.
- If necessary, you can also blend two images in Photoshop – the edited HDR image and a single shot with the correctly exposed window – to replace and enhance the exterior view seamlessly.
 Picture: A beautiful real estate shot of the interior of a bedroom
7. Eliminate Color Casts by Avoiding Mixed Lighting
To achieve a neutral color appearance, remove color casts caused by different light sources. Follow these tips:
- Turn off every light source that doesn't match the overall color temperature.
- If your flash doesn't match the light fixtures or window light, use gel filters to match the color temperature. It's easier to correct a blue cast from a window during post-processing.
 Picture: Real estate photography lighting gear
8. Strive for Consistency in Lighting Techniques
Consistency is key in real estate photography. Maintain a cohesive look across all your images by using the same lighting approach throughout the property or series of works.
- Before starting the shoot, assess each room and decide which lighting technique will suit it best.
- Apply this rule consistently to create an appealing gallery of images.
 Picture: Editing real estate photography in Lightroom
Common Questions
What Is the Best Flash for Real Estate Photography?
A reliable manual flash with a guide number of 58 or higher is ideal for real estate photography. Basic models from brands like Neewer or Godox will work perfectly. Some flashes even come with built-in wireless triggers. If you need more power, consider the Godox AD200.
In conclusion, while it's essential to apply new techniques and improve your style, maintaining consistency in lighting will make all the difference in your real estate photography. With practice and these eight tips, you'll become a master of lighting in no time.


