Are you ready to elevate your dinner party game? Look no further than this DIY Floor Table, a simple and practical solution for floor seating. Say goodbye to chairs and embrace a unique entertaining experience!
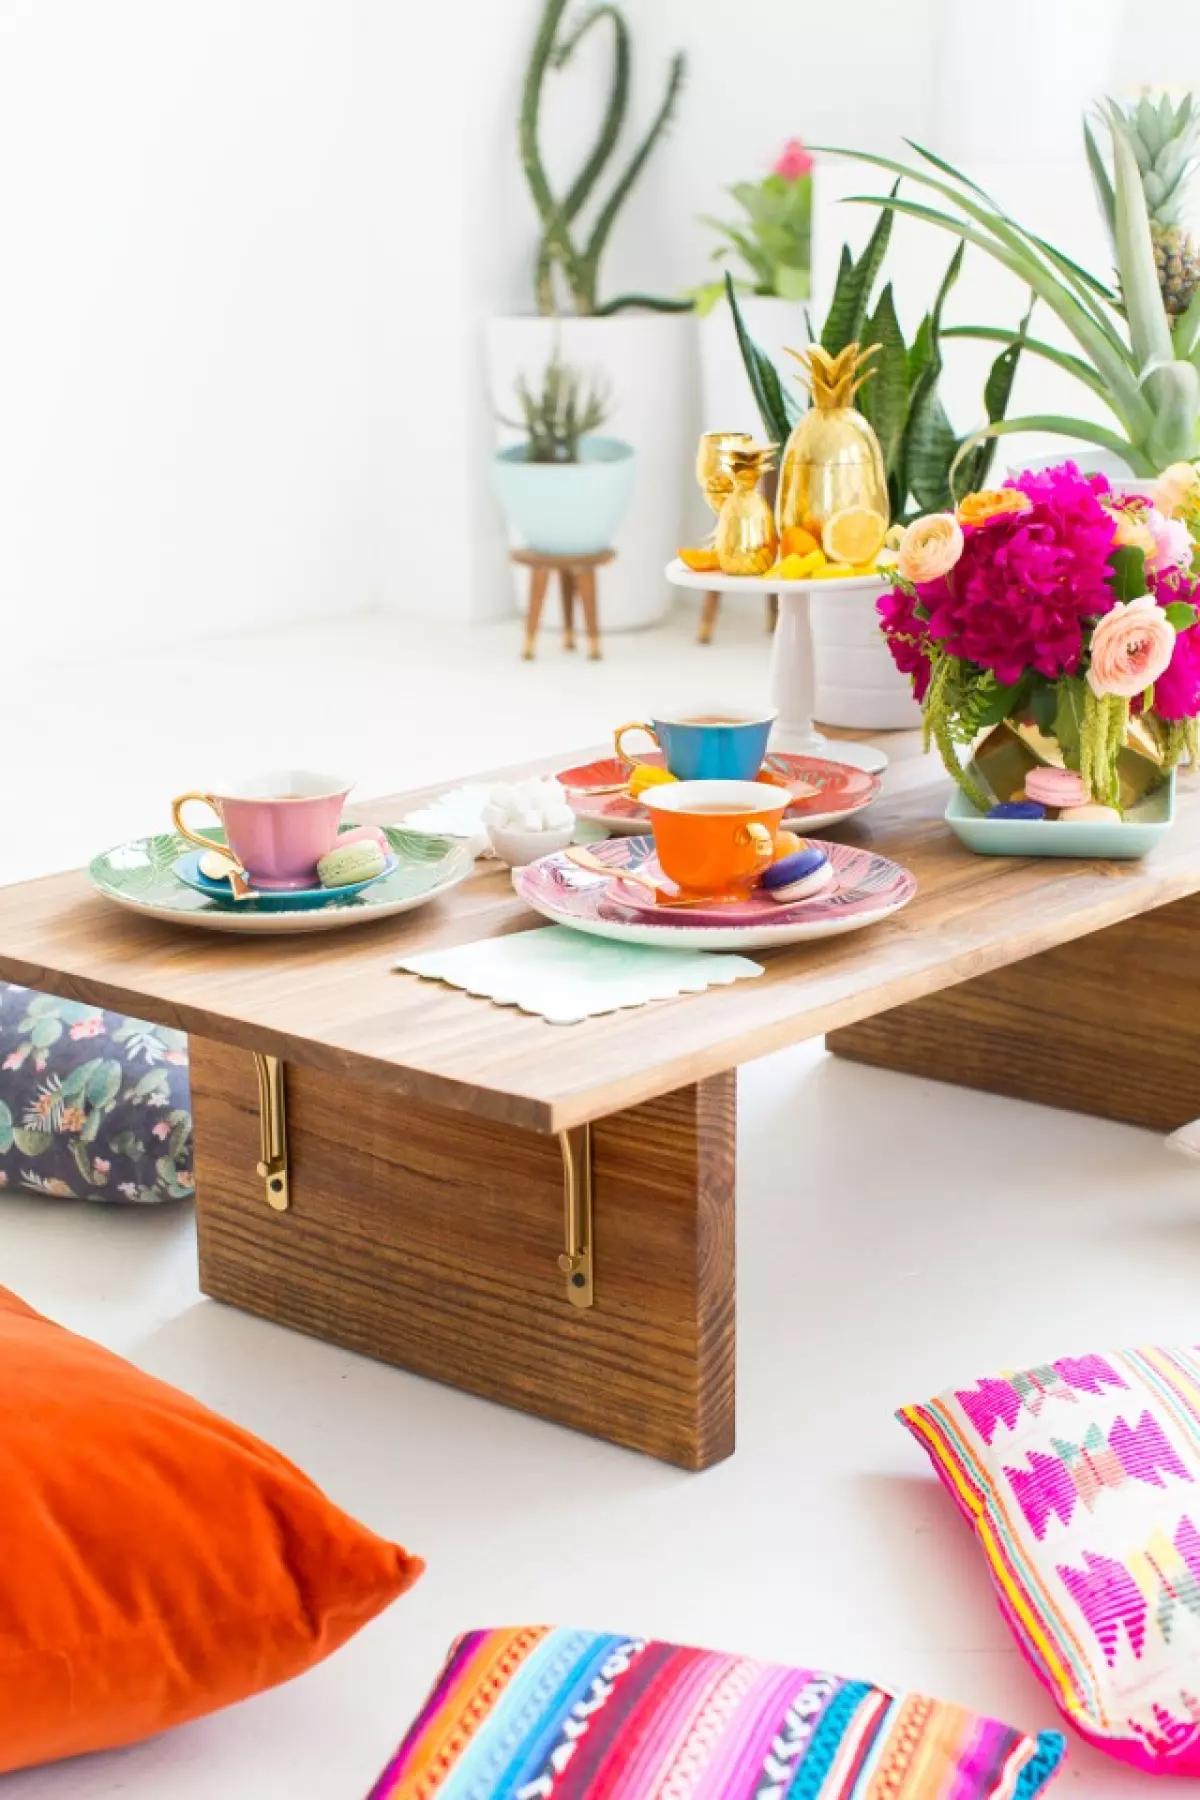 Image source: Sugar & Cloth
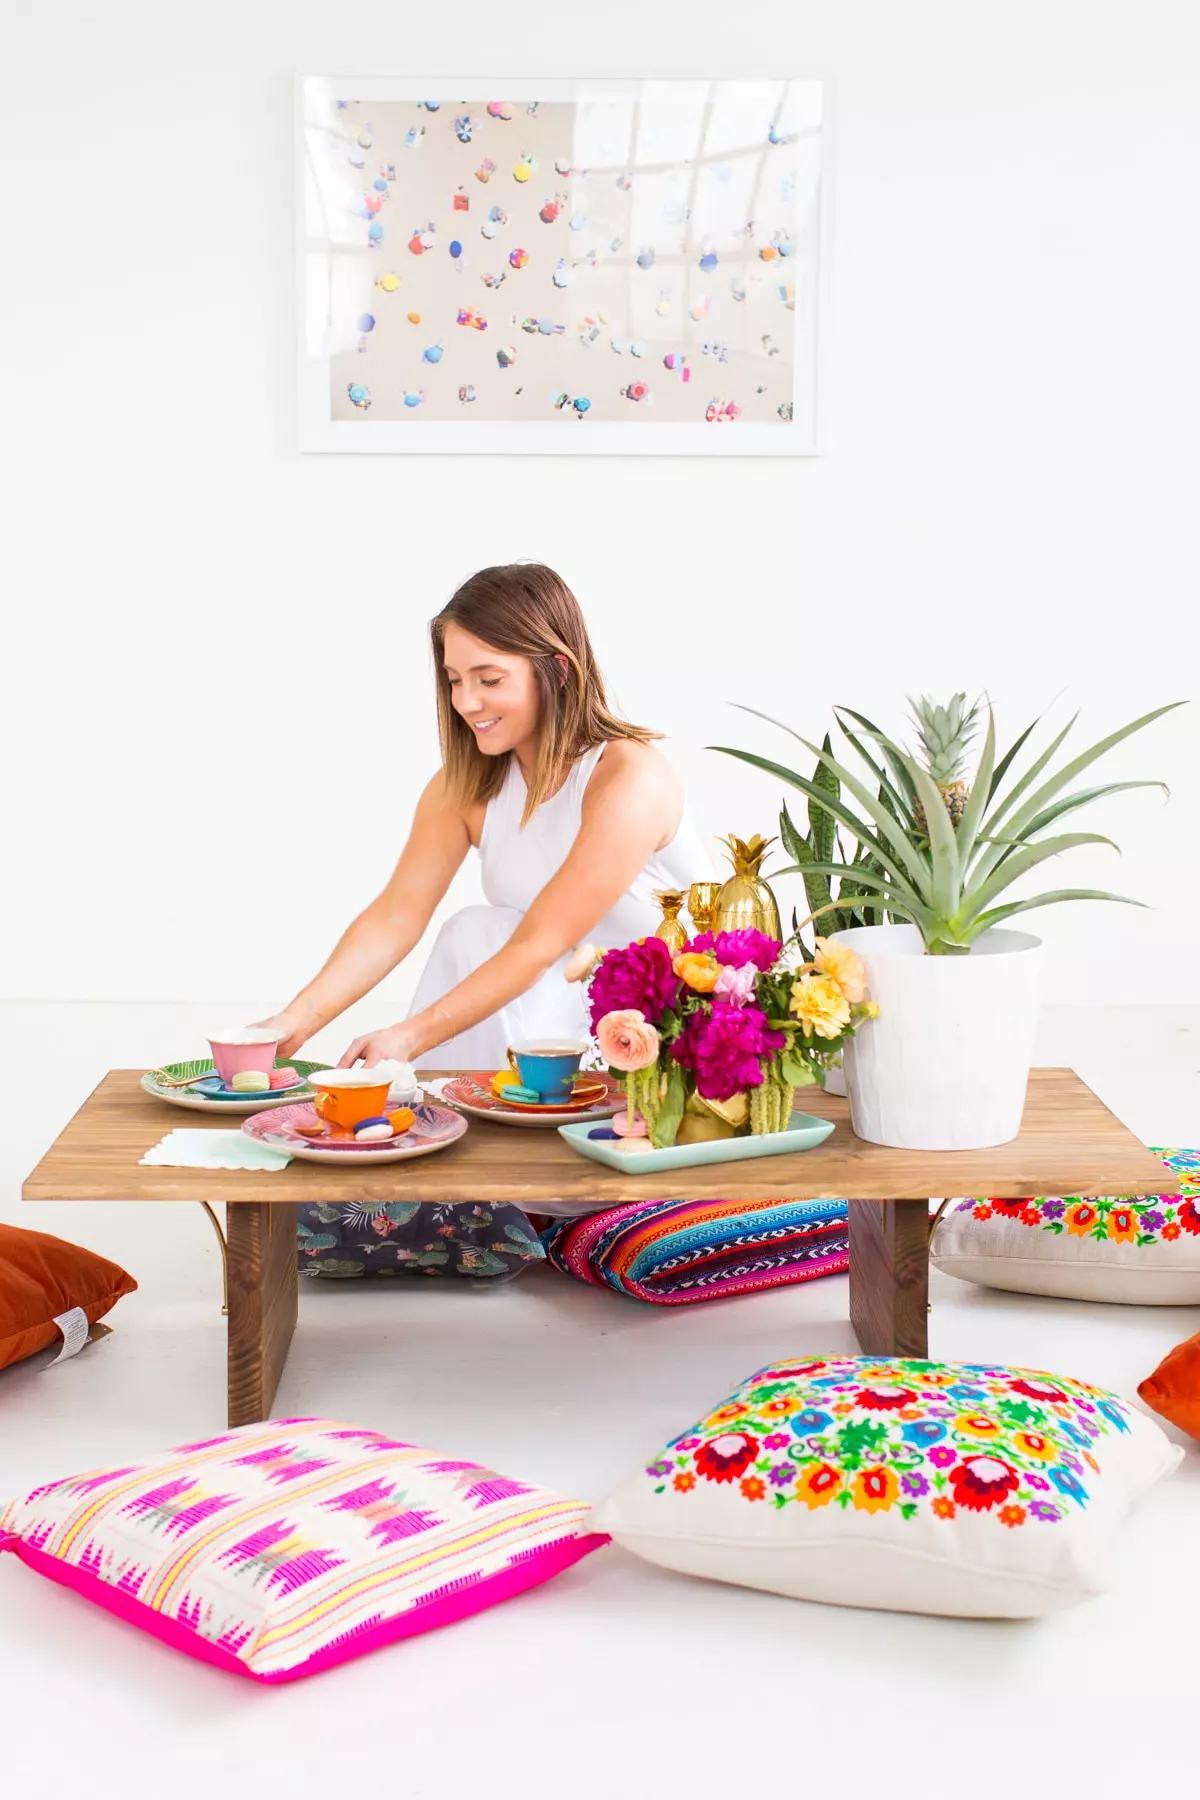
Who needs a traditional dining table when you can create a boho-inspired low dining table that exudes charm? Adding some quirky dinnerware pieces and mismatched pillows will enhance the eclectic vibe. Imagine cozying up around this DIY table on a cool evening, surrounded by DIY knot pillows and blankets for ultimate comfort.
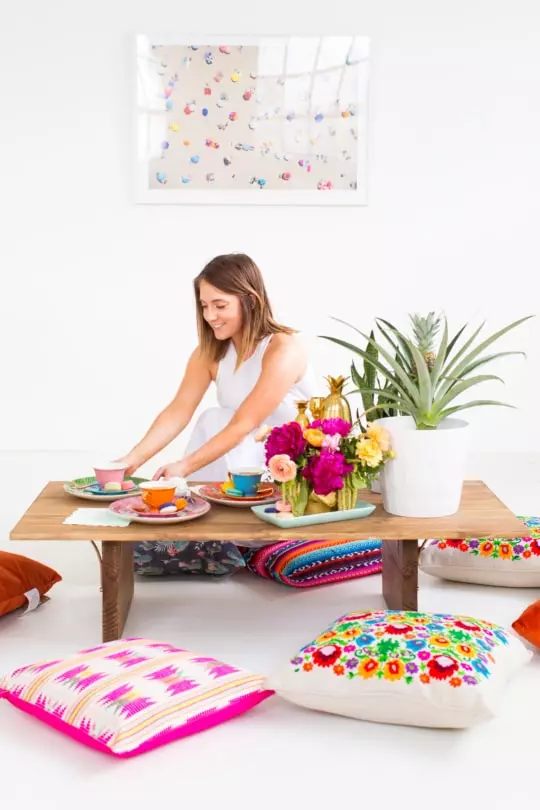 Image source: Sugar & Cloth
Creating this DIY Floor Table is a breeze, especially when you enlist the help of your local home improvement store. They can do the major wood cutting for you, making the process even simpler. With a customizable design, you can whip up this dinner table in no time, leaving more room for you to focus on your full menu.
Materials and Tools Needed to Make a DIY Floor Table
To bring your DIY Floor Table to life, gather the following materials and tools:
- 24" x 48" pre-cut and pre-sanded finished wood (plywood works well to keep costs down)
- 18" x 2" x 12" wood (which can be cut to size at the store)
- Wood stain and brush (we recommend Minwax Interior Stain in Ebony)
- Arched brackets
- Metallic gold spray paint (optional, for gold brackets)
- Heavy-duty construction adhesive glue
- Drill and screws
- Ruler or measuring tape
- Felt pads (for table legs)
- Sandpaper (optional, for unfinished wood)
- 4 right-angle 90 degree brackets with screws
Ensure that the wood edges are rounded to avoid any accidental scratches when people rest their legs underneath the table.
Floor Seating Ideas | How To Make A DIY Floor Seating Table
Let's dive into the step-by-step process of bringing your DIY Floor Table to life:
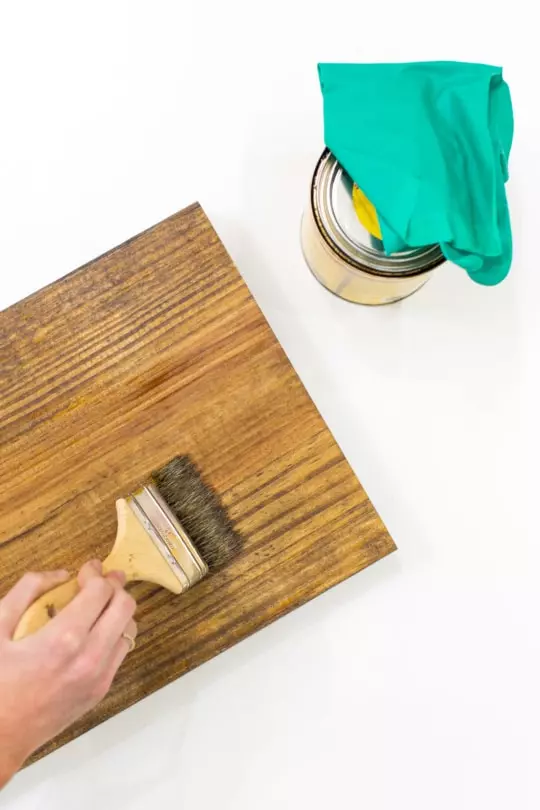
Step 1: Prep the wood by staining it with a wood stain of your choice. The polyurethane in the stain will make the wood water-resistant and easy to wipe clean.

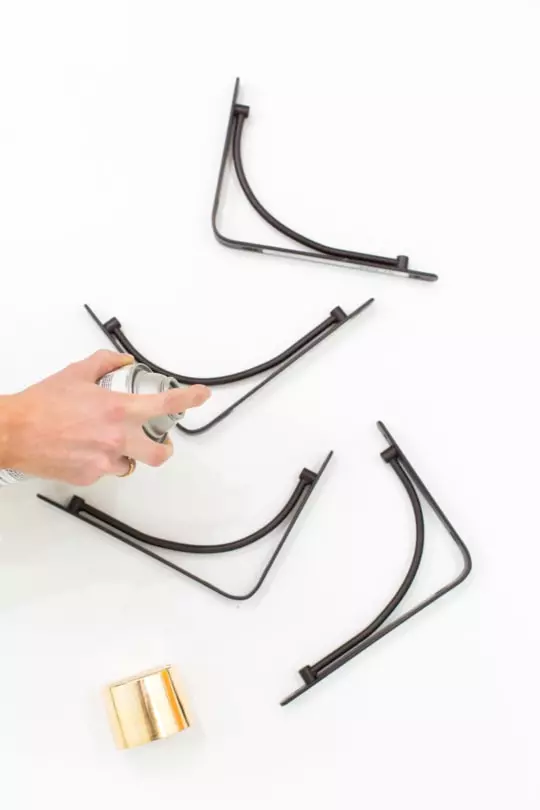
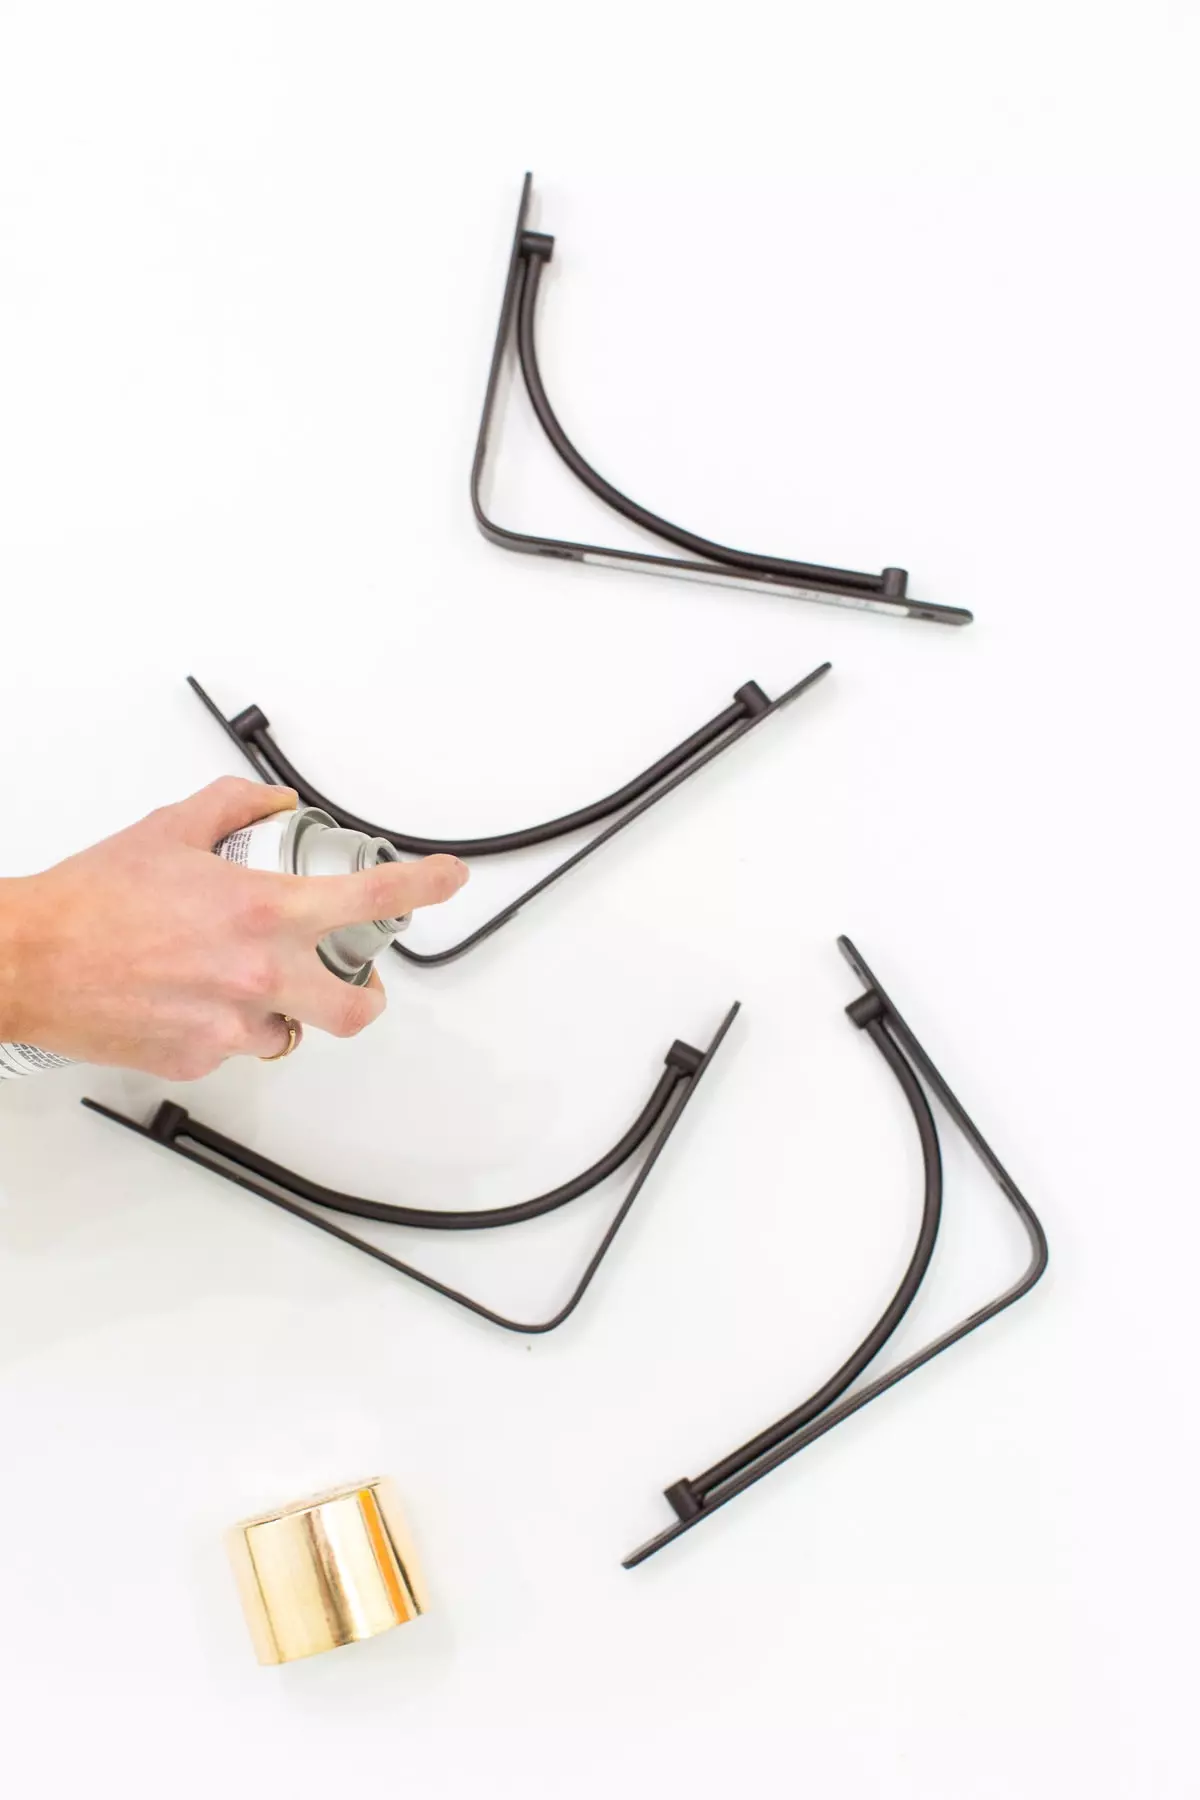
Step 2: While the wood dries, spray paint the brackets gold, adding a touch of glamour to your DIY creation.
Step 3: Measure and mark where you want the legs to rest underneath the tabletop, considering the space needed for the brackets. In our case, we marked 10 inches from each end of the table and 3 inches on either side of each leg for centering.
Step 4: Measure 3 inches in from each end of the leg closest to the outside edge. This is where the brackets will be drilled in. Trace the entire leg in place, as you will need to remove it to apply the glue and then put it back in place.
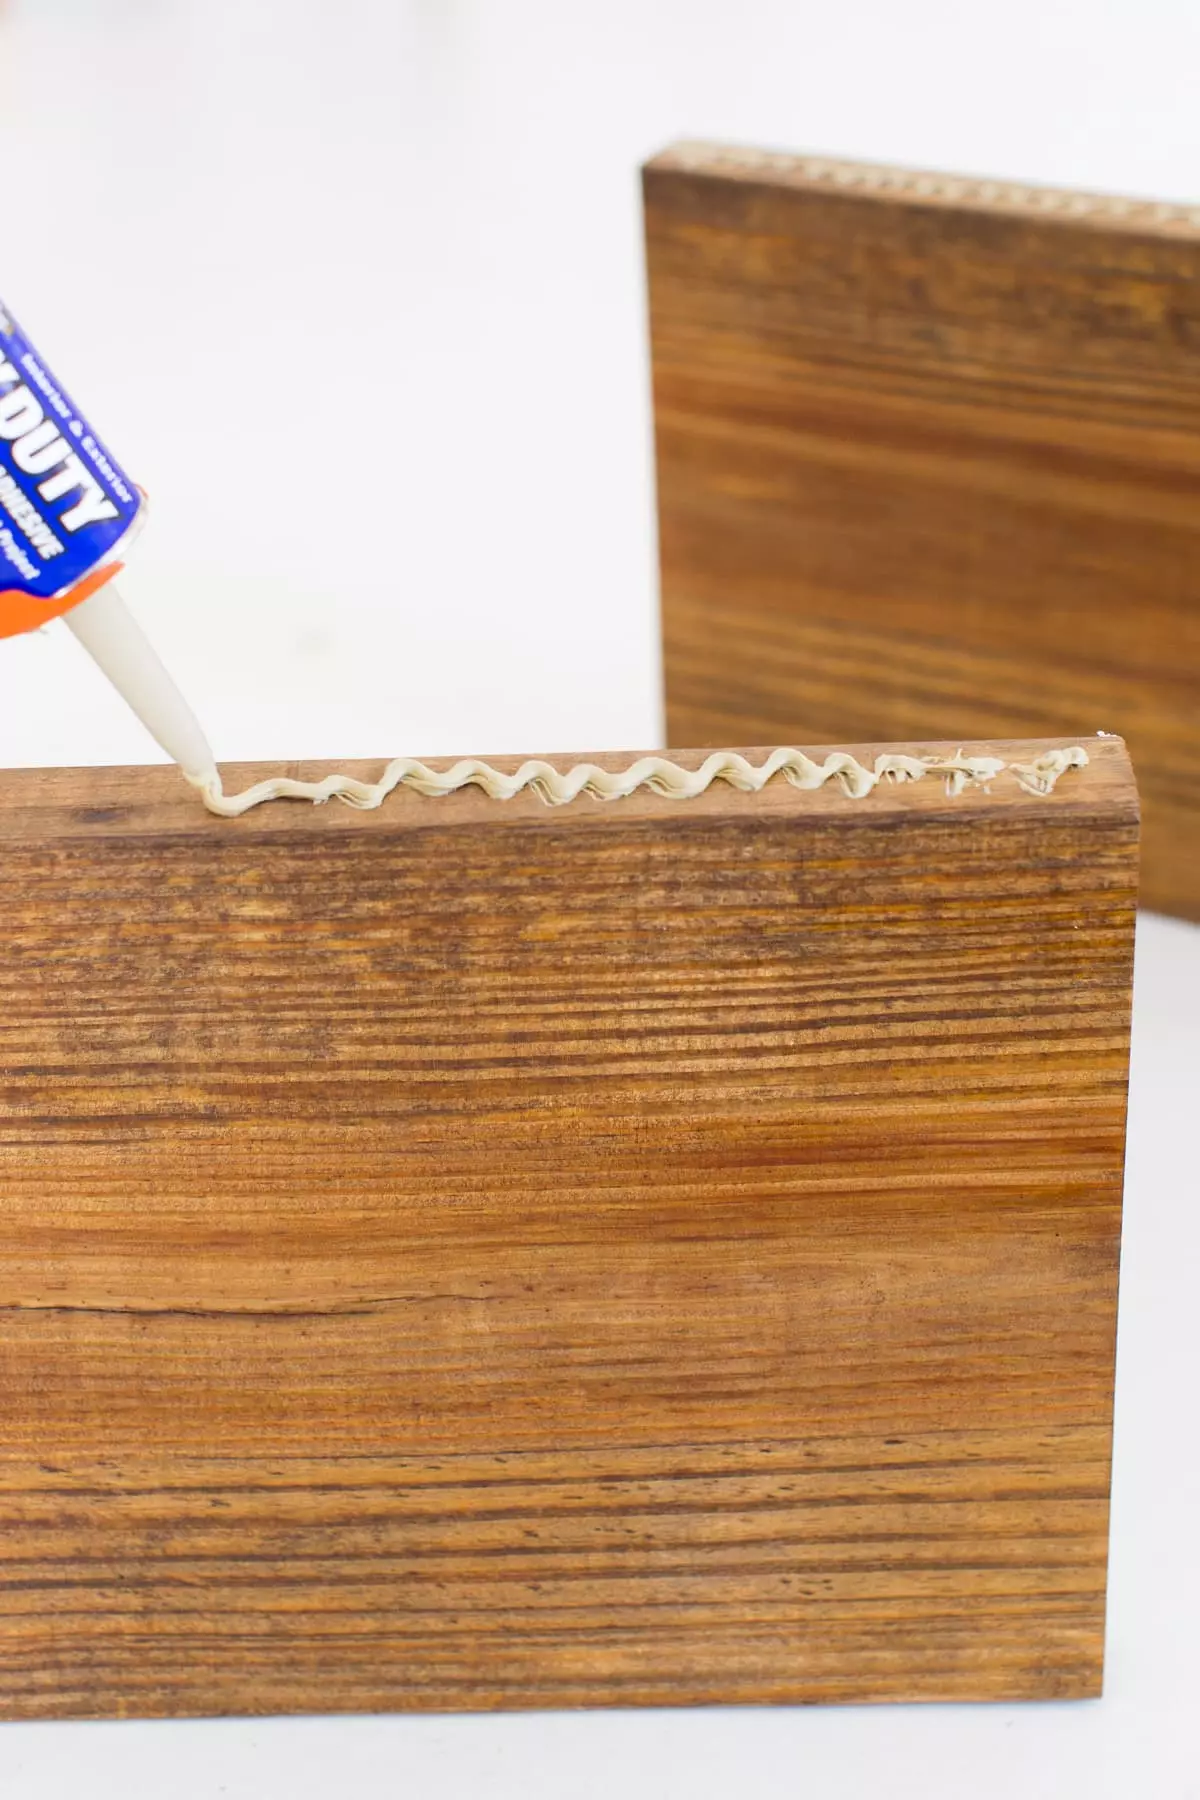
Step 5: Apply a generous amount of liquid nails (construction adhesive glue) to one edge of the legs. Be careful not to use too much glue that it will overflow once pressed down onto the table. Let it set completely before installing the brackets.

Step 6: While waiting for the glue to set, attach felt pads to the bottom of the table legs for easy maneuvering once the project is complete.
Step 7: Once the glue has set, place the brackets on your measurement marks and screw them into the tabletop. This will make drilling into the legs easier.
Step 8: After securing all the brackets to the tabletop, place four 90 degree angle brackets on the opposite side of the legs, aligning them with the curved brackets. Screw the angle brackets in place.
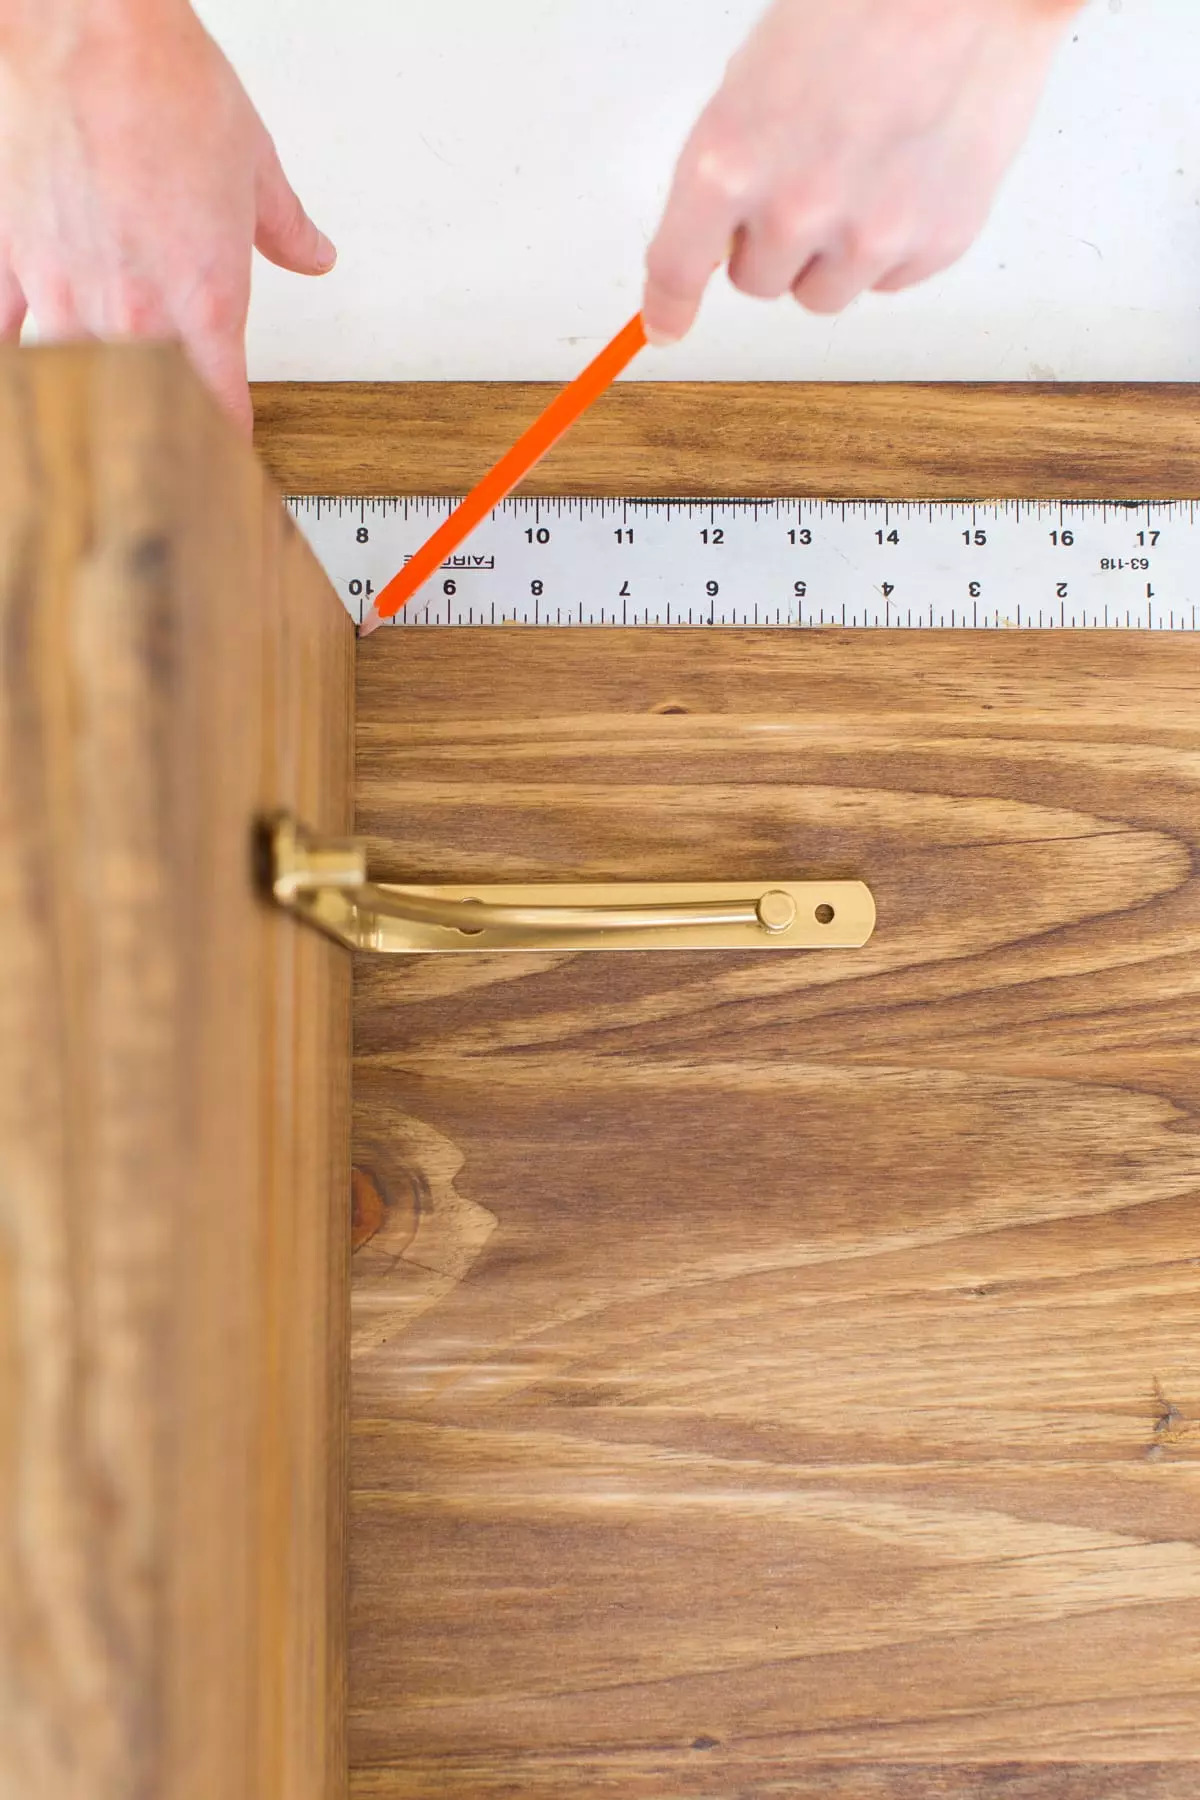 Image source: Sugar & Cloth
DIY Low Floor Table Tutorial | DIY Dining Table Ideas
Embrace the bohemian-inspired look with a floor seating option that brings warmth and personality to your space. Floor cushions will complement the low table and ensure your guests feel comfortable and relaxed.
 Image source: Sugar & Cloth
But the DIY Floor Table isn't just limited to dining. You can also repurpose it as a floor desk for a unique workspace. Get creative and make it a versatile addition to your home.
Recipe Ideas for Your Dinner Party
Now that you have your DIY Floor Table, let's discuss some delicious dinner or recipe pairing ideas to elevate your dining experience:
- Try our zero carb bread recipe and save room for a delightful Aperol spritz, gluten-free donuts, or snickerdoodle cookies.
- If you prefer a quick snack instead of a full dinner, whip up one of our easy popcorn recipes or indulge in a root beer float.
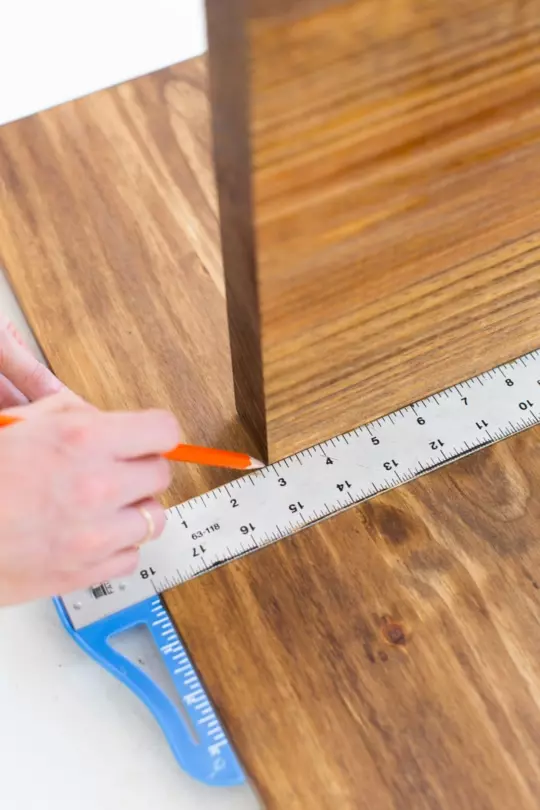 Image source: Sugar & Cloth
While you have the freedom to customize your floor table with different colors and finishes, we recommend adding gold brackets for a touch of glam and vibrancy.
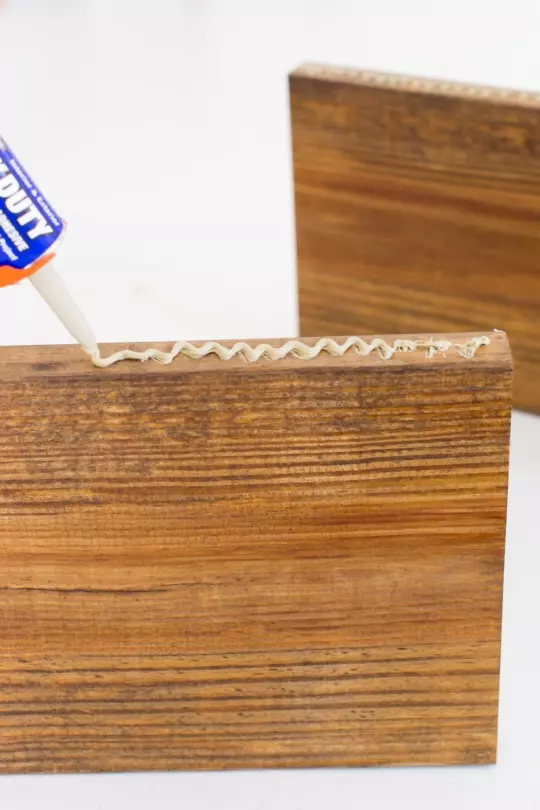 Image source: Sugar & Cloth
More DIY Projects To Try
If you enjoyed creating the DIY Floor Table, here are a few more DIY projects worth exploring:
- Kids Play Table: An Easy DIY Kids Activity Table
- Abstract DIY Modern Low Bench
- Handmade DIY Gift Ideas
- How to make an Ikea floating cabinet from a DIY Ikea Credenza
- How to make a DIY Ikea TV Stand Hack
Creating a DIY Floor Table is simple and rewarding. With a little painting, gluing, and measuring, you can transform your space and impress your guests. So, why not give it a try? Share your experience and let us know if you successfully create this unique floor seating idea!
Article written based on the original content by Sugar & Cloth. Images sourced from Sugar & Cloth.
