Are you interested in creating stunning interior designs using Blender? Look no further! In this article, I will share my process for creating captivating interior designs that will bring your imagination to life. Whether you are a beginner or an expert, these tips and tricks will help you master the art of interior visualization.
Step 1: Gather References
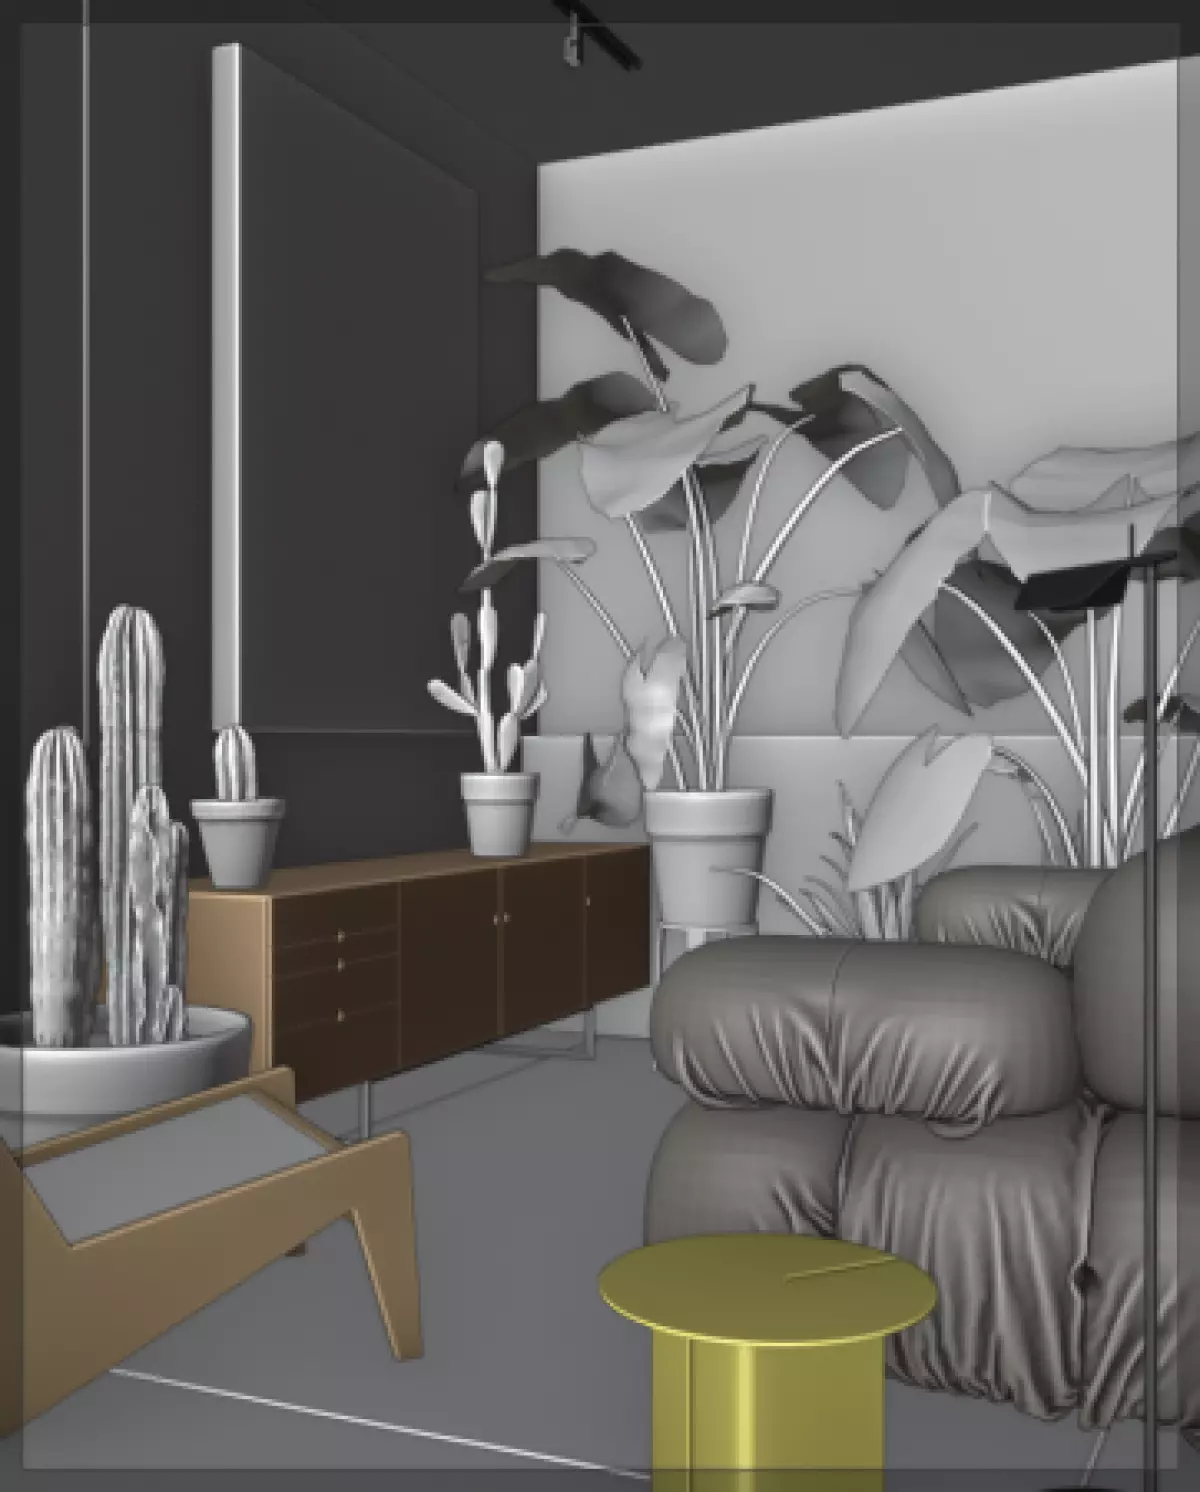
The first step in any design project is to gather references. I use a software called PureRef to collect inspiring images and ideas. By organizing your references, you can better visualize your project and ensure that you stay on track with your vision.
Step 2: Model with Ease

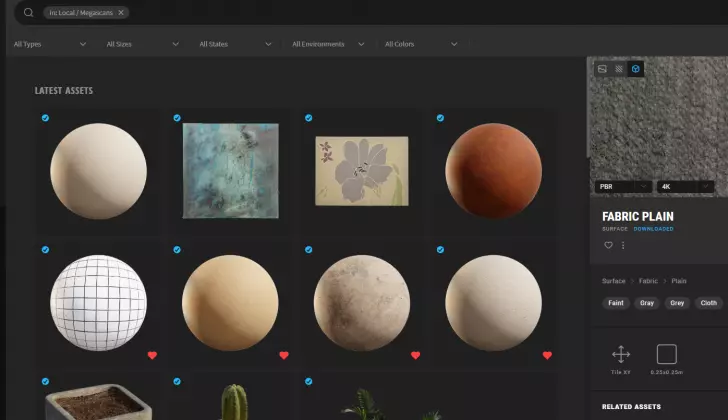
When it comes to modeling, start with the easy elements such as the kitchen, bookshelves, and cloth cabinets. For more complex models, take advantage of free assets available online. Chocofur assets and Quixel Megascans provide a wealth of high-quality models and textures that can enhance your designs.
Step 3: Bring Your Design to Life with Textures
Textures play a crucial role in creating realistic interior designs. Leverage the power of Quixel Megascans and other texture libraries to add depth and detail to your walls, floors, and furniture. Don't be afraid to experiment with different techniques, such as creating custom maps for unique elements like the cloth cabinet.
Step 4: Master Lighting and Composition
For a truly captivating interior design, mastering lighting and composition is essential.
- Composition: Follow the rule of thirds to create visually pleasing arrangements. You can enable composition guides in Blender to assist you in achieving the perfect balance.
- Lighting: Utilize HDRI lighting to bring life to your scenes. Experiment with different HDRI images to set the mood and ambiance of your design. Don't forget to adjust the exposure and gamma settings to achieve the desired effect.
Step 5: Optimize Render Settings

When it comes to render settings, focus on the art, not just the technical aspects. While default settings work fine, you can experiment with different options to achieve realism and quality. Consider adjusting light paths, sampling, and color management settings to enhance your final render.
Step 6: Elevate Your Design with Post-Production

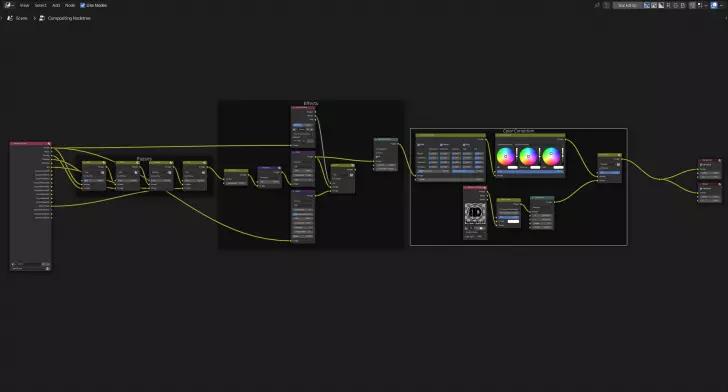
Post-production is the cherry on top of your interior design project. Use the Blender compositor to apply effects, adjust colors, and enhance your image. Combining different passes and applying color correction techniques can elevate your design to a whole new level.
Step 7: Useful Tips and Tricks
- Use high-quality assets to add realism to your designs.
- Pay attention to detailed modeling for a more immersive experience.
- Implement physically accurate lighting and color to enhance the authenticity.
- Always refer to references to ensure accuracy and inspiration.
- Polish your images through post-production techniques.
- Remember, the focus should be on the art, not just the settings.
Now that you have an overview of the process, it's time to let your creativity shine. I hope you found these insights helpful. For more tutorials, future profiles, and exciting updates about architectural visualization, visit me at link.
Best regards,
Mohamed BENIANE - Benianus 3D Architect | 3D Artist

