

 This handsome piece is simple to build and easily adapted to fit your stock.
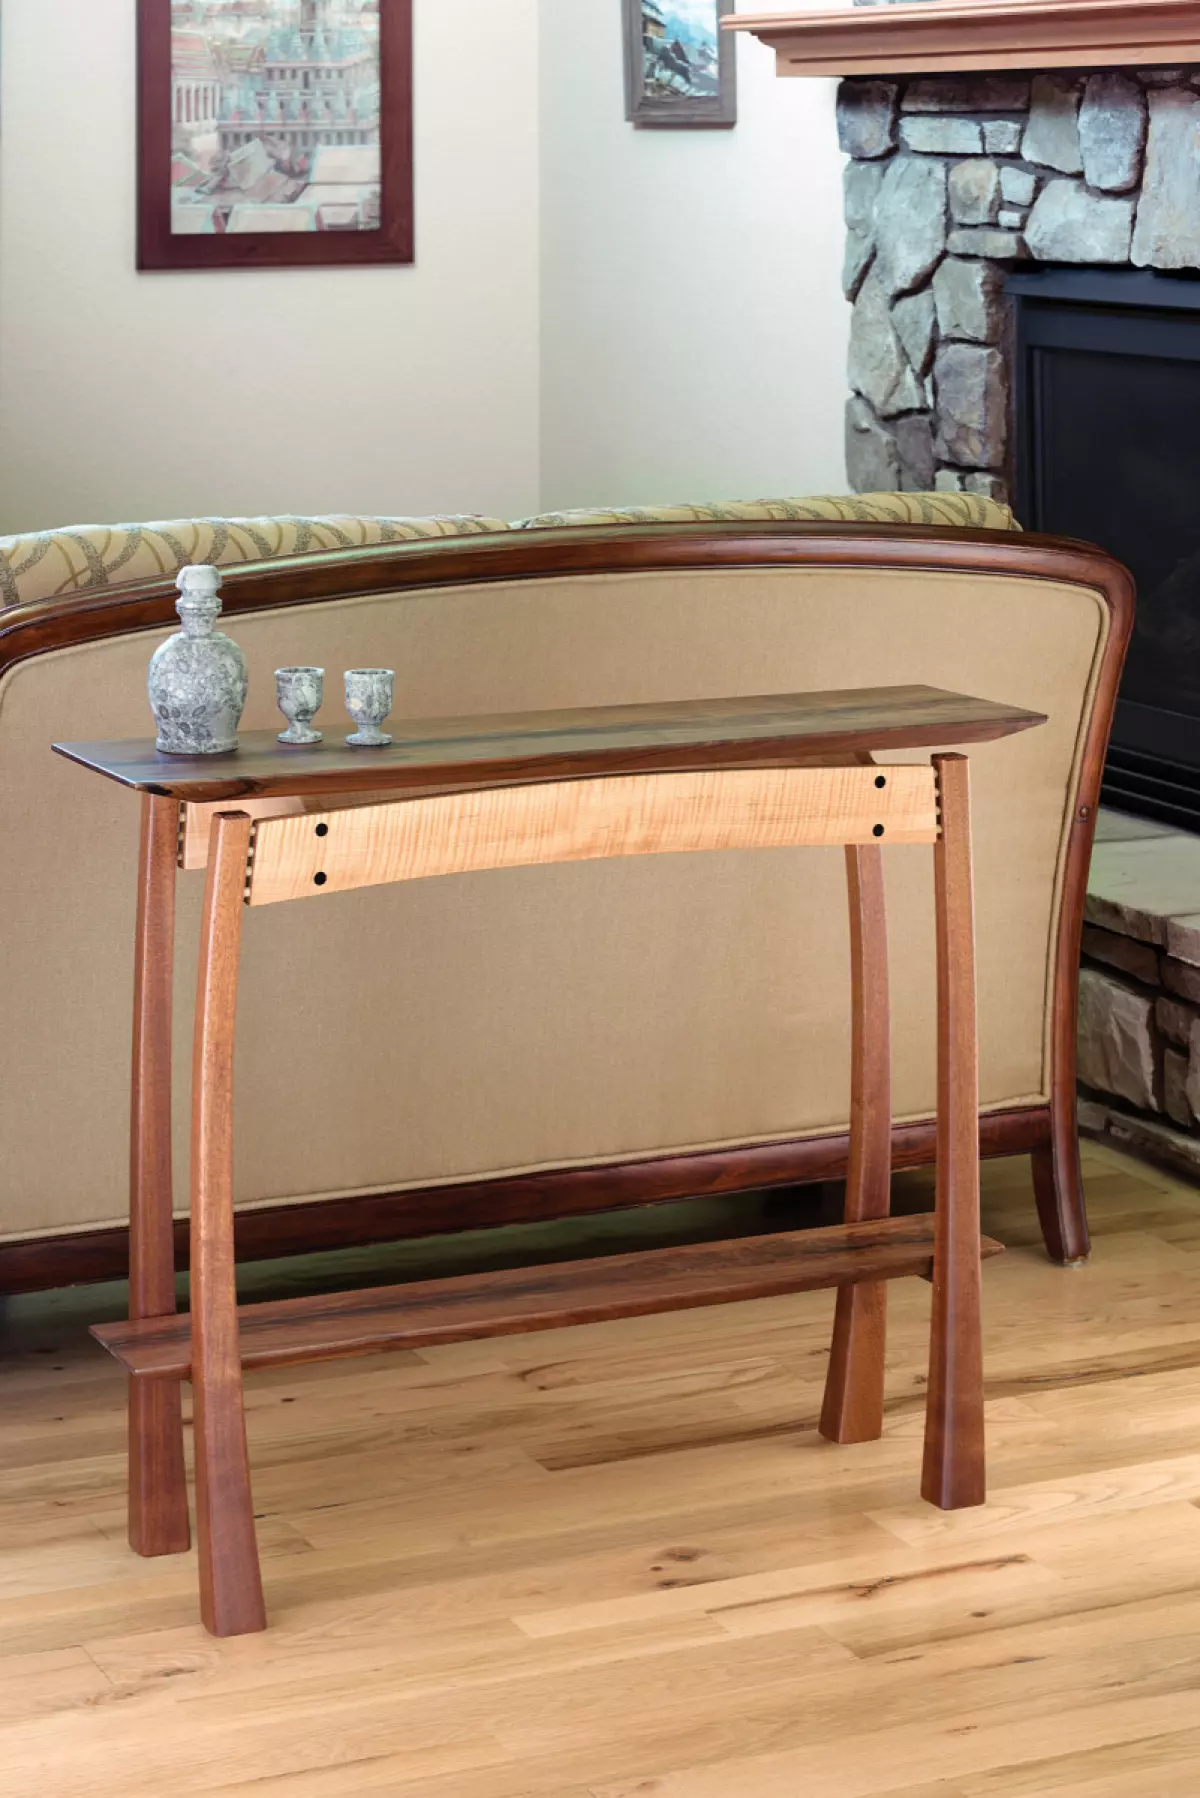
Are you looking for a unique and eye-catching table to add to your home decor? Look no further than the floating table. This table is not only functional but also a work of art that will impress your guests.
The Inspiration Behind the Design
A friend approached me with a special piece of walnut and asked me to design and build a table. With the freedom to make it my own, I envisioned a slim, open, and uplifting table that would be a centerpiece in any room. I focused on the legs, creating a design that curves inward from the front and outward from the ends, creating a dynamic shape that changes as you move around the table.
Leg Template & Drilling Jig
Crafting the Legs
To start the construction process, I prepared the legs and aprons from quality stock material. For the legs, I recommend using 12/4 rift-sawn material to ensure consistent grain on all sides. After selecting the best-looking legs and aprons, I marked their orientations for easy assembly.
To create the curved shape of the legs, I made a leg template from 1/8" material and traced the profile onto the leg blanks. This template helped me maintain consistency in the design. To ensure accurate dowel alignment between the legs and aprons, I fabricated a drilling jig using a scrap block of hardwood. The drilling jig established the location of the dowel joinery that connects the legs and aprons.
Joinery and Assembly
With the legs and aprons prepared, it was time to drill the holes for dowels. I drilled all four holes in the legs and aprons to a consistent depth using a stop collar on the drill bit. The drilling process was precise and required attention to detail to ensure proper alignment.
After drilling the holes, I dry-fit the pieces to ensure a snug fit. To secure the cross-members that support and anchor the tabletop, I cut dados on the inside face of each apron. These dados provided a sturdy connection between the aprons and cross-members.
Next, I shaped the aprons to match the leg profile. Using dowels as guides, I scribed the leg profile onto the face of the apron and carefully cut along the lines using a band saw. This step required precision and attention to detail to achieve a seamless connection between the legs and aprons.
Finishing Touches
With the substructure complete, it was time to focus on the tabletop and shelf. I used claro walnut for both the top and shelf, re-sawing and bookmatching the pieces to create a stunning visual effect. The long edges of the top were undercut at a 40° angle to create an elegant silhouette.
To attach the top, I centered it on the base and secured it with screws. The shelf received the same undercut treatment and was attached using screws and dowels. Finally, after a thorough sanding and inspection, I applied a beautiful finish to enhance the natural beauty of the walnut.
Conclusion
Building a floating table is a rewarding and enjoyable woodworking project that combines functionality with artistic design. By following the steps outlined in this article, you can create a unique and visually stunning piece of furniture that will be a conversation starter in any room. So, why settle for a regular table when you can have one that floats?
Written by Brian, a Colorado-based professional furniture maker with a passion for Asian-inspired designs. Check out more of his work at brianhubel.com.


