

If you're craving some extra storage space in your home, look no further than a hallway cabinet. Not only does it provide a solution for your storage needs, but it also adds a touch of charm and functionality to your hallway. In this detailed step-by-step tutorial, we'll show you how to build a hallway cabinet with no complicated joinery, making it perfect for beginner woodworkers.
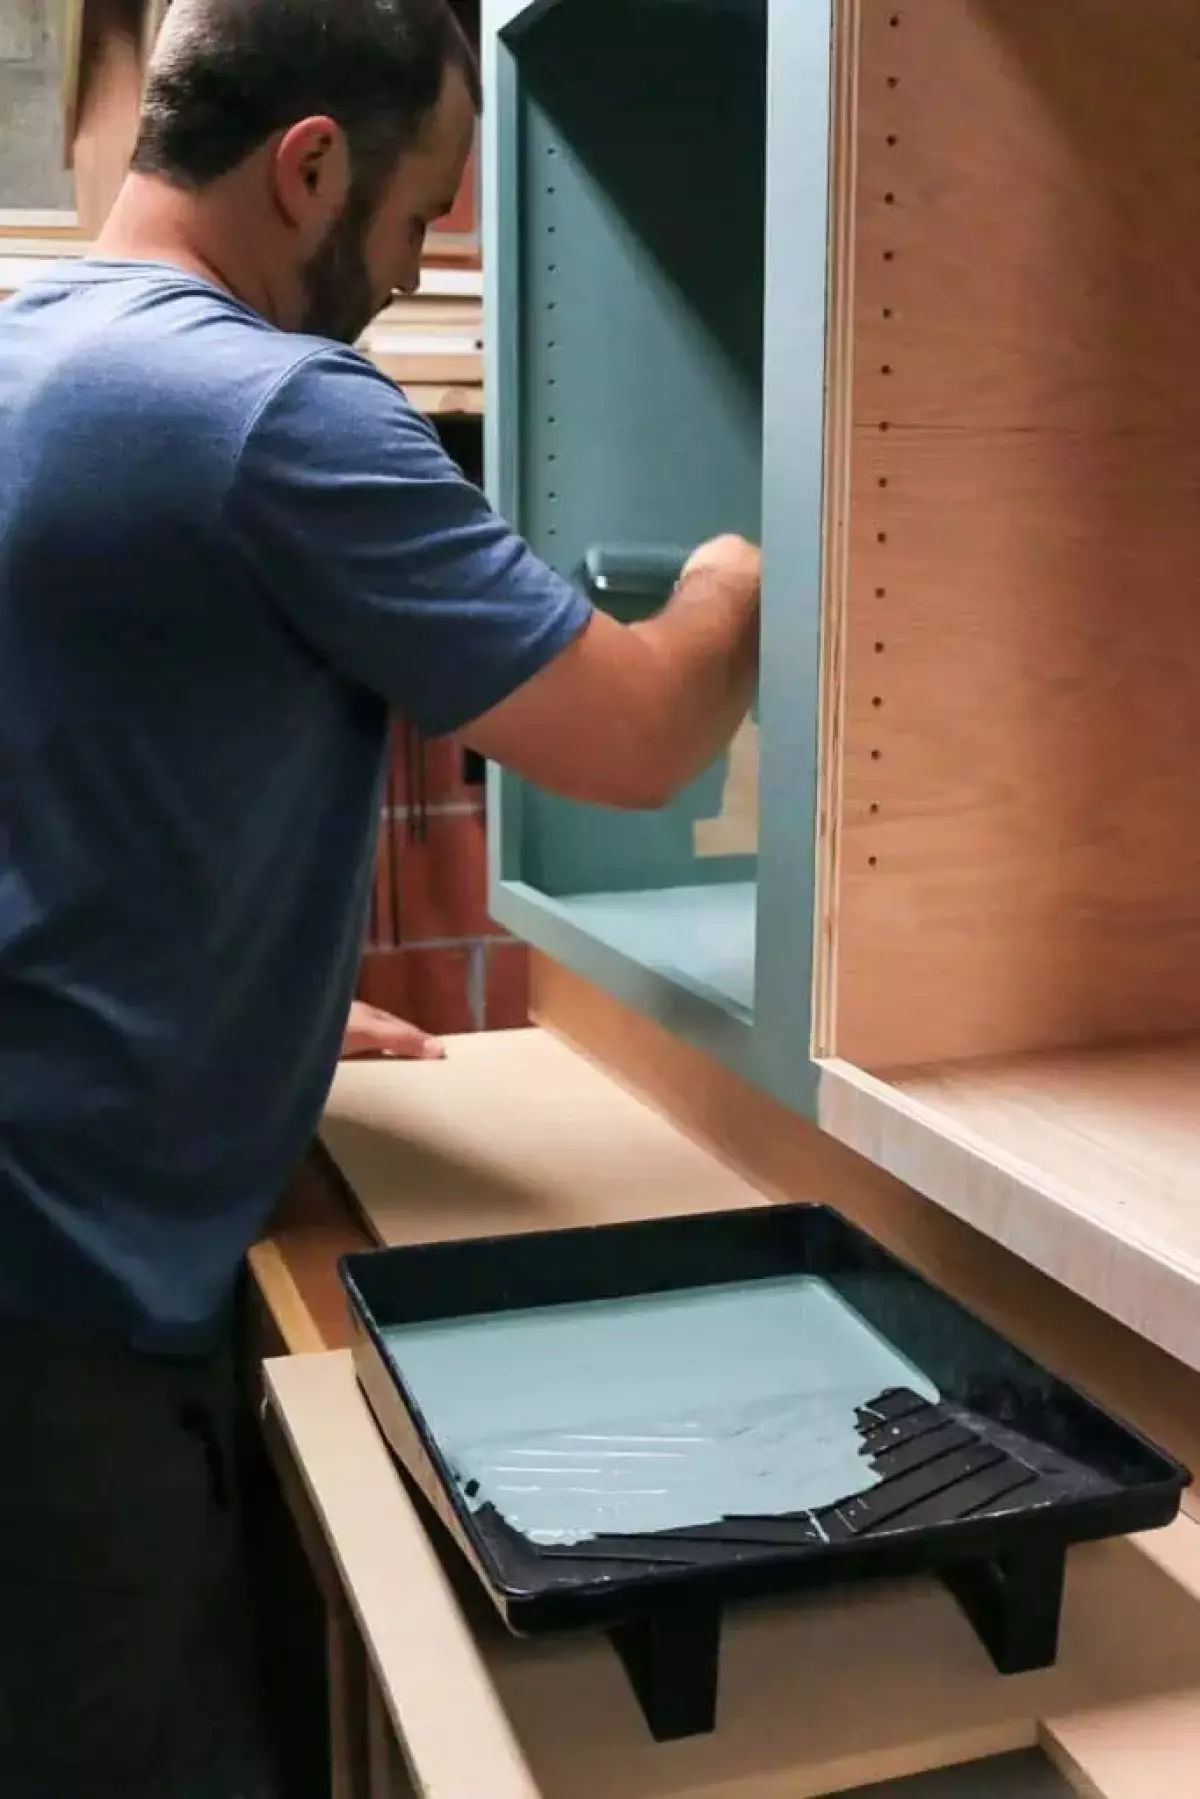 Our hallway cabinet is almost complete! In this step, we...
Maximizing Storage Potential: The Journey Begins
As we embarked on renovating our second fixer-upper, we realized one glaring problem - lack of storage. No linen cabinets, coat closets, or sufficient storage in the kitchen. We needed a creative solution that looked like it belonged in our home. The solution presented itself in the form of an underutilized section of our hallway. With this newfound space, we set out to build a hallway cabinet that would not only provide storage but also enhance the aesthetic appeal of our home.
Designing and Planning: Tailoring the Cabinet to Fit
Before diving into the construction process, it's essential to design and plan your hallway cabinet meticulously. This ensures that you have the right measurements and a clear vision for your project. What's great about this design is that it doesn't require complicated joinery, making it even more accessible for beginners. If you plan to paint the cabinet, you can skip certain cuts. However, if staining is your preference, dado and rabbet cuts are a must. Double-check the squareness of your walls if you're creating a built-in cabinet. For a painted cabinet, the wood grain direction is not crucial, allowing you to utilize scrap plywood if available.
Cutting and Assembling: Bringing Your Vision to Life
Once you have your design in hand, it's time to cut and assemble the wood pieces for your cabinet. Using a table saw, cut the wood to fit your measurements. Don't forget to incorporate dado and rabbet cuts if necessary. If you're creating a built-in cabinet, ensure that you have a level surface for assembly. Rockler's Clamp-It Corner Clamping Jig is a game-changer for squaring up the corners. With an Impact Driver and Construction Screws, secure the corners for a sturdy structure. Finish off the back with a sheet of 1/4" plywood. Depending on your preference, use plywood or trim pieces for the front face.
Adding the Finishing Touches: Perfecting Your Hallway Cabinet
With the cabinet assembled, it's time to add the final touches. Create adjustable shelves using Rockler's Pro Shelf Drilling Jig and Drilling Bit. This ensures flexibility for future storage needs. The next step is securing the cabinet in place with construction screws. To cover any gaps or uneven walls, attach trim pieces to achieve a polished look. Complete your cabinet by adding hinges for the doors and hardware for a stylish touch.
Personalization and Storage Bliss: The Result
Congratulations! You've successfully built a hallway cabinet that combines functionality and style. This cabinet offers ample storage space for towels, toilet paper, sheets, and more. Don't forget about the added benefit of having a designated spot for your printer. From practicality to aesthetics, this cabinet has it all. Style the top with personal touches like books, artwork, or vintage decor. Embrace the satisfaction of finally having a place for everything.
Your Turn to Create: Share Your Vision
Now that you've seen the process, what would you store in a hallway cabinet in your home? We'd love to hear your ideas and inspirations in the comments below. If you're ready to embark on more woodworking projects, check out our related articles for more inspiration.
- DIY Mudroom Lockers With Doors
- Easy DIY Grill Utensil Holder
- How to Find Free or Cheap Lumber for Woodworking Projects
- Plywood Buying Guide
- Filling Holes and Gaps - Do I use caulk, wood filler, or spackle?
- DIY Cookbook Stand
- Simple Wooden Farmhouse Style Centerpiece
- How Long Does Wood Stain Take To Dry?
- How To Get Wood Stain Off Skin
- How To Finish Plywood Edges Like A Pro
- DIY Behind the Couch Table with Outlet
- Easy DIY Bedside Table Plans
- 12+ DIY Bed Frame Ideas You Can Make Yourself
Now go forth and unleash your creativity while building practical and stylish pieces for your home!


