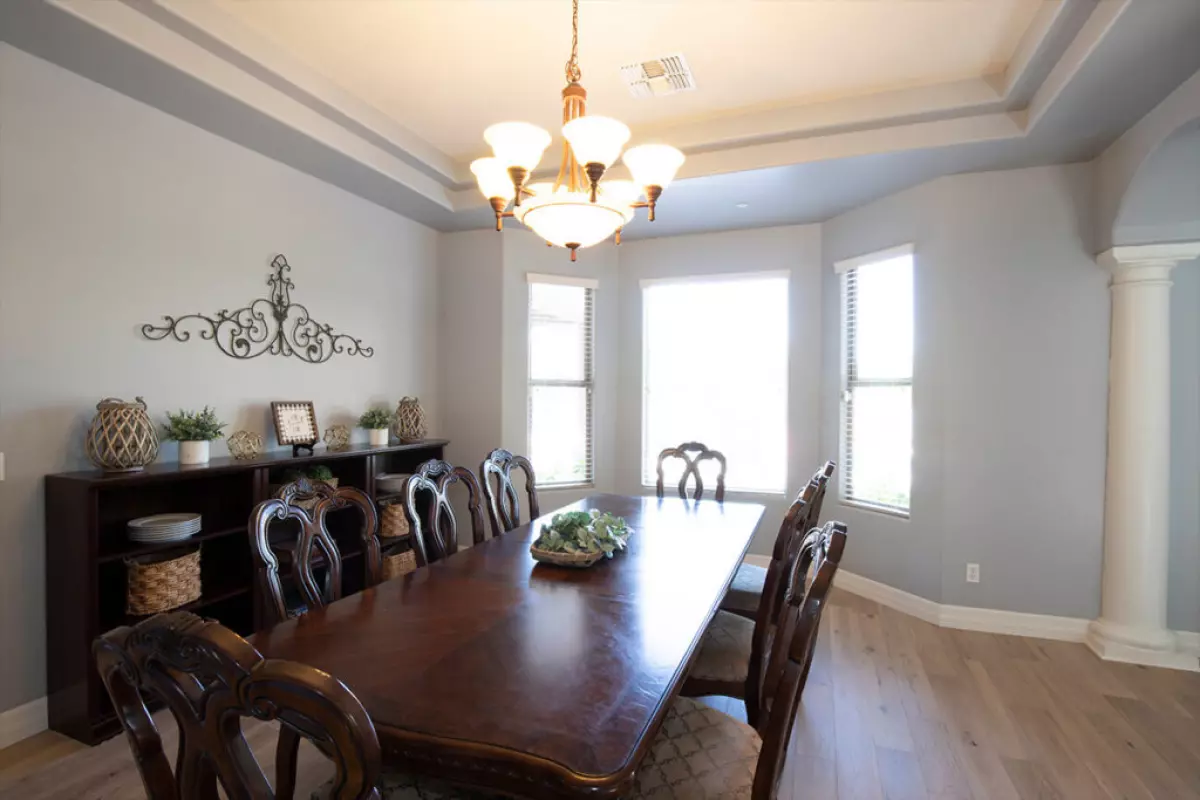
Are you searching for a HDR real estate photography tutorial to enhance your editing skills using the flambient method? Real estate photography has become increasingly popular worldwide, as digital marketing methods are now the go-to for buying and selling properties. To entice potential buyers, nothing is more crucial than high-quality photographs.
In situations where traditional shots fall short, many photographers have turned to the innovative and highly effective "flambient" method. By blending flash and ambient exposures, this technique produces stunning images with special effects. In this HDR real estate photography tutorial, you will learn everything you need to know about editing using the flambient method in Photoshop.
Unveiling the Flambient Method


The term "flambient" is a fusion of "flash" and "ambient." A flambient photo combines both styles of photography to produce the best possible final image. Ambient photos rely on natural light, while flash photos assist with color correction, window views, and additional lighting. Each shooting method has its own advantages and disadvantages, but when combined, they yield a balanced, clean, and natural final image.
When to Utilize Flambient Photography
Flambient photography is most commonly used when there is an extreme dynamic range in a property. In situations where certain areas of a room appear dark while the view outside the window is excessively bright, it is challenging to capture the full range using a single image or a set of ambient brackets. This is when the flambient method becomes incredibly beneficial.
Working with Flambient Photos
1. The Ambient Shot
To start, use an ambient photo as your base and build upon it. Take at least three ambient photos that will serve as the foundation for your flambient image. Make the first one your base image and capture the others using lower and higher F-stops. If needed, automate this process through bracketing.
2. The Flash Shot
Separate the flash from the camera and aim it at the ceiling to distribute the light evenly. Ensure that the flash is directed at a white surface to achieve natural colors when blending the flash shot with the ambient shots. In some cases, an additional flash shot can be taken to capture a picturesque view outside the window. This technique, often referred to as "window masking," emphasizes homes with breathtaking views. Remember, the goal in real estate photography is to create a clean, crisp, and natural image that highlights the key features of the property. Achieving this may be challenging, but it is entirely possible using the flambient method.
Once you have your flash and ambient shots, it's time to learn how to edit a flambient photo.
HDR Real Estate Photography Tutorial: Editing Flambient Photos
To begin the editing process, you can either watch the video tutorial or follow the text instructions below:
- Open your photos in Lightroom, select them, and right-click.
- From the menu, select "Edit In," then choose "Open as Layers in Photoshop."
- In Photoshop, ensure that the Ambient Layer is positioned on top of the Flash layer.
- Change the blending mode to "Luminosity."
- Add a blank new layer and change its blending mode to "COLOR."
- Using the brush tool, select the surrounding color from an area that needs work and paint over the areas where discoloration is visible.
- After completing the previous step, add a mask to the window view on the ambient layer.
- Finally, set your brush to 0% hardness with 10-20% opacity and brush over areas that require recovery, excluding areas where the flash shadow is permanent.
- Click "Save," and voila! Your first flambient photos are complete.
We must mention that this process can be time-consuming and challenging to master. However, the results are well worth the effort. If you're interested in outsourcing your editing tasks but require someone experienced in the flambient editing method, look no further. Sign up with PhotoUp today and collaborate with our team of professional editors, who are masters when it comes to editing flambient photos for real estate.
We hope you find this HDR real estate photography tutorial useful as you embark on your journey to create captivating flambient photos. Before you go, make sure to check out the following resources for additional guidance:
- [Link to Resource 1]
- [Link to Resource 2]
- [Link to Resource 3]


