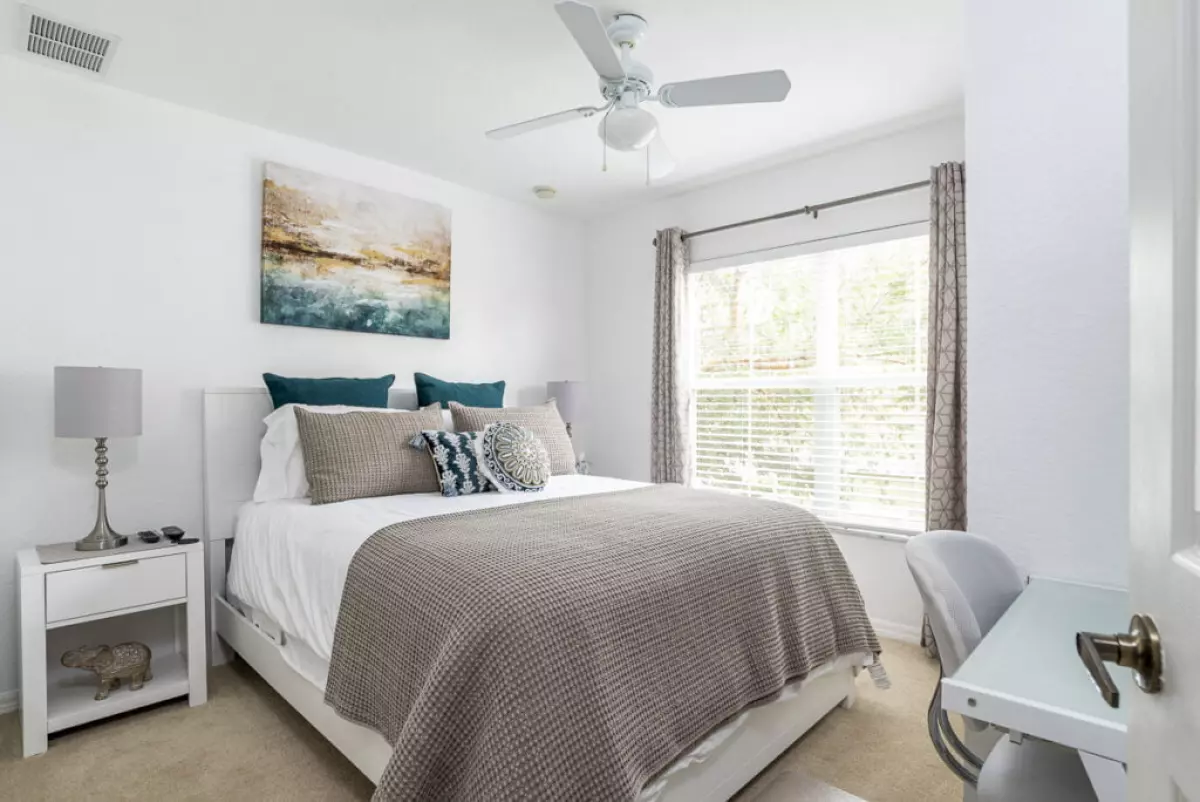
Are you looking to take your real estate photography to the next level? The "flambient" technique is a game-changer that combines flash and ambient shots to create stunning images. In this article, we will dive into the world of flambient photography and explore the step-by-step process to achieve professional-level results.
The Magic of Flambient Photography
A flambient shot is the perfect blend of flash and ambient light. By merging these two elements, you can create images that showcase true colors and capture the essence of a space. The flash shot is used to overpower other light sources and establish a balanced daylight setting, while the ambient shot adds depth and ambiance.
 Image: Flash Layer
The Equipment You'll Need
To get started with flambient photography, you'll need the following equipment:
- A sturdy tripod to ensure your camera remains steady during the composite process.
- A remote trigger to minimize camera shake and capture crisp, sharp images.
- A speedlight or flash for the flash shot.
- A flash remote trigger to synchronize your camera and flash.
Personally, I recommend using the Manfrotto 055 tripod with a geared head, a Nikon IR remote, Godox Xpro-N 2.4G X System TTL Wireless Flash Trigger Transmitter, and a Godox AD200Pro Pocket Flash 2.4G TTL Speedlite. While there are more affordable alternatives, once you experience the capabilities of a larger Godox Speedlight, you won't look back.
Mastering the Flambient Technique
Step 1: Set Your Camera on a Sturdy Tripod
Before you start shooting, it's crucial to secure your camera on a stable tripod. This ensures that each shot lines up perfectly for seamless compositing in post-production.
Step 2: Use a Remote Trigger
To achieve the best results, limit touching your camera as much as possible. Utilize a remote trigger to capture your images. If you're unfamiliar with remote triggers, check out our camera wireless remote buying guide for helpful insights.
Step 3: Capturing the Flash Shot
The flash shot forms the foundation of your flambient composition. Set your camera to manual mode or aperture priority (AP) with an aperture between f/7.1 and f/9 and ISO set to 320. Shooting in RAW mode is essential for maximum flexibility during post-processing.
ISO 320 is a sweet spot discovered by Nathan Cool, allowing a small Speedlight to illuminate more of the room with less power. The specific settings may vary based on your camera model and flash, so experimentation is key. Avoid using TTL (Through The Lens) mode for your flash, as manual mode provides greater control over the power settings. Fine-tune your color balance in post-processing using Lightroom.
Step 4: Embracing the Ambient Shot
Now it's time to capture the ambient shot, which adds depth and a natural feel to your composition. Disable the flash and rely solely on the available ambient light. This shot will complement the flash shot, so be sure to position your camera to capture the desired atmosphere.
Step 5: The Window Pull Technique
One crucial aspect of flambient photography is the window pull. This technique involves blending the flash shot and ambient shot to create a captivating view through the window. It adds an extra touch of realism and draws the viewer into the scene.
Step 6: Post-Processing in Lightroom
Once you've captured your shots, it's time to bring them into Lightroom for post-processing. Follow these steps:
- Start with the ambient layer and make necessary adjustments to exposure, contrast, and color temperature. Enhance the natural lighting and overall atmosphere of the room.
- Blend in the window pull using masking techniques. Ensure a smooth transition between the outside view and the interior.
- Apply the flash shot to reveal the true colors of the room. Fine-tune the exposure and balance to create a cohesive composition.
Step 7: Export to Photoshop
After optimizing your images in Lightroom, export them to Photoshop for further enhancements and fine-tuning. Follow these steps:
- Arrange the layers in the desired order to maintain consistency throughout the composition.
- Use the window pull layer to paint in any additional details to perfect the view.
- Utilize the repair layer if necessary to remove any unwanted elements or imperfections.
- Adjust the opacity of the ambient photo layer to achieve the desired balance between natural and artificial lighting.
- Flatten the layers and save your masterpiece.
Step 8: Wrapping Up in Lightroom
Return to Lightroom for any final adjustments or corrections. Fine-tune the overall tone, color grading, and sharpening to give your images that professional polish.
Adapt and Evolve
The world of photography is constantly evolving, and it's important to adapt and experiment with new techniques. Use the flambient method as a foundation and explore different creative approaches to capture captivating real estate photos.
Conclusion
With the flambient technique, you have the power to create outstanding real estate images that captivate potential buyers. By combining flash and ambient shots with careful post-processing, you can bring out the true beauty of each space. So grab your camera, tripod, and flashes, and start shooting breathtaking real estate photos today!


