

For property listings, real estate twilight photos are an excellent choice. The warm blue and purple palette, combined with soft lighting, creates an inviting atmosphere for any home. The beauty of properties at dusk, with the vibrant sunset sky and dramatic silhouettes, truly captivates us. However, capturing crisp shots during this time of day can be challenging, even for professionals. But fear not! With thorough preparation, your twilight shoot will yield fruitful results.
Property Preparation for Twilight Real Estate Photography
Lighting plays a crucial role in twilight photography, and this holds true for real estate twilight photos. Before sunset, ensure that all lights, both interior and exterior, are turned on. The interior lights will brighten doors and windows, while exterior lights will illuminate the walls, plants, and pool. If the lighting is too bright, strike a perfect balance by removing selected bulbs.
The Best Time to Take Twilight Photos
The ideal time for shooting real estate twilight photos is approximately 20 minutes after sunrise or before sunset. During this time, the sky's orange hue may only last for about 10 minutes. Surprisingly, many photographers agree that the early hours of the day also offer a cool dusk look. Alternatively, arriving at least one hour before sunset allows you to set up the frame in every aspect. The lighting during this period is breathtaking, with the interior lights casting a warm glow and the dusk shadows adding depth. It's rightfully called "the golden hour"!
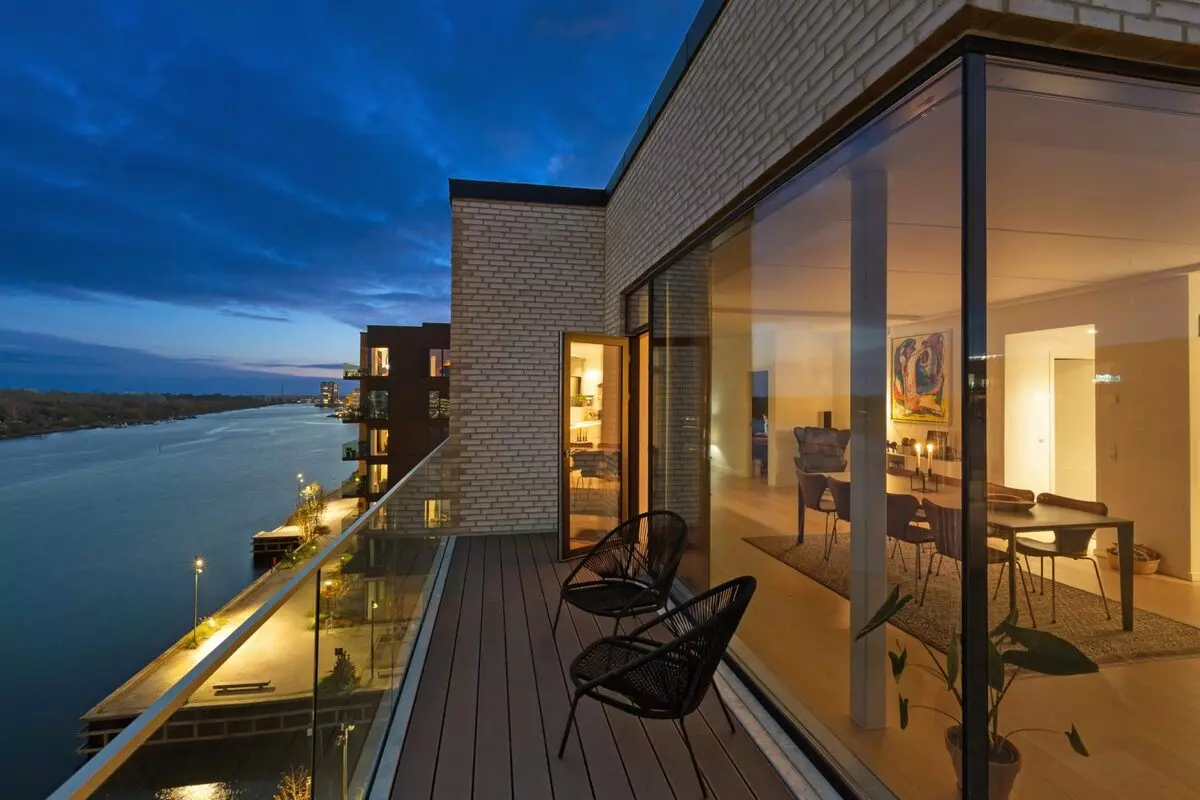 Real estate twilight photos light up the whole properties.
Equipment for Twilight Photography
When shooting at twilight or dusk, a sturdy tripod is essential to minimize any extra shake caused by dim lighting conditions. You may also consider using a flashlight or headlamp to add extra light if it's too dark. While optional, this can help capture houses with inadequate ambient lighting. Additionally, be prepared to take extra exposures to recover details in shadows and achieve a well-balanced twilight photograph.
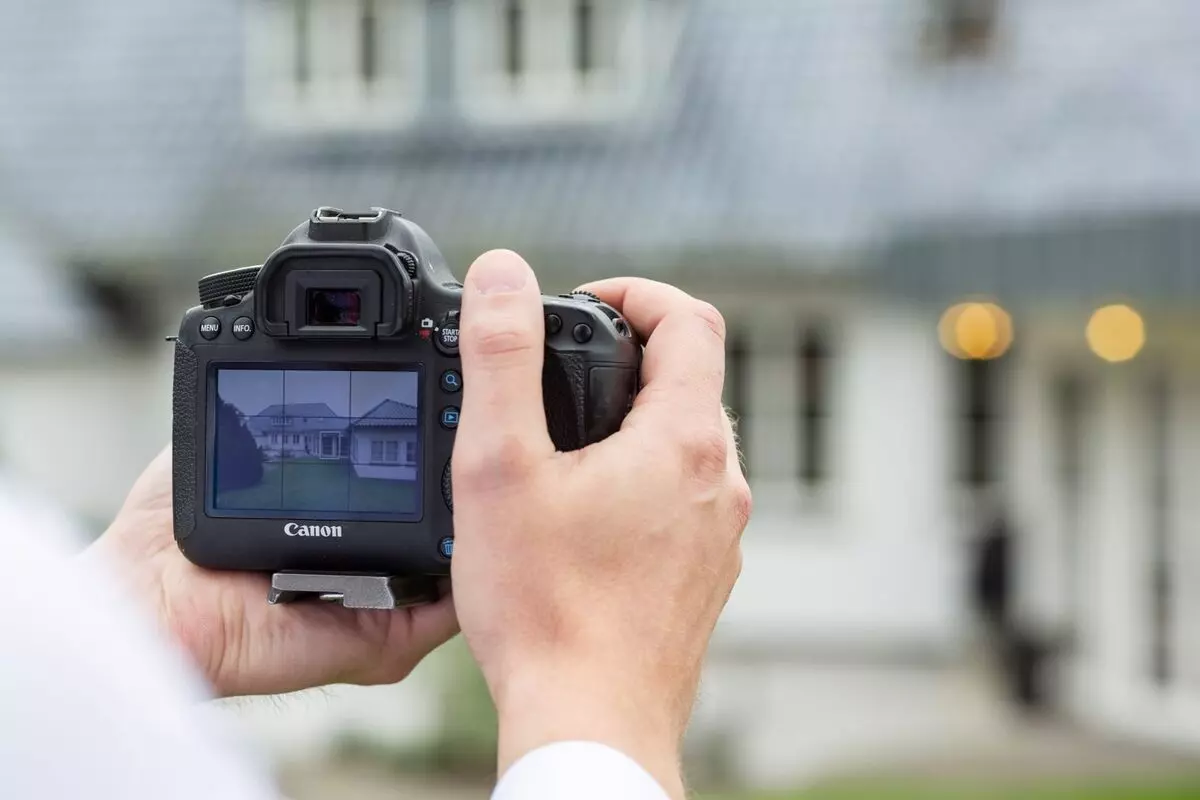
 Choose the proper real twilight real estate photography camera settings.
If you don't have a tripod, using the right lens is vital for your real estate twilight photos. Opt for a lens with a fast aperture, preferably f/2.8 or greater. Ideally, a 16-35mm f/2.8 or 24-70mm f/2.8 lens will ensure the best quality images in low light conditions. If you're looking for lenses with stabilization features to reduce camera shake, reputable brands like Nikon or Canon offer suitable options. Nikon users prefer lenses with vibration reduction, while Canon users opt for lenses with image stabilization. Although these technologies can be expensive, they are worth considering as a worthy investment.
Camera Settings in Twilight Real Estate Photography
To achieve crisp photos in twilight real estate photography, follow these camera settings:
- File type: Shoot in RAW format for maximum flexibility during post-processing.
- Shooting mode: Use manual mode and enable Live View Mode. Zoom-in to focus on the subject and adjust until it's pin sharp.
- Aperture: Set the aperture between f/8 and f/11. If you prefer a fixed aperture, use Aperture Priority mode. A narrow aperture makes it easier to focus and avoid micro-shakes.
- ISO: Keep the ISO between 100 and 320 to minimize image grain. When using a tripod, it's best to keep the ISO low. However, it's essential to know the limits of your camera's ISO levels. Experiment with different ISO settings in low-light conditions to determine the point at which noise becomes noticeable. Adjust accordingly, choosing a lower ISO if necessary.
- Shutter speed: As it gets darker, slow down the shutter speed. Longer exposure times will help capture sharp twilight shots. A general rule is not to go lower than 1/125th of a second to account for any hand movements. Remember, a sturdy tripod is your best friend in this situation.
Take a deep breath, hold it, and shoot!
 Right camera settings ensure a crisp twilight photoshoot.
Shooting Technique for Twilight Photos
When shooting twilight photos, bracket exposures by taking multiple shots at different shutter speeds for each composition. This technique helps overcome the limited contrast during sunset hours. Three to five bracketed exposures are generally sufficient for capturing stunning real estate twilight photos. Remember, "trial and error" is the key to nailing the perfect exposure, especially in challenging lighting conditions.
Patience, Patience, Patience!
Patience is your best ally when it comes to taking real estate twilight photos. Shooting at dusk is not about quantity; it's about quality. Remember, this limited time of day is your window of opportunity to capture captivating images. Be quick, yet assured that the final results will meet your clients' expectations.
In Conclusion
Dusk shots beautifully illuminate the exterior of properties, attracting attention with their warm rays of light. It's no wonder that homes with twilight photography receive 88% more views than those with daytime photos. If you're interested in learning more about twilight post-production work, check out our blog below!
Check out Esoft’s twilight editing services: Photo editing services at Esoft
By following these tips and techniques, you'll be well-equipped to capture stunning real estate twilight photos that leave a lasting impression. Happy shooting!


