

Taking high-quality interior real estate photos can be challenging, especially without professional photography experience. However, with the right camera settings and equipment, you can enhance the quality of your interior photos even without hiring a professional photographer.
 Capturing the essence of a property through interior photography.
What Equipment Do You Need?
Just like any other photography, having the right tools is essential. To ensure great results, you'll need:
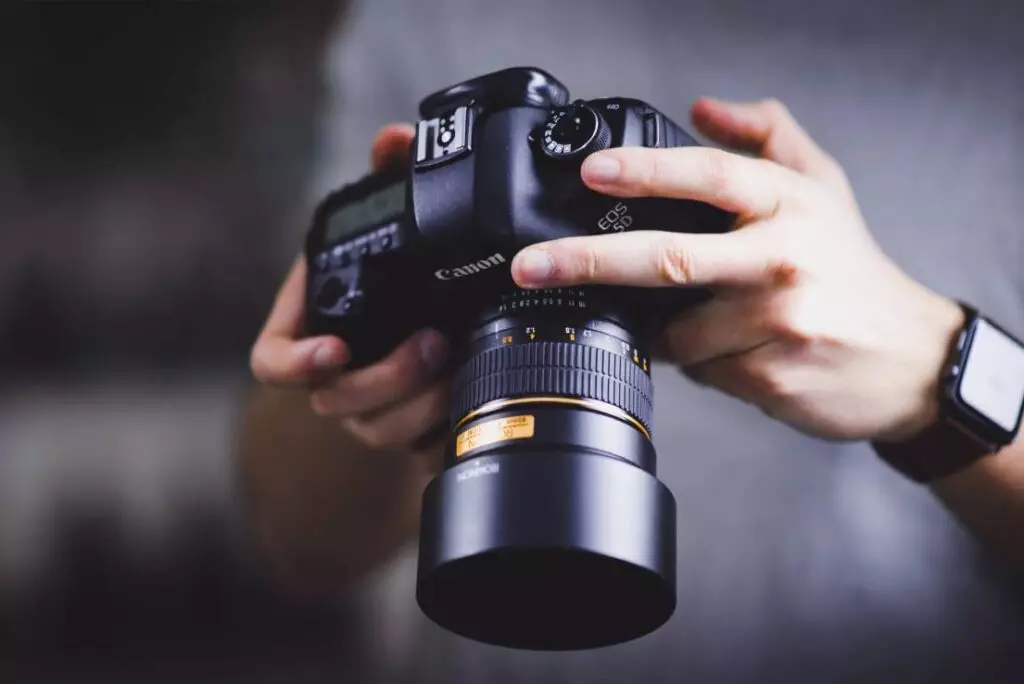
- A DSLR Camera
- A Wide Angle Lens
- A Tripod With Good Extendability
- A Flash
Investing in professional-grade equipment is crucial to capture stunning interior property photos. Using a phone or compact camera won't yield the same level of quality.
Having the right equipment is crucial for high-quality interior real estate photography.
What Camera Settings Should You Be Using?
Before diving into specific camera settings, ensure that:
- Your image files are in the JPEG format. These files strike a balance between quality and size, making them ideal for online portals.
- Your image files are sized between 3-10 MB. Files within this range are suitable for most portals, including Rightmove and Zoopla.
By adhering to these guidelines, you can ensure smooth uploads and prevent slow website load times.
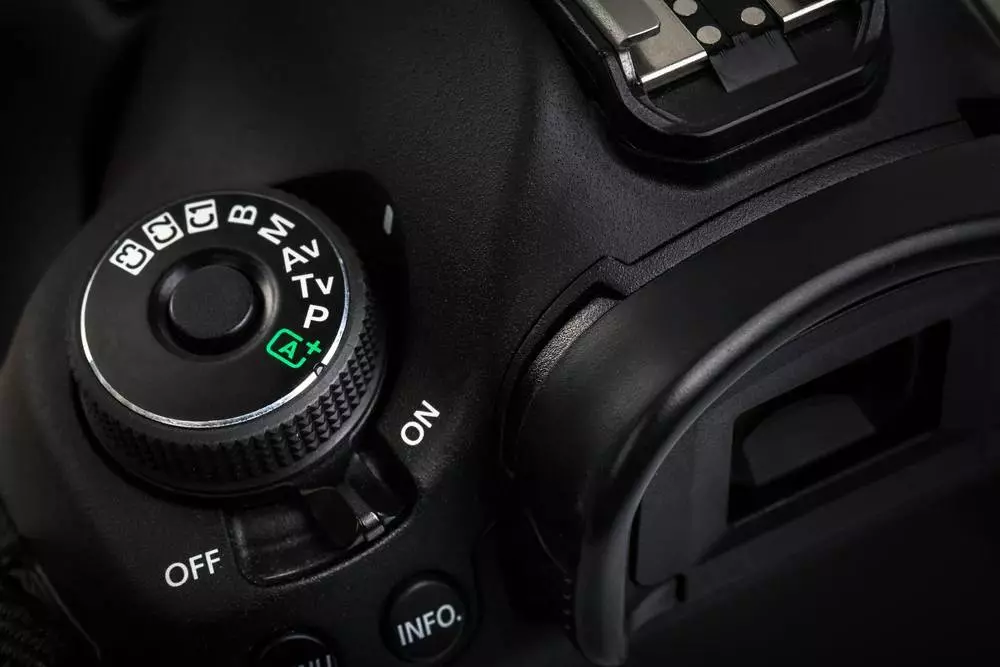
Adjusting The Settings On Your DSLR
To get started with your DSLR camera, it's recommended to familiarize yourself with the camera's manual. Canon and Nikon models are known for their user-friendly interface and ease of navigation.
Here are the essential settings for interior estate photography:
- Change the settings wheel to manual mode (AV).
- Set the ISO to 400.
- Set the aperture to F/8.
- Adjust the shutter speed based on the appearance in the live view (make adjustments when taking the picture).
The objective of these settings is to manage the light in the room and achieve a balanced look in your photos. Utilize the live view on your camera screen to guide you in adjusting the shutter speed.
Pro Tip:
Using The Flash
Indoor photography often presents challenges with lighting, with photos often appearing too dark or overexposed. An external flash can be a valuable tool if used correctly. Ensure that your shutter speed is set to zero and avoid pointing the camera directly at areas of intense light, such as windows.
How Should You Set Up The Shot & Camera Equipment?
In addition to camera settings, proper positioning plays a crucial role in capturing great interior photos. Follow these tips for optimal results:
- Always use a tripod to ensure stability and achieve straight vertical lines.
- Position the camera at a height of around 4ft (1.2m), generally waist-chest level. In rooms with work surfaces like the kitchen, extend the tripod to 5.5ft (1.5m) for extra height.
- Capture landscape photos instead of portrait orientation.
- Place the tripod in a corner of the room to include three walls in the live view.
- Double-check your settings and capture the shot.
- Use the timer function or a remote control when there's a risk of your reflection appearing in the photo, such as in the bathroom.
Pro Tip:
Beyond camera settings, proper preparation of the property plays a significant role in achieving exceptional interior real estate photography. Make sure to follow property staging and preparation tips for optimal results.
To delve deeper into the world of professional property photography, download our free ebook on Property Photography Mastery for estate agents.


