

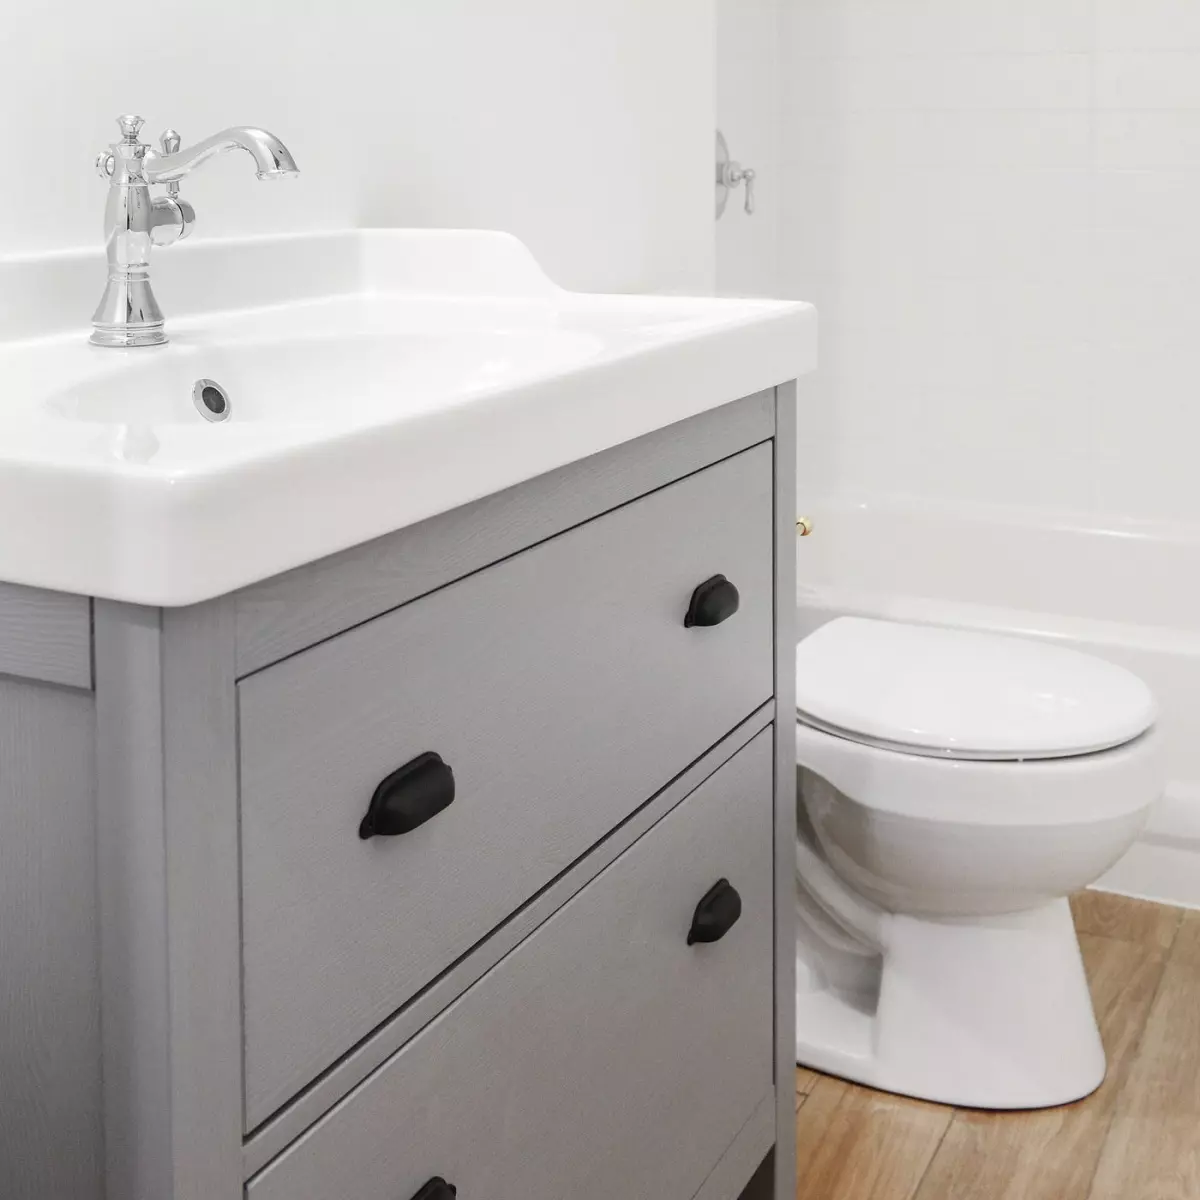
As we continue to make progress in our garden unit, one exciting day arrived when it was time to install the vanity. While the reglazed tub, new fixtures, and re-installed toilet were already starting to transform the space, it was the addition of our stylish new vanity that truly made it feel like a bathroom again.
The Genius of IKEA Vanities
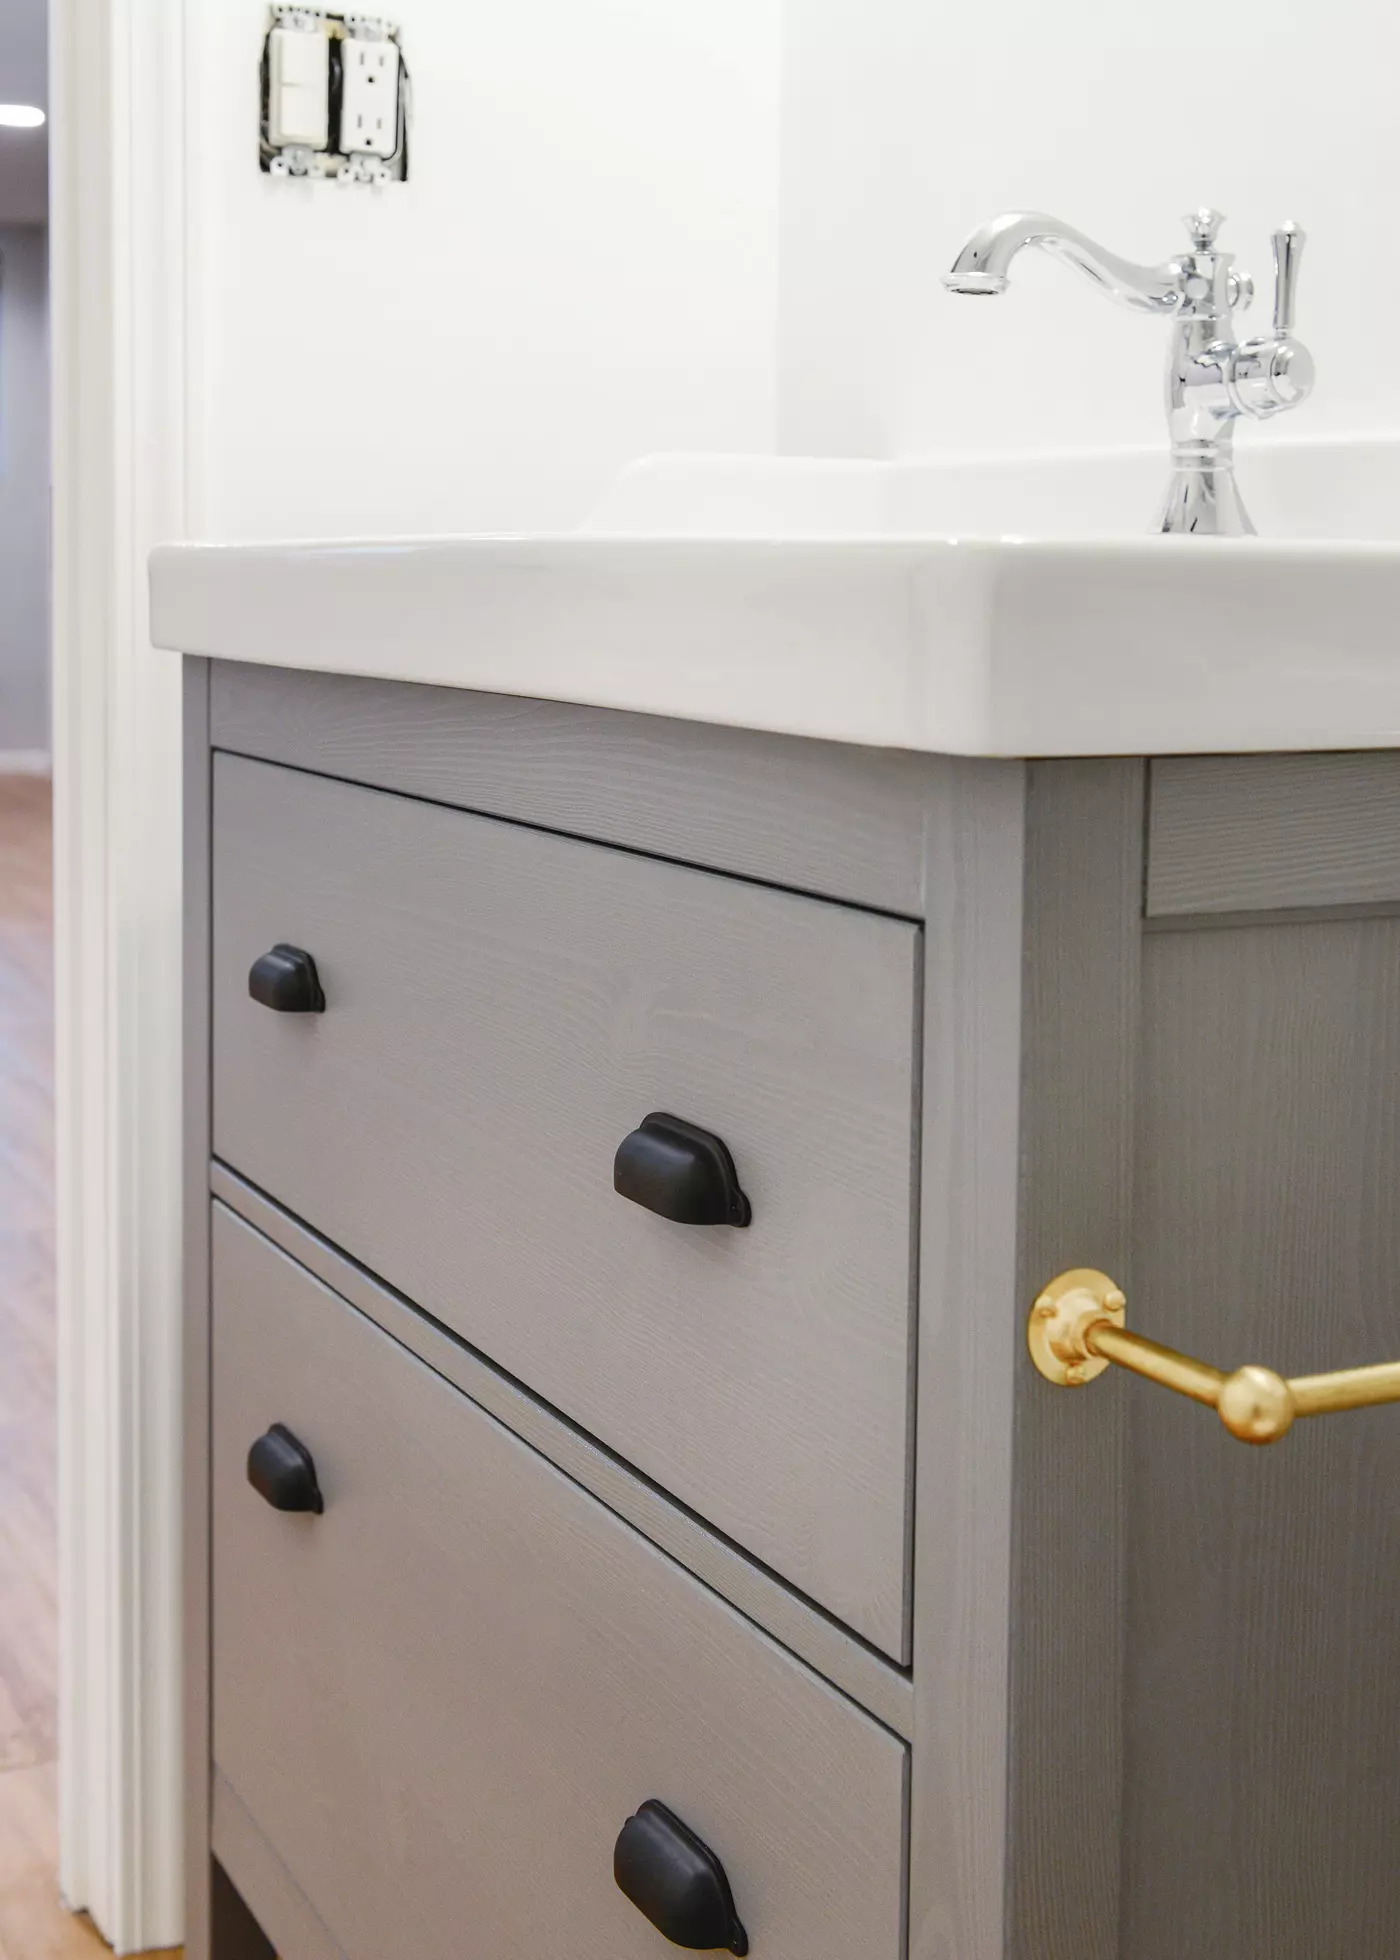
IKEA vanities are known for their exceptional plumbing configurations that allow for extra-deep drawers and a plethora of organization options. After our positive experience with the GODMORGON vanity in our master bathroom, it was a no-brainer to choose a slightly smaller IKEA unit for the garden unit. We opted for the HEMNES in gray, which has a beautiful color-washed effect, allowing the grain of the wood to show through and making it stand out against the white walls.
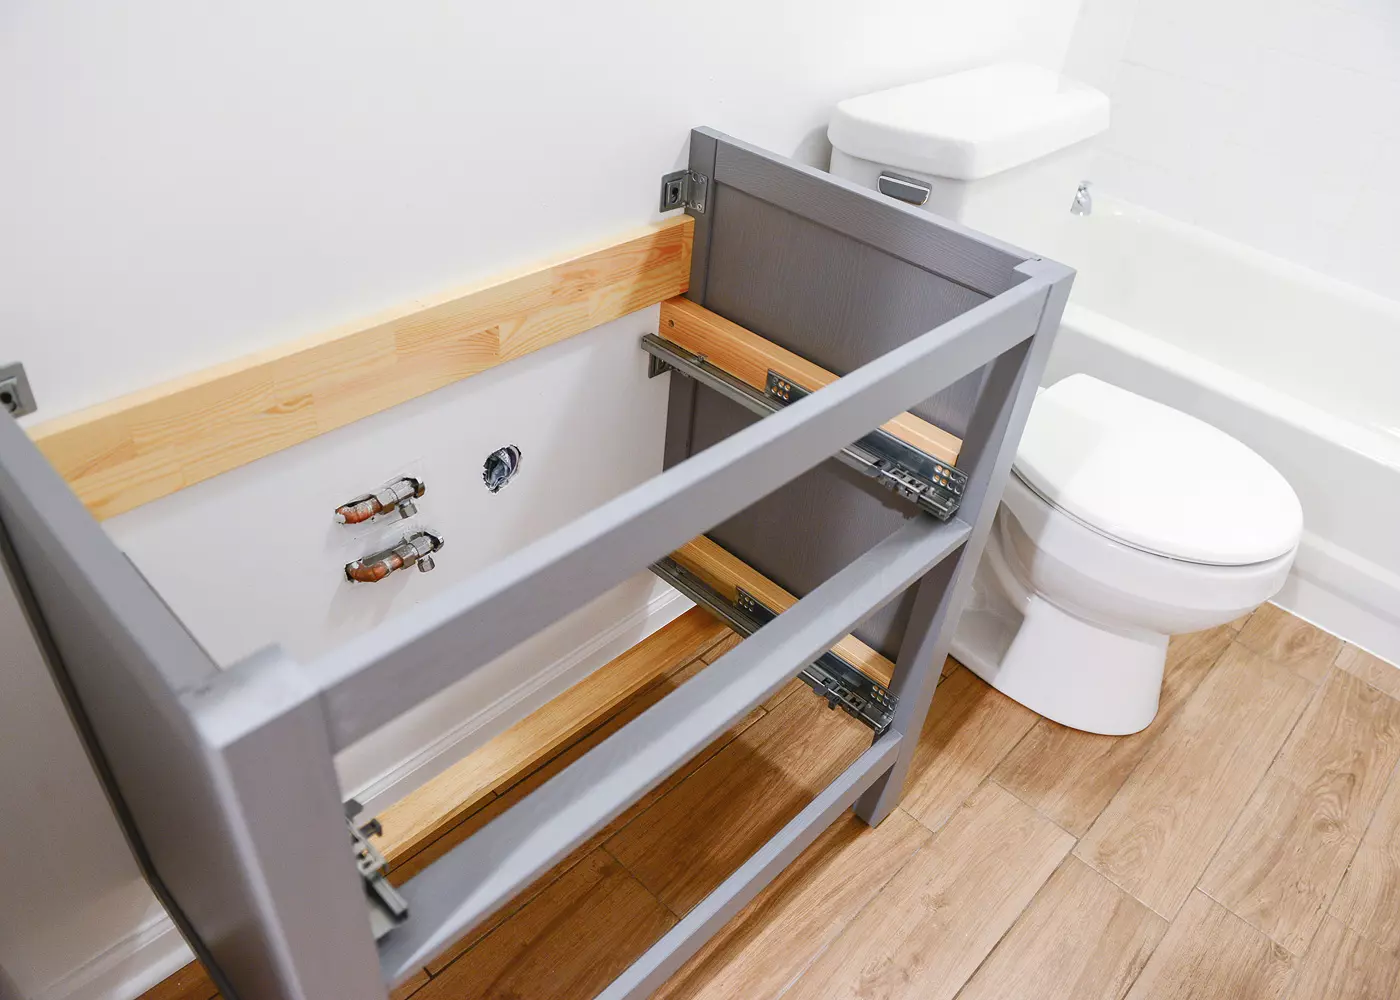
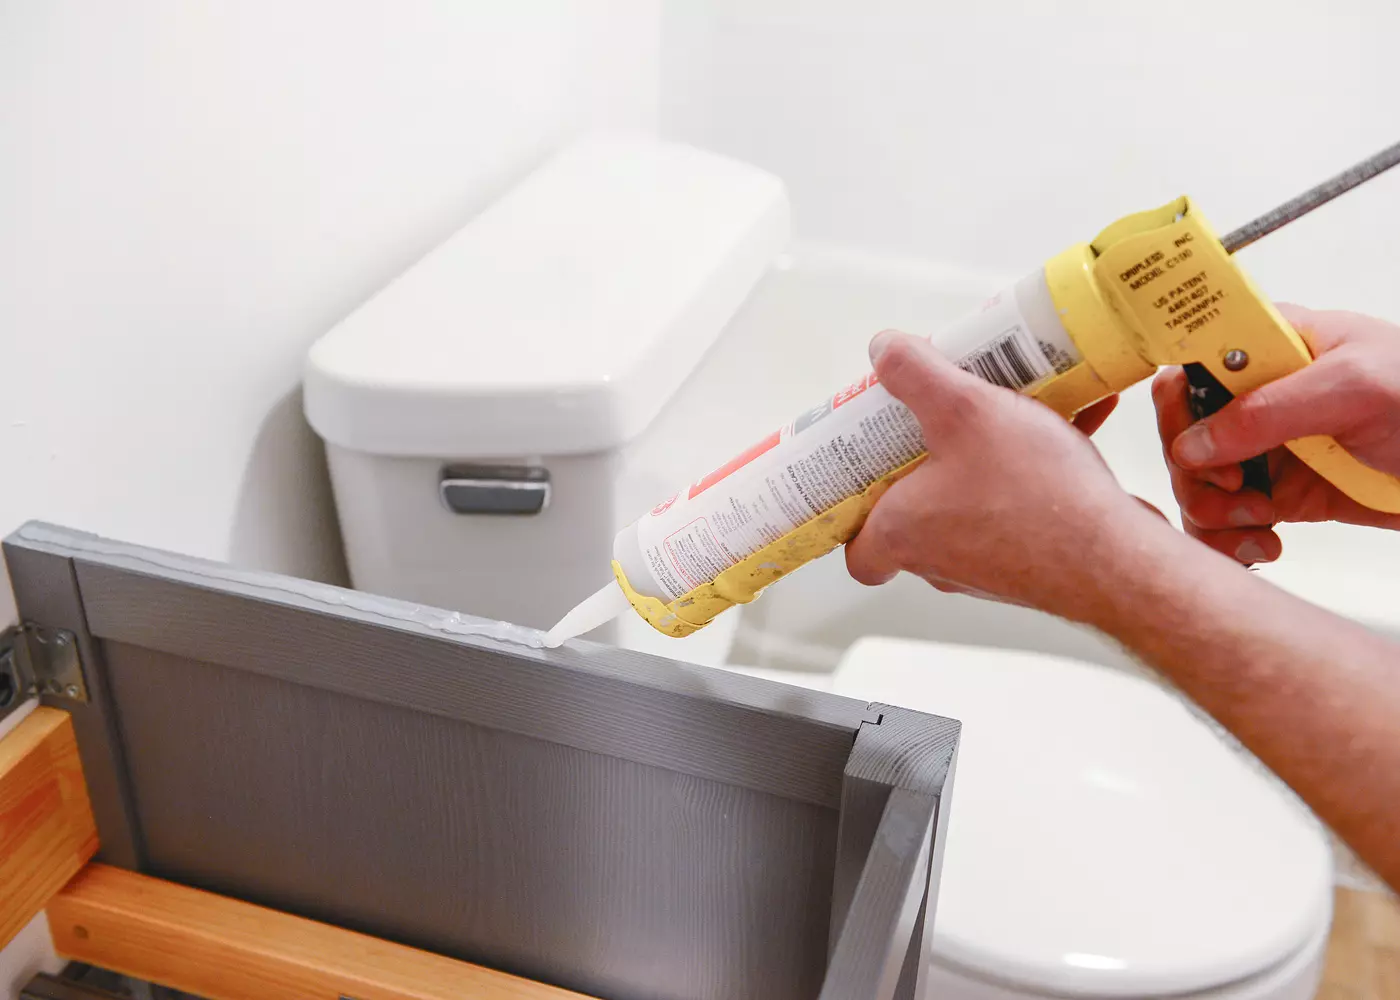
The installation process is straightforward. The cabinet base attaches easily to the wall with adjustable anchor points, while the front legs provide additional support for the sink and backsplash combo. A line of clear silicone caulk ensures a secure fit, and a white silicone is applied to seal the seam between the sink and the wall.
Maximizing Storage Space
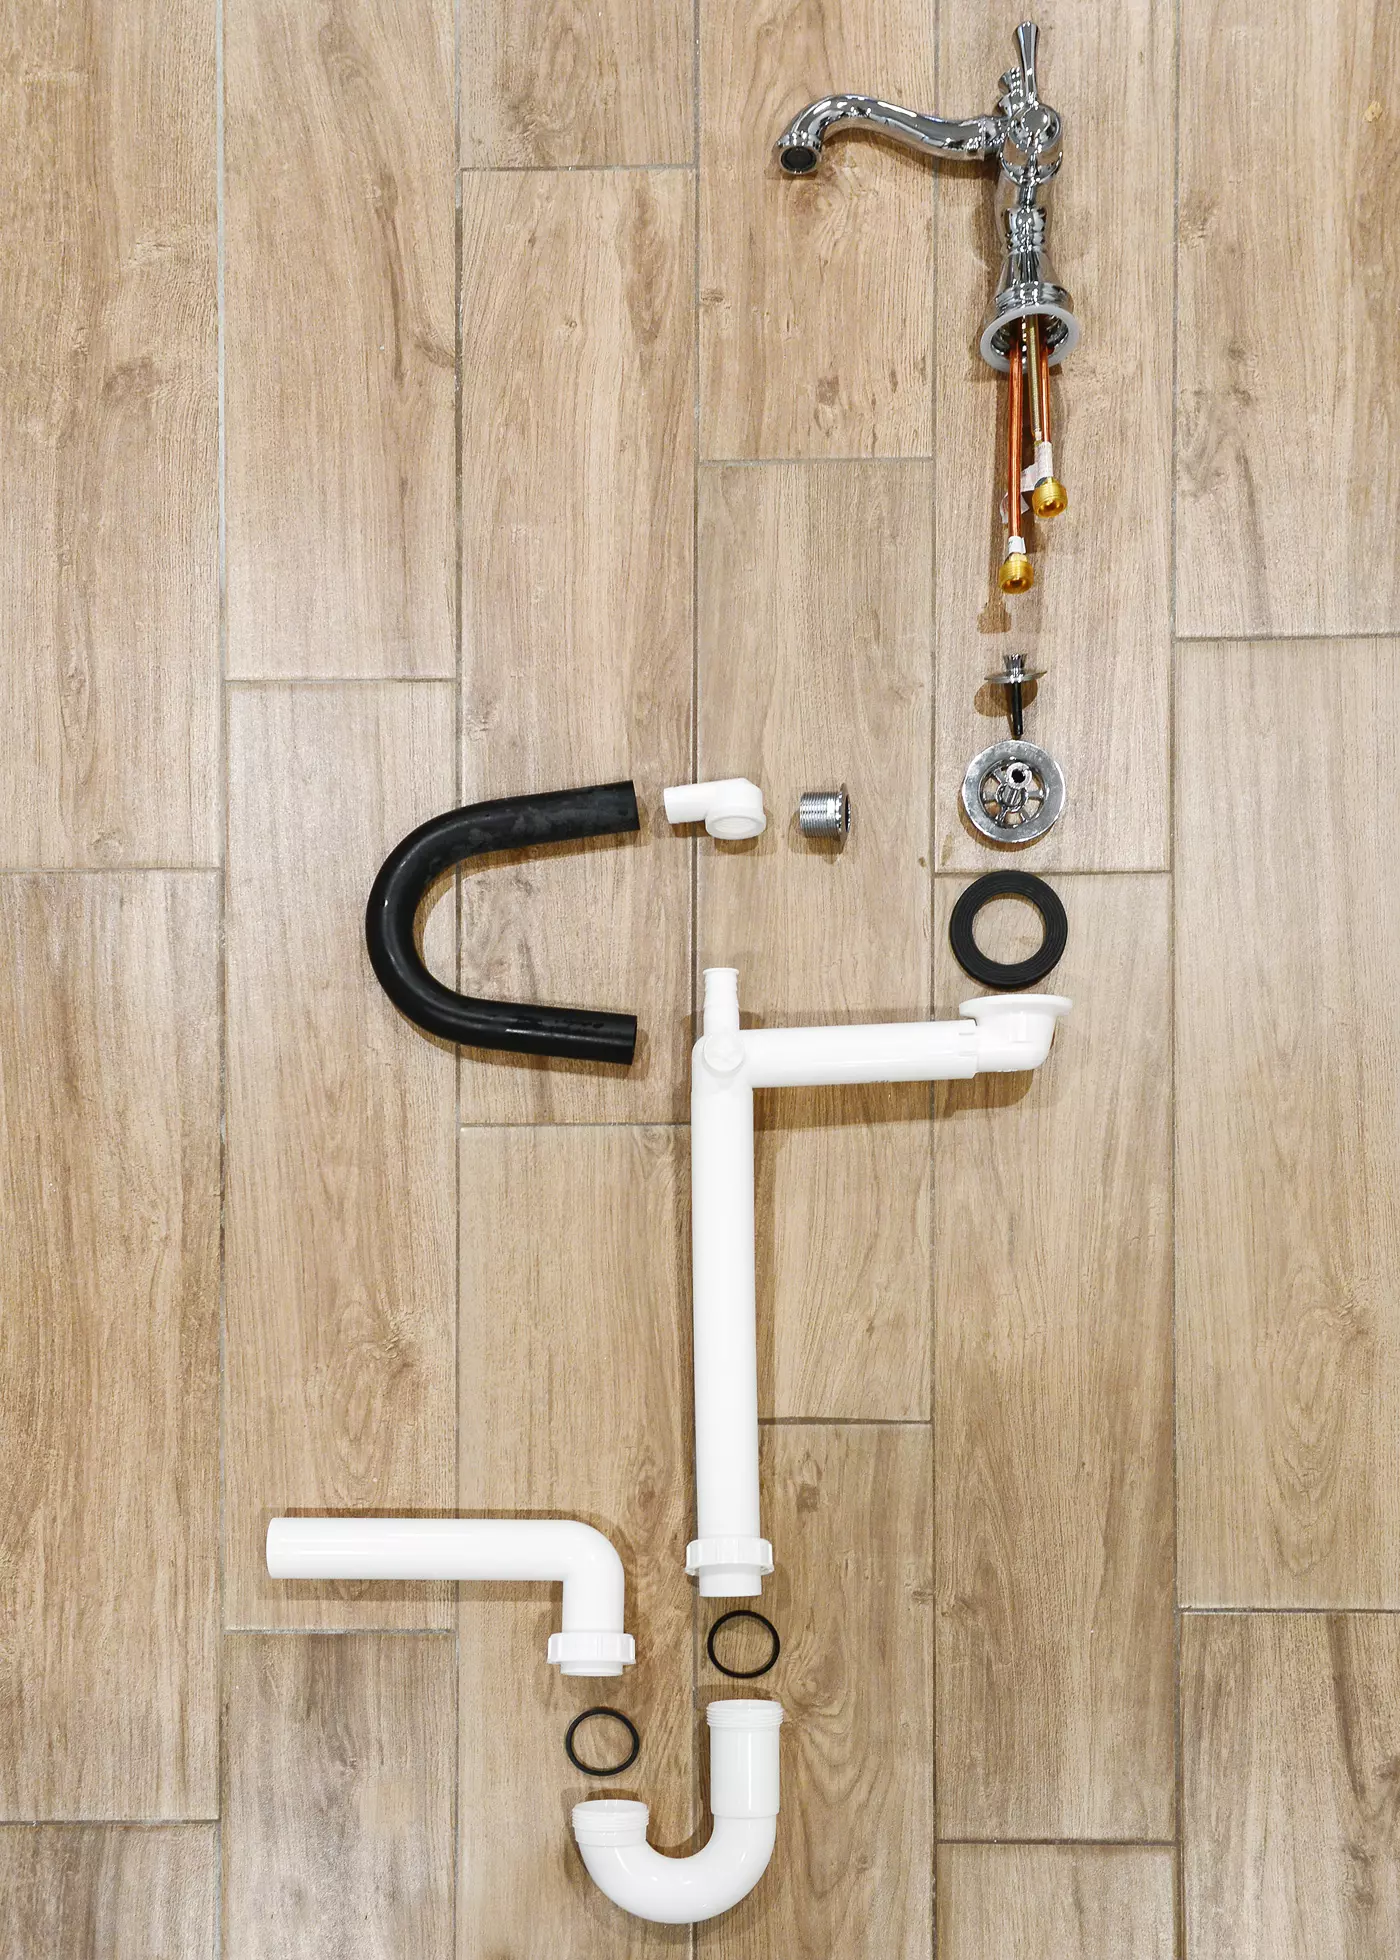
One of the standout features of IKEA vanities is their unique waste line and p-trap design. This configuration hugs the underside of the sink, allowing for full-length and depth drawers and maximizing storage space. In a small bathroom like ours, this is a game-changer. Additionally, the plumbing kit provides a sliding horizontal tube that eliminates the need for tricky measurements and unnecessary cuts.
Easy Installation Process
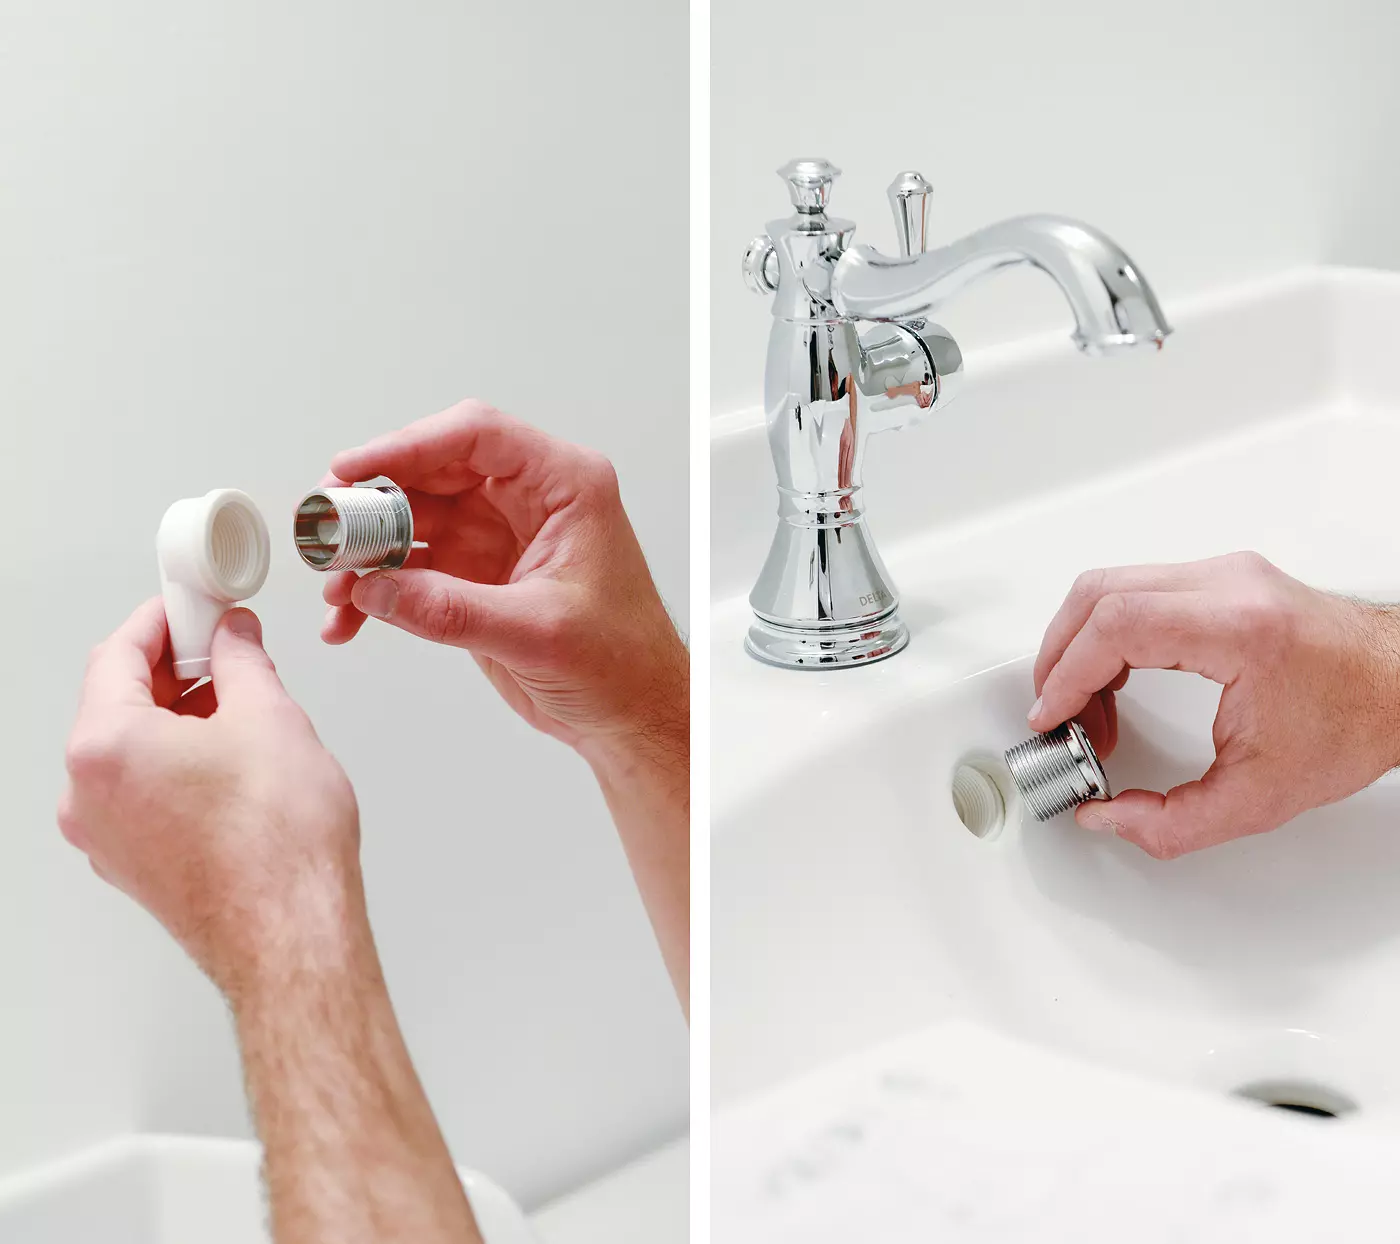
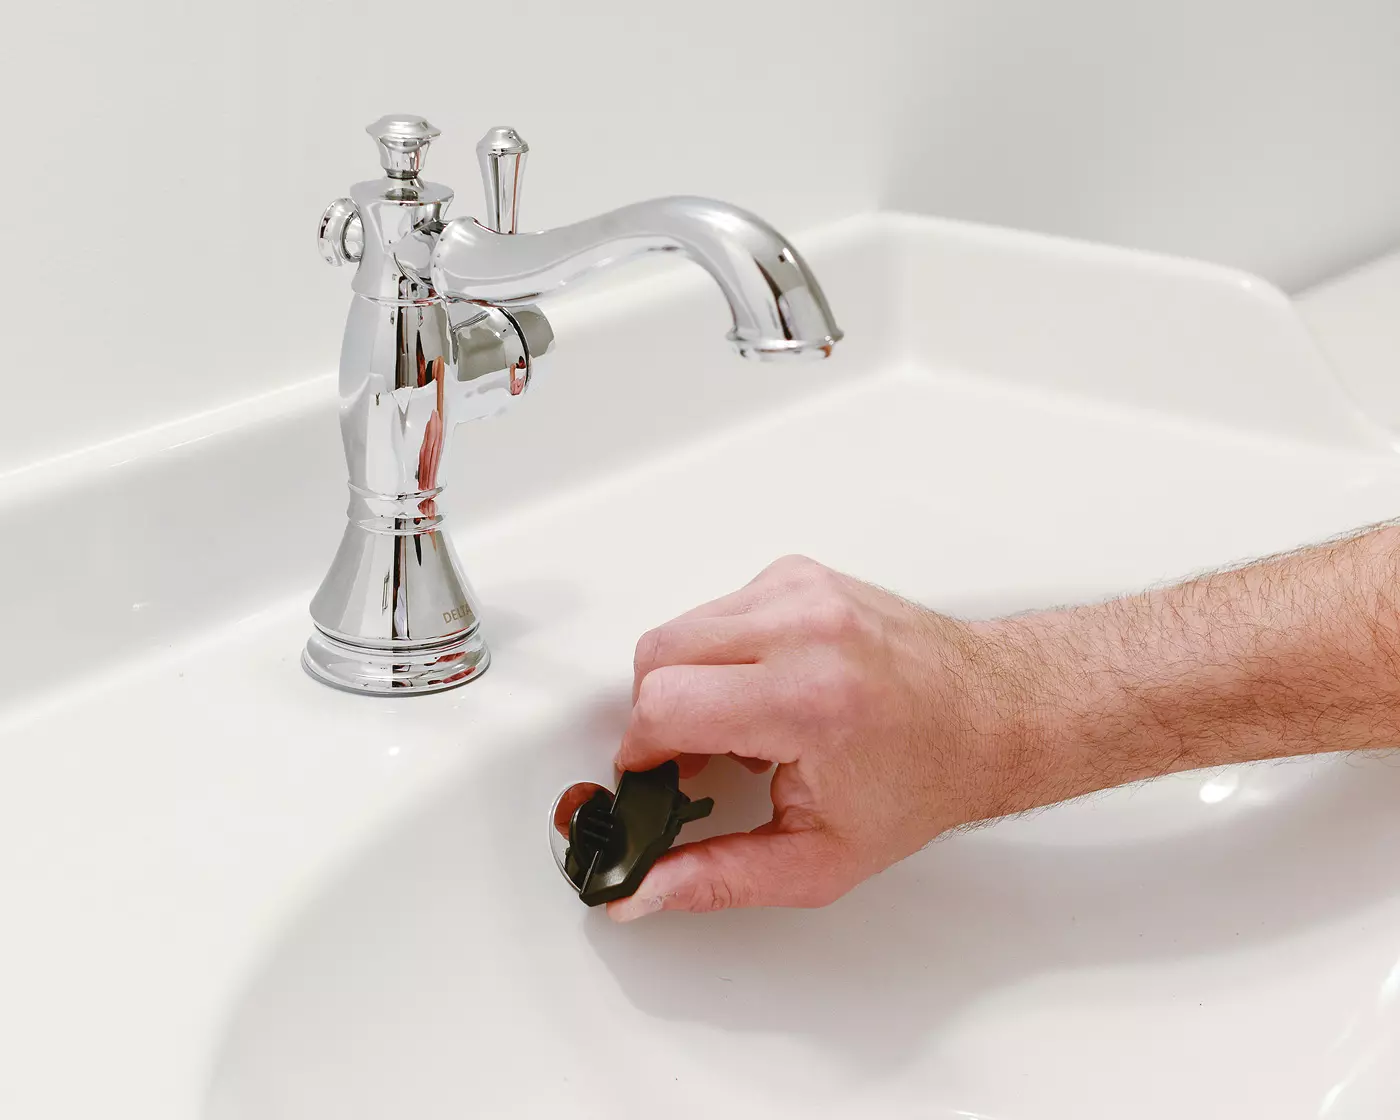
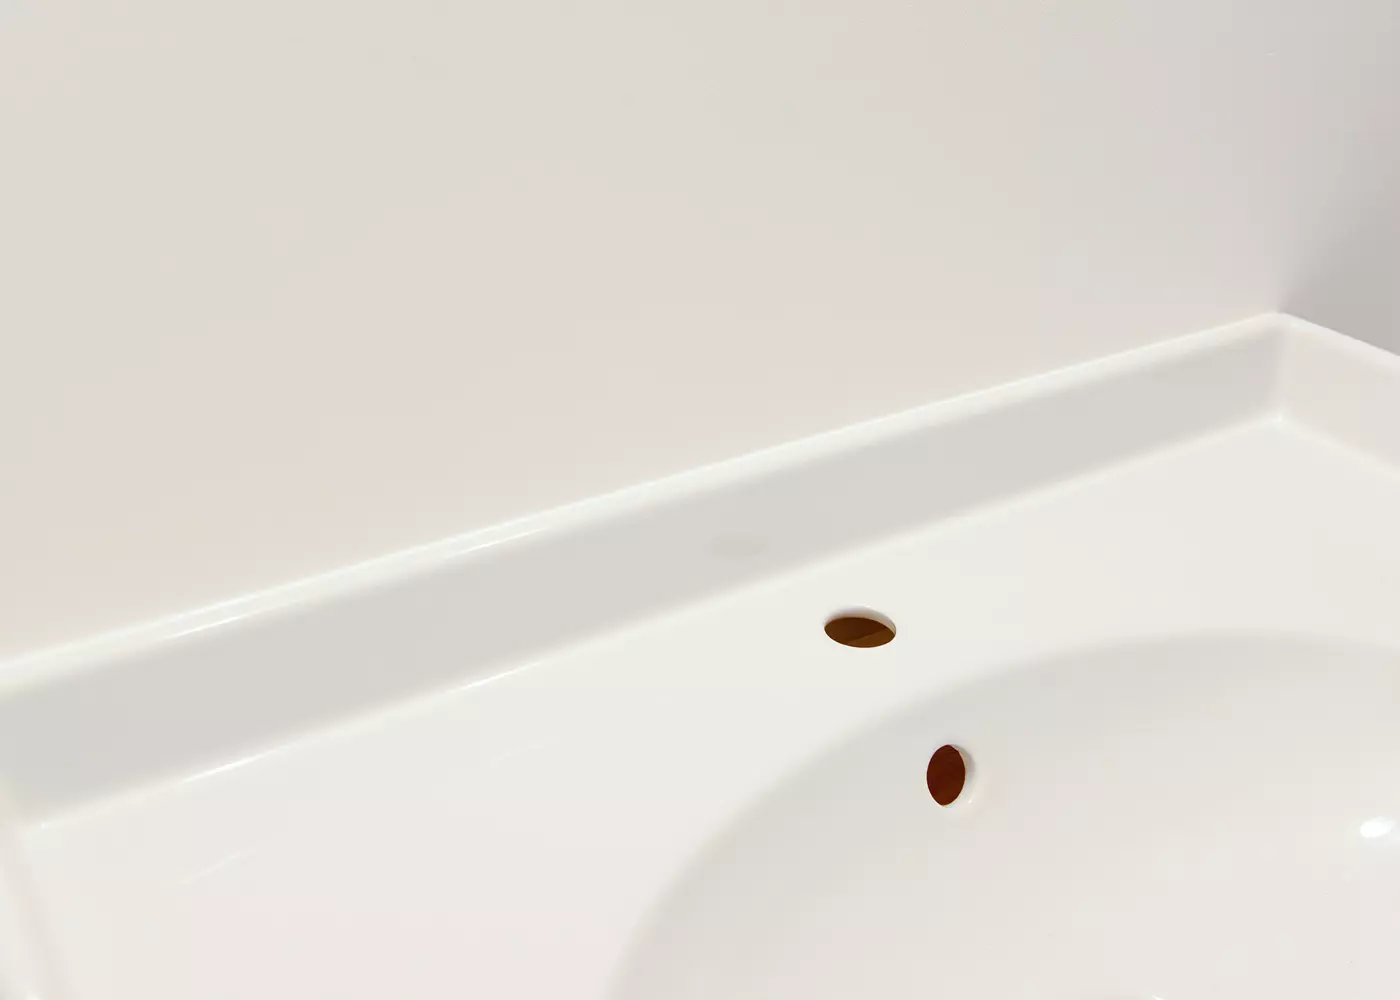
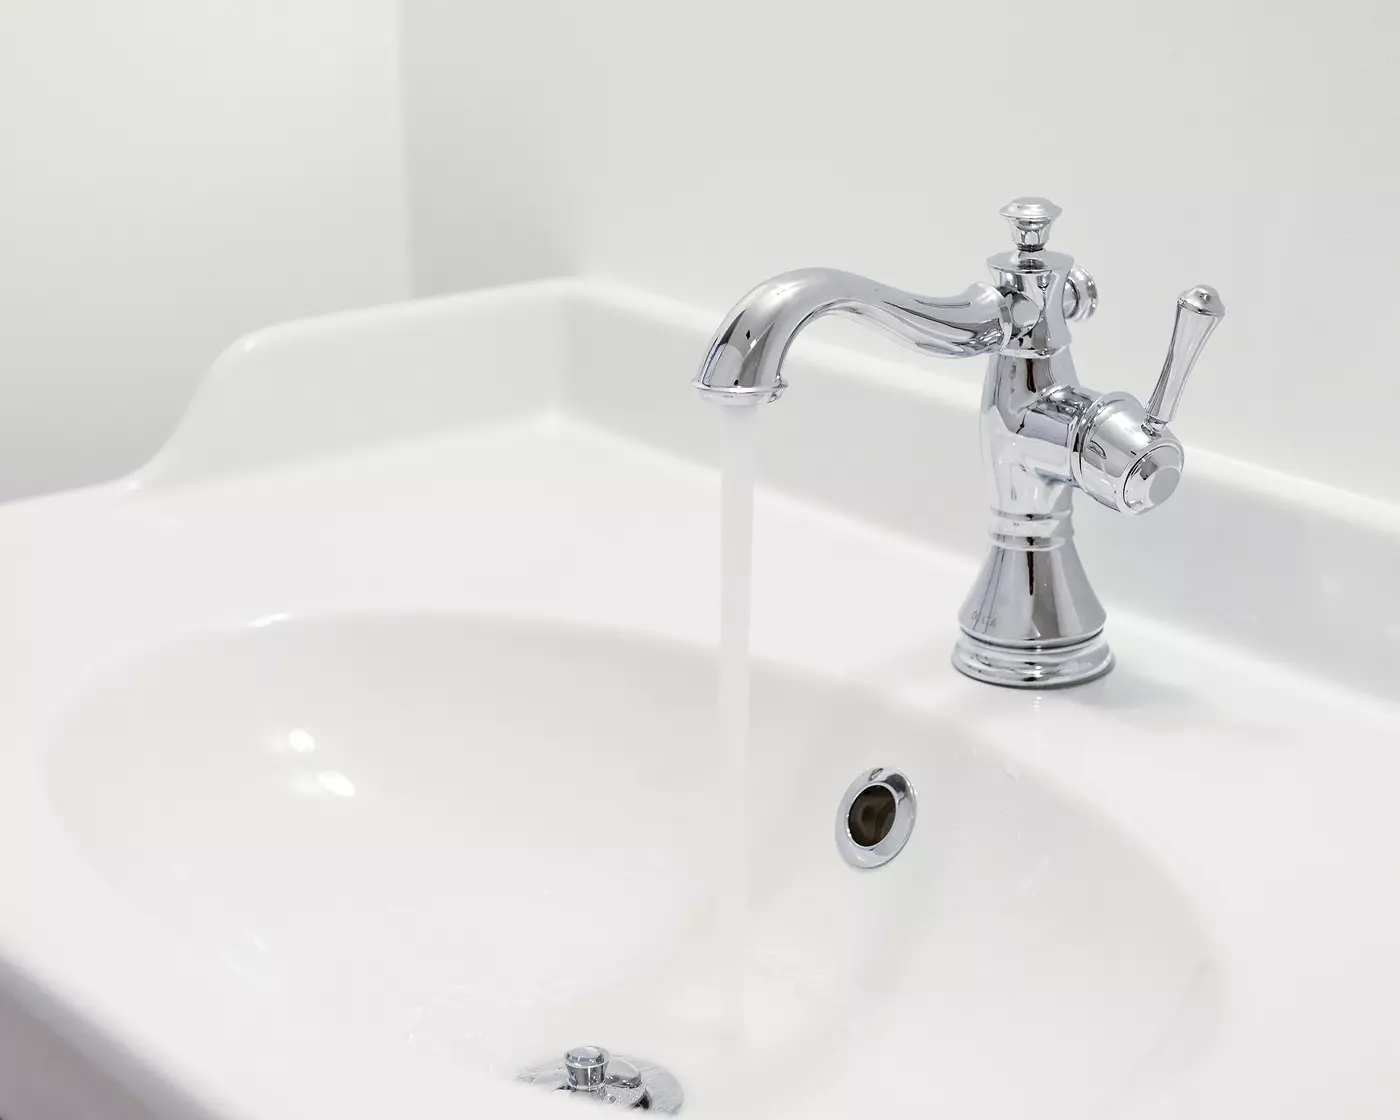
Installing the faucet is a breeze. Following the provided instructions, we started by attaching the faucet and then threading in the overflow elbow and trim ring. A rubberized key tool ensures a secure and tight fit.

A quick dry fit and some measurements ensure proper alignment of the plumbing. Cuts are marked with blue tape and made with a rotary tool or any saw or serrated blade. Sanding down rough edges ensures a watertight seal.
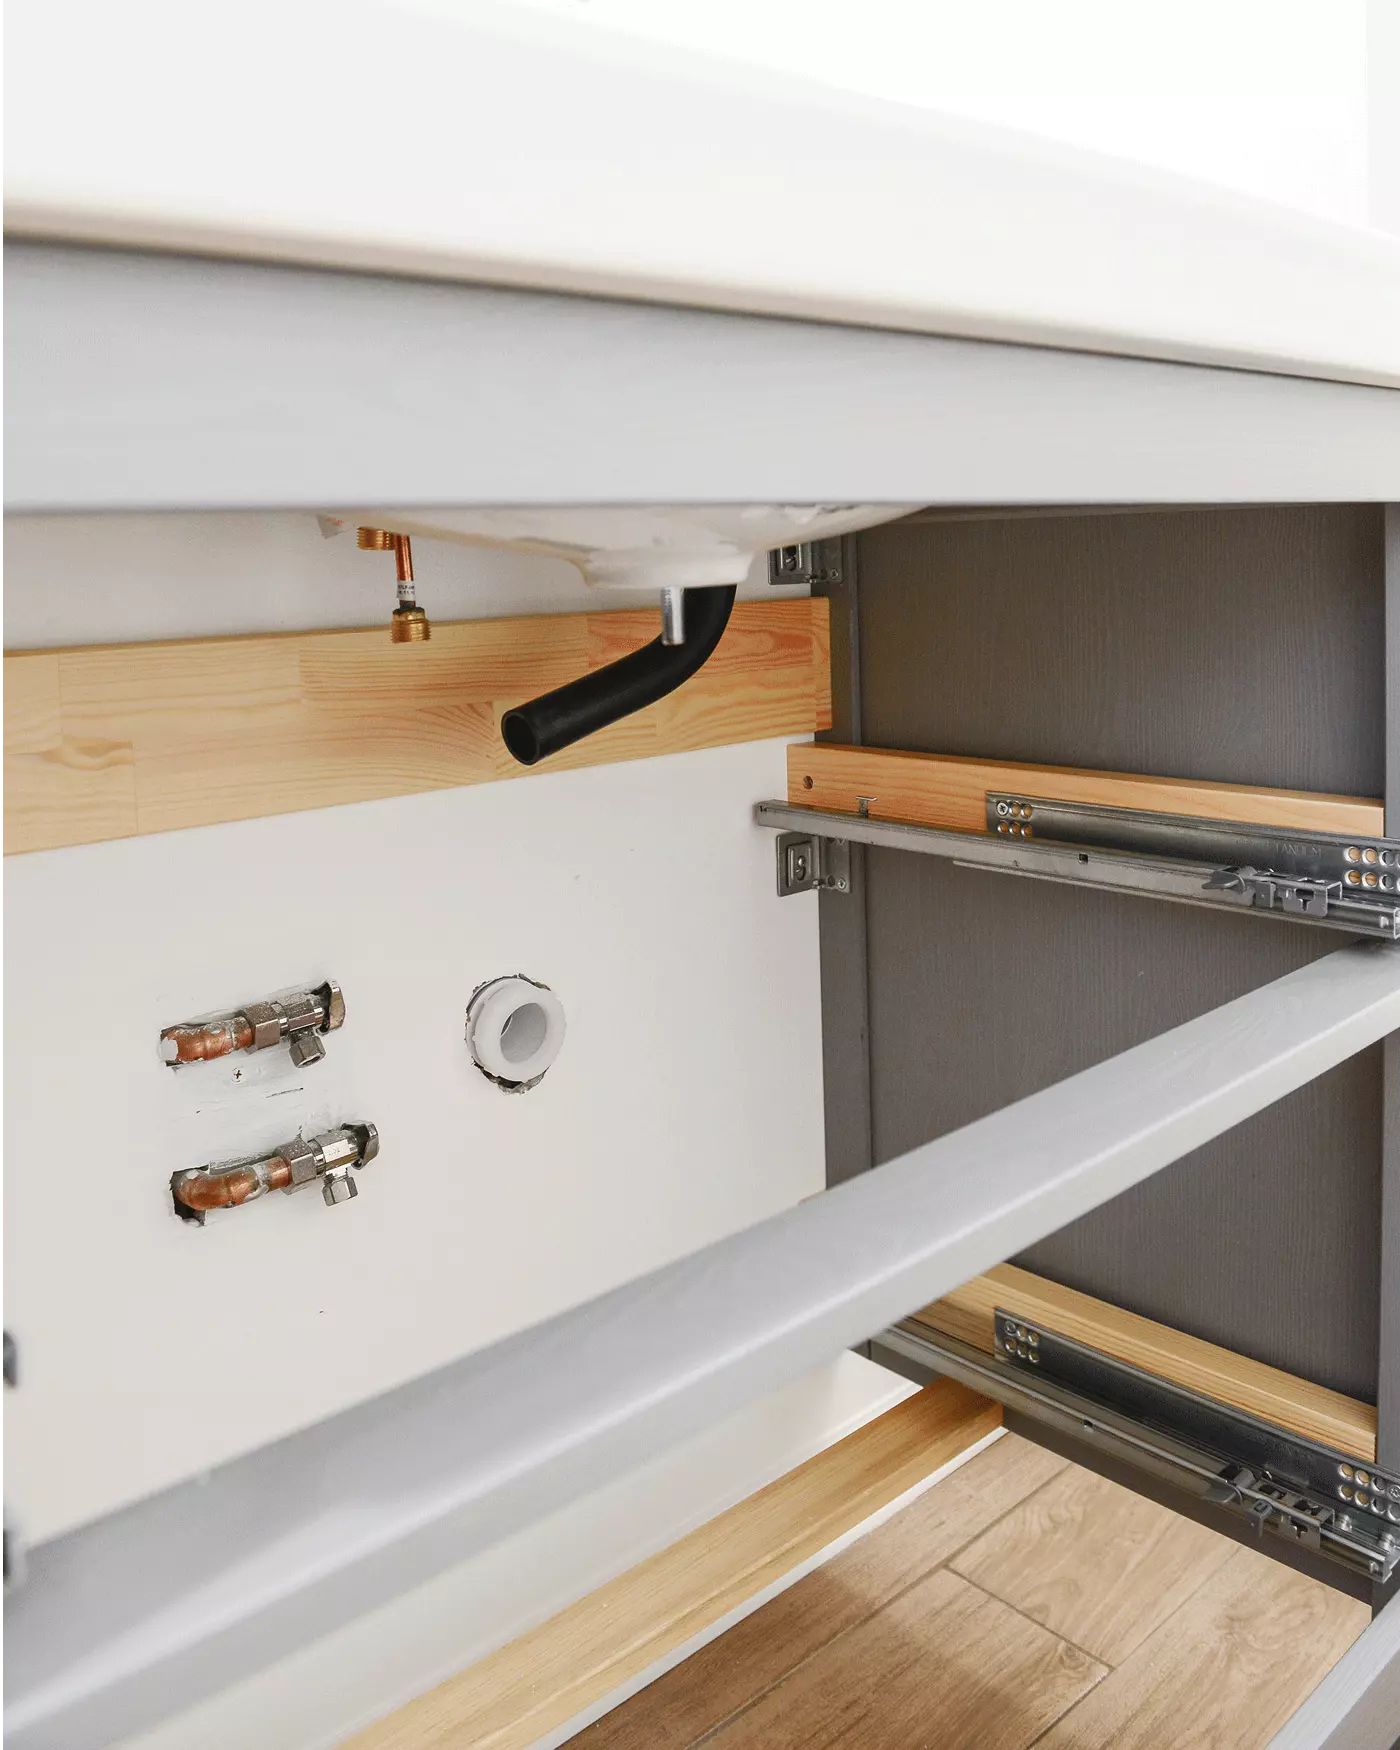
Assembling the vanity is surprisingly simple, even for those without extensive DIY experience. The waste lines fit snugly against the underside of the sink and back against the wall, creating a sleek profile. The extra drawer space provided is a huge advantage. Having lived with deep drawers in our master bathroom for over a year, we can personally attest that units with drawers are much more convenient and organized than open cabinet designs.
The Final Test and Finishing Touches
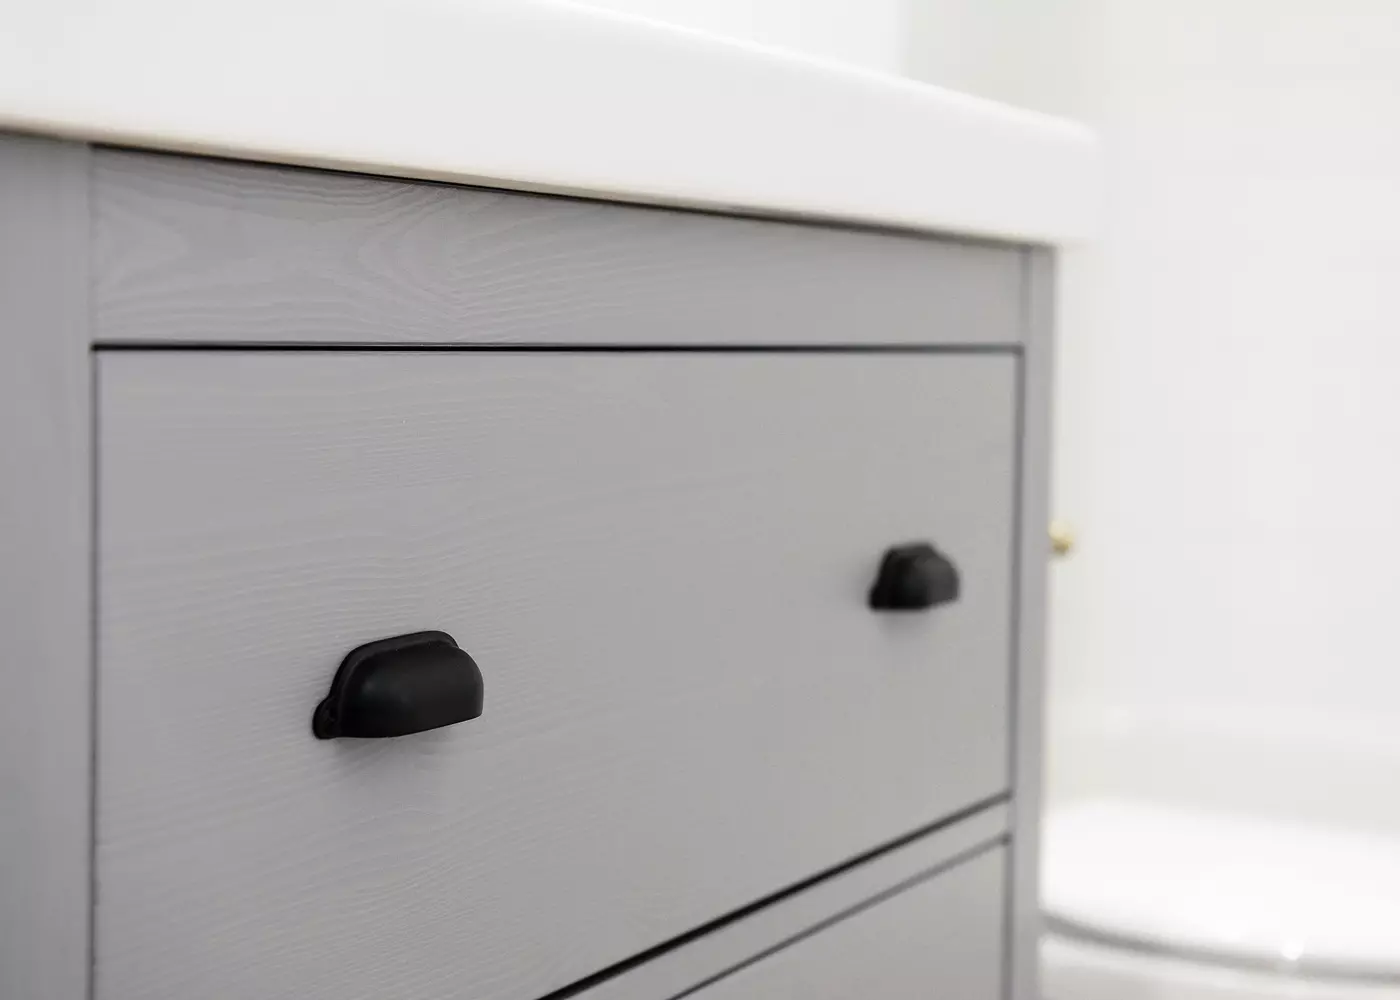
After connecting the supply lines and waste line, it's important to run the water for a few minutes to check for any leaks. With everything in place, it's time to add our personal touch. We replaced the small plastic knobs that came with the vanity with elegant bin pulls for a classic look. We also added a brass toilet paper holder for a touch of sophistication.
Now that our bathroom is fully functional, having a place to wash our hands and keep dirty fingerprints off freshly painted walls and doorknobs is incredibly convenient. We're just a few finishing touches away from the final reveal, and we can't wait to share the completed project with you.
In conclusion, IKEA vanities not only offer attractive designs but also innovative features that make installation a breeze and provide ample storage space. With their thoughtful plumbing configurations and easy assembly, IKEA vanities truly stand out above the rest.


