Are you a professional real estate photographer looking to optimize your editing process and deliver high-quality photos in less time? Look no further! We've compiled a list of Lightroom tips specifically for your profession that will help you work quickly and efficiently.
1. Start with a Calibrated Display
Before you begin editing your photos in Lightroom, ensure that your display is calibrated to deliver accurate colors and contrast. Even though your monitor may seem decently neutral out of the box, an un-calibrated display can deviate significantly from accurate colors. Invest in a calibration device to guarantee consistent and accurate color representation.
 Picture: A calibrated display is essential for accurate color representation.
2. Keep the Culling Process Simple and Quick
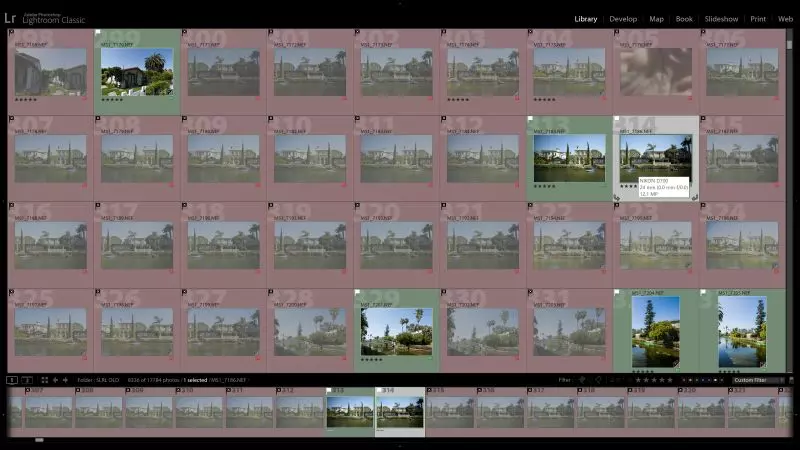
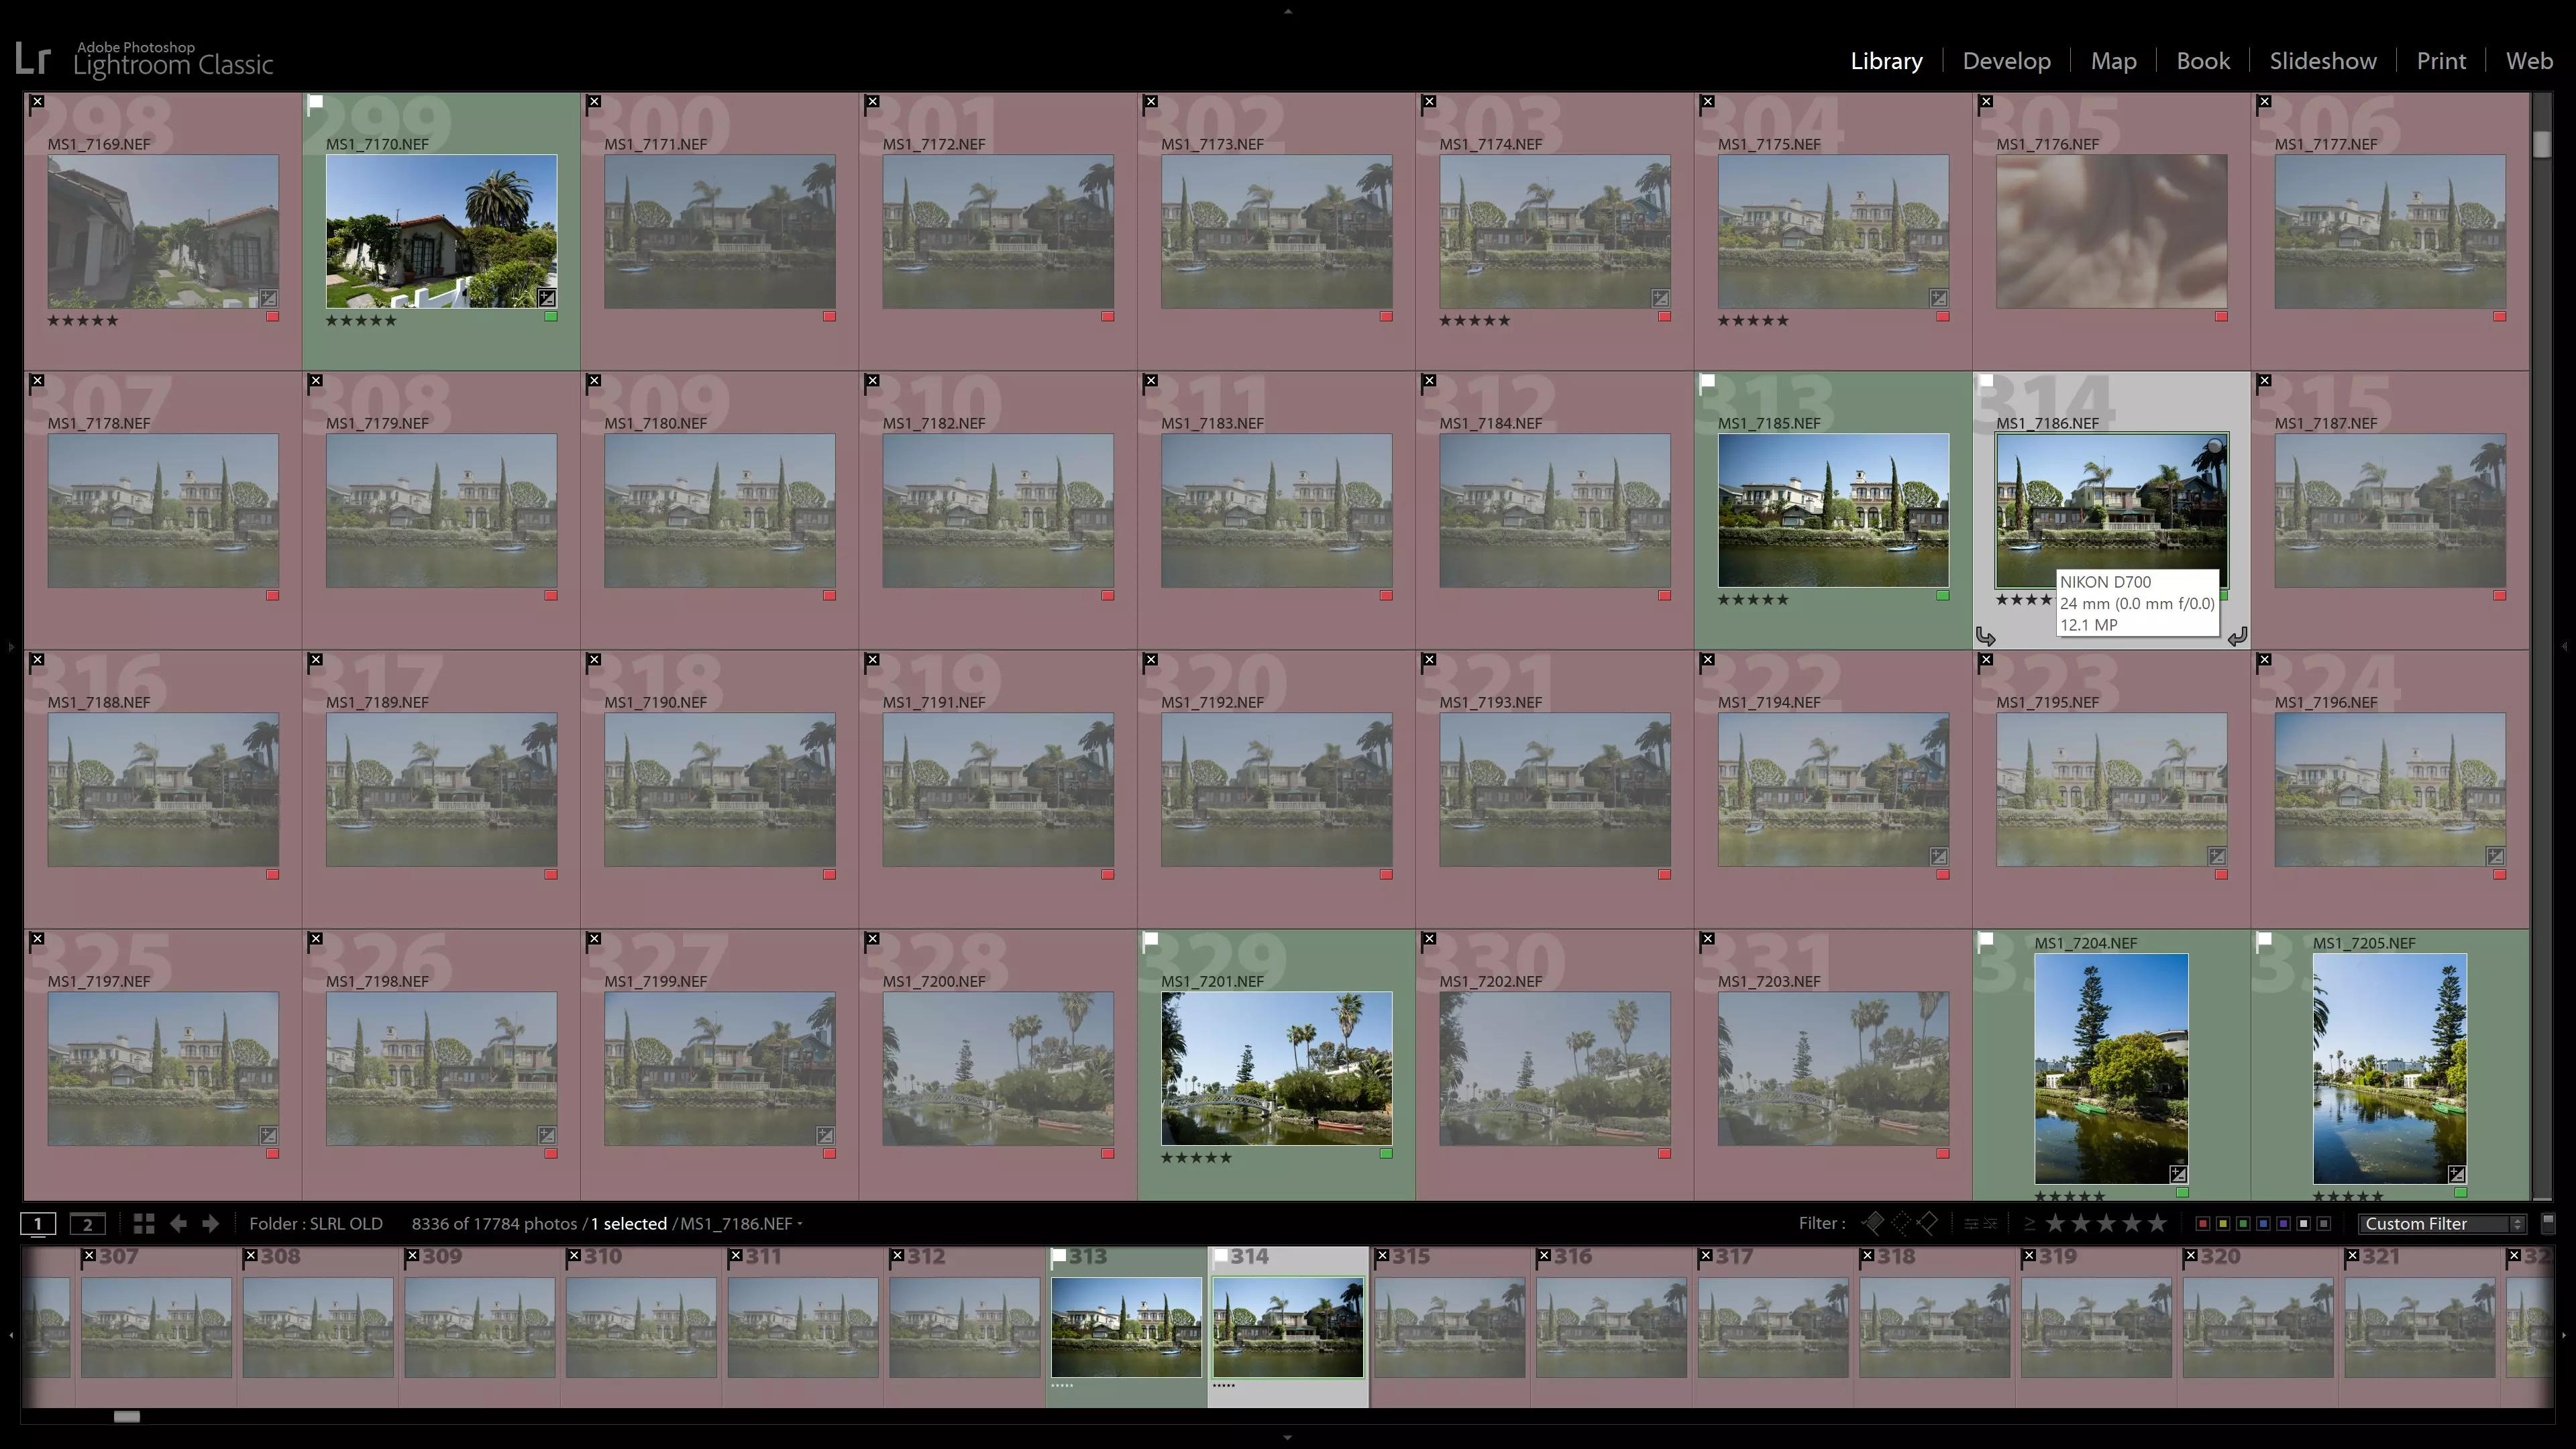
When importing your photos into Lightroom, streamline the culling process by utilizing culling tools such as flagging and labeling. Keep it simple by flagging your keepers and categorizing them based on their specific editing requirements. Don't overcomplicate the process, but use the necessary tools to work efficiently.
 Picture: Streamline the culling process to quickly identify your best shots.
3. Avoid Over-Editing for Professional Results
When editing real estate photos, it's easy to get carried away with adjustments. However, be cautious not to overdo it with contrast, saturation, or clarity. Most scenes with good contrast and color shouldn't require excessive editing. Dial back certain sliders and aim for a natural, inviting look that appeals to potential buyers.
 Picture: Avoid over-editing your photos for a more professional appearance.
4. Save Time with Lightroom Presets
Create presets in Lightroom to save time during the color-correction process. Since many real estate photography jobs involve shooting similar scenes, you can apply preset adjustments that are commonly required. Customize presets based on room type, decor, lighting conditions, or other common adjustments you frequently make. Presets can be a valuable time-saving tool!
 Picture: Use Lightroom presets to quickly start editing each scene.
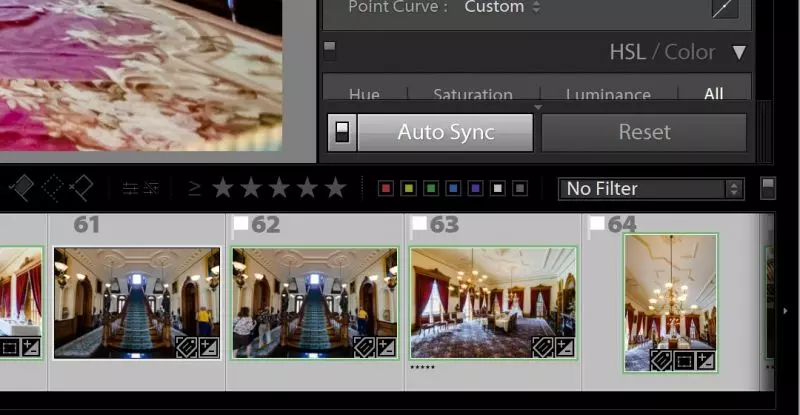
5. Use Auto-Sync for Efficient Editing
Maximize efficiency by using Lightroom's Auto-Sync feature when editing multiple images from the same scene. Select all photos and enable Auto-Sync to apply edits to all selected images simultaneously. This saves you from having to repeat the same edits individually. Make any additional adjustments as needed for each image after the initial sync.
 Picture: Speed up your editing process by using Lightroom's Auto-Sync feature.
6. Master Tone Management in Lightroom
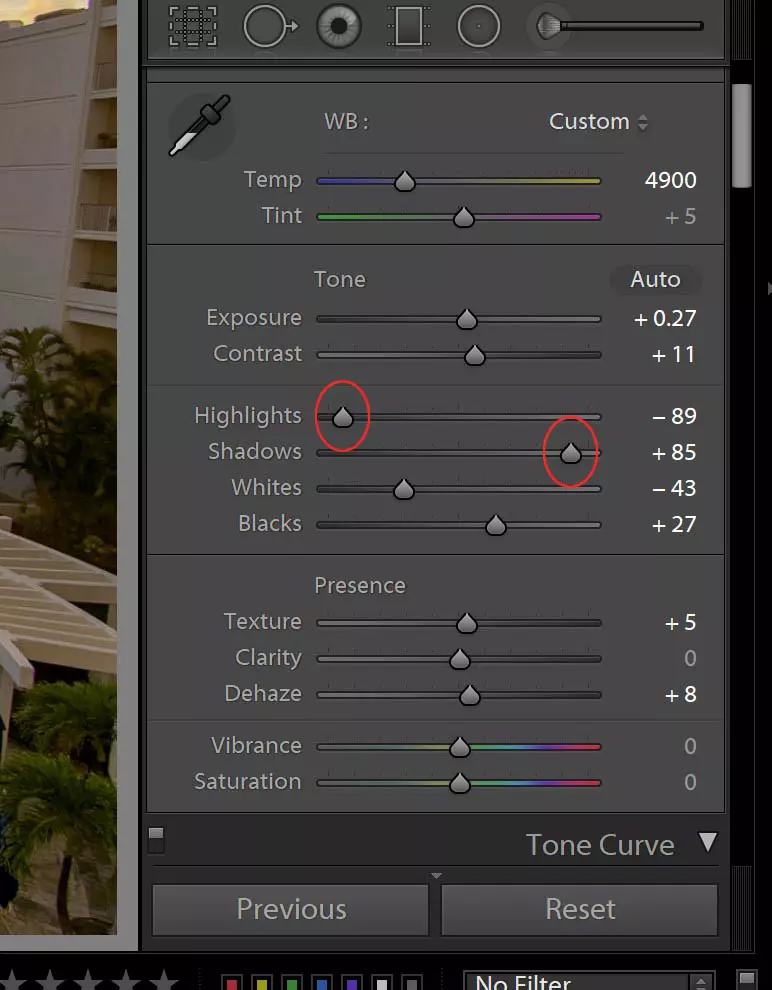
To achieve great-looking real estate photos, understand the four categories of tonal adjustments in Lightroom:
- Exposure/Contrast
- Highlights, Shadows, Whites, Blacks
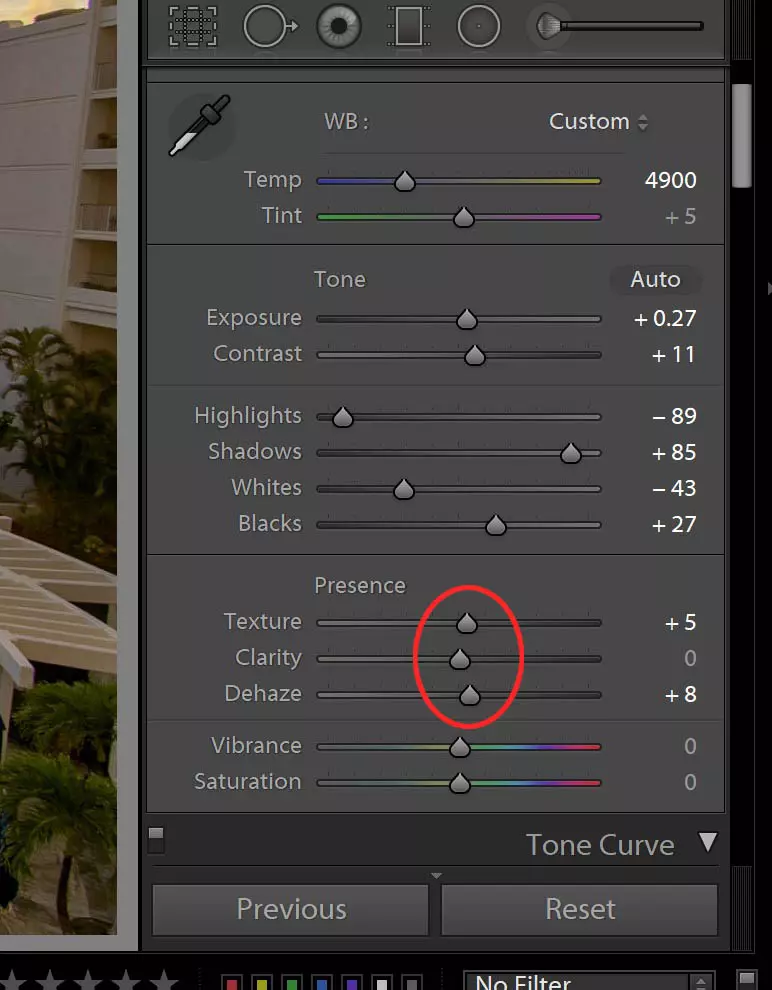
- Texture, Clarity, Dehaze
- Tone Curves (Point and Parametric)
Balance these adjustments to achieve a natural, bright look with neutral or slightly warm colors. Avoid excessive adjustments, and focus on managing shadows, highlights, and overall exposure to enhance your images' appeal.
 Picture: Understand the different categories of tonal adjustments in Lightroom.
7. Enhance Efficiency with Plug-ins
In real estate photography, automating repetitive processes can save significant time. Take advantage of Lightroom plug-ins and external software for tasks like HDR merging. Photomatix is an excellent plug-in that provides advanced HDR merging options while seamlessly integrating with Lightroom. Automating processes like bracketing exposures can greatly improve your workflow and profitability.
 Picture: Automate and optimize your workflow with plug-ins like Photomatix.
8. Take a Break Before Exporting
After editing your photos, take a short break to refresh your eyes before finalizing your edits. Step away from the screen, and return with a fresh perspective. Revisit your images in Lightroom's Grid Mode to catch any subtle mistakes or adjustments that need refinement. Checking your photos collectively helps ensure consistent lightness and white balance.
 Picture: Take a break before exporting to maintain a fresh perspective.
9. Make Quick Adjustments in the Library Module
If you need to make global adjustments to brightness or warmth after editing, use the Library Module's Quick Develop feature. Select all photos, enable Auto-Sync, and use Quick Develop adjustments to make consistent changes across multiple images without synchronizing the final position of each slider. This saves you from individually correcting every image.
 Picture: Make quick adjustments to brightness and warmth using Lightroom's Quick Develop feature.
10. Create Export Presets for Efficient Delivery
Simplify your exporting process by creating export presets for common export needs. For example, create presets for high-resolution and low-resolution outputs, tailored to your clients' requirements. Clearly communicate with your clients about their specific needs to ensure optimal image delivery. Export presets save time and maintain consistency in your workflow.
 Picture: Streamline your image delivery process with export presets.
By following these ten tips, you can revolutionize your real estate photo editing in Lightroom. Achieve efficient workflows and deliver high-quality photos that will leave both you and your clients impressed. Experiment with these techniques, adapt them to your unique style, and enjoy a more streamlined editing process. Take your real estate photography to new heights today!
Original article: 10 Lightroom Tips For Real Estate Photographers


