

Are you looking to take your real estate photography skills to the next level? Look no further! In this article, we will share 25 amazing tips that will transform your property photos. By following these tips, you'll be capturing jaw-dropping images that will wow your clients and potential buyers.
Pre-Production: Before You Start Taking Photographs
Tip #1: Choose the Right Camera for Your Needs
Investing in a professional camera can greatly improve the quality of your real estate photos. However, consider your work process and choose a camera that suits your needs. If you're constantly on the move, a smartphone with a high-quality camera may be sufficient. On the other hand, if you specialize in luxury listings, a complete, professional camera kit may be worth the investment.
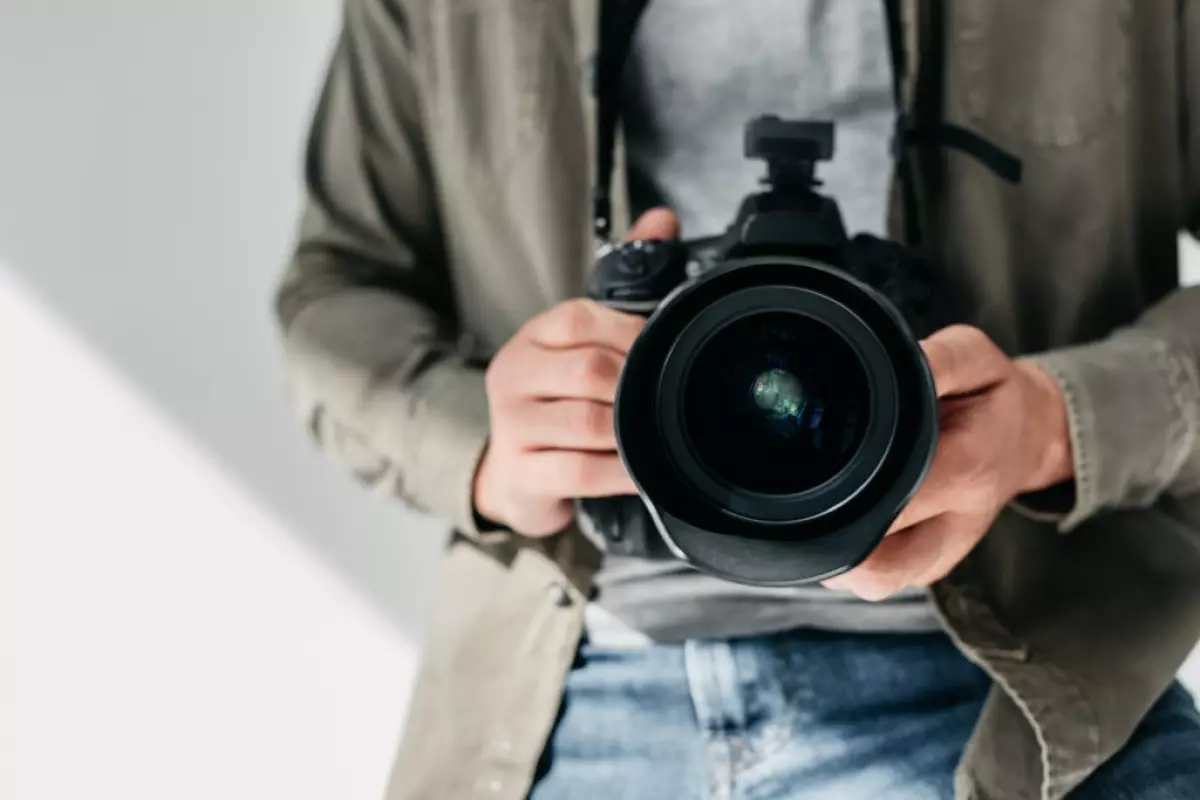 Image: Holding Camera
Tip #2: Use a Wide Angle Lens
A wide-angle lens is essential for capturing the spaciousness and allure of interior spaces. It allows you to showcase the entire room in one shot, making the property more appealing to potential buyers. Consider investing in a 24mm wide-angle lens, which will provide the desired effect without breaking the bank.
Tip #3: Avoid Fisheye Lenses
While some may be tempted to use fisheye lenses to make spaces appear larger, it's best to avoid them. Fisheye lenses distort images and can give potential buyers a false impression of the property. Stick to wide-angle lenses, which provide a more accurate representation of the space.
Tip #4: Gather Essential Accessories
In addition to your camera and lenses, make sure you have the necessary accessories. A tripod is a must-have tool for stabilizing your shots and ensuring the right perspective. Consider investing in lighting and light diffusers for luxury properties, but remember that simplicity is key. Avoid overwhelming yourself with excessive gear.
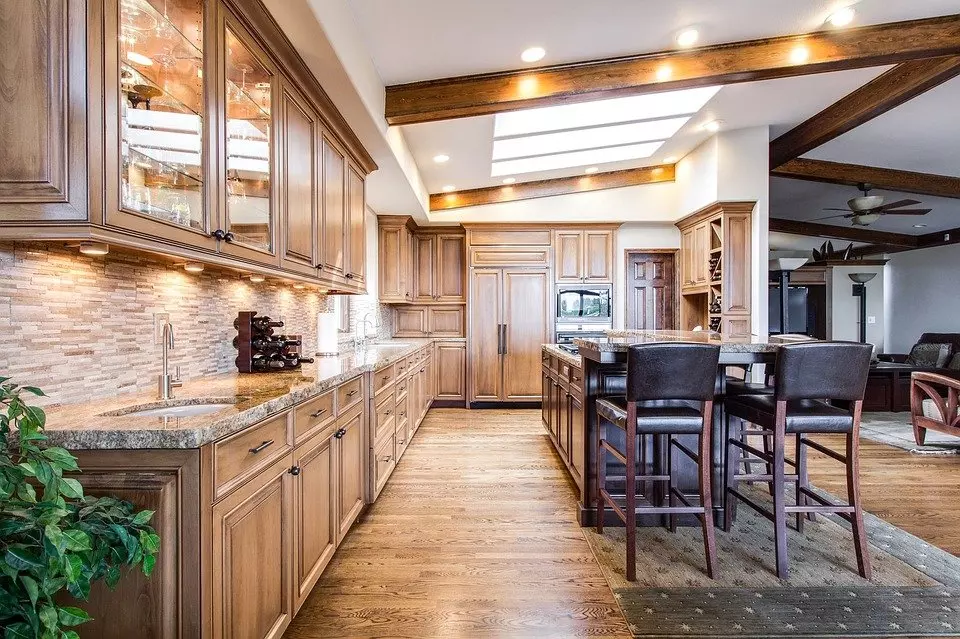 Image: Drone
Tip #5: Consider Using a Drone for Exterior Shots
To capture stunning aerial shots of the property and its surroundings, consider using a drone. Entry-level drones are now affordable and easy to use, making it possible for real estate photographers to take professional-grade aerial photos. Aerial photography adds a unique perspective and can be particularly beneficial for showcasing large properties and their landscapes.
Tip #6: Familiarize Yourself with the Property
Before you start shooting, take the time to familiarize yourself with the property. Tour the location to determine the best time of day to shoot and identify any areas that may require staging or lighting adjustments. Understanding the property's unique features will help you highlight its strengths and create appealing photographs.
Tip #7: Plan Your Shots
Create a shot list in advance to ensure you capture all the essential photos. Each room should have at least one photo, while important areas such as the living room, kitchen, master bedroom, and master bathroom may require multiple shots. Avoid excessive photos that may overwhelm potential buyers. Consider current trends in your area and focus on what buyers are looking for.
Image: A Modern Kitchen in a Home
Production: Tips for Real Estate Photography at the Shoot
Tip #8: Optimal Lighting
When shooting exteriors, try to capture the property during the "Magic Hour" - the time just before sunrise or after sunset when the lighting is soft and flattering. For interior shots, ensure the space is well-lit with natural light. Avoid shooting on overcast or rainy days, as it can cast a gloomy pallor. Natural light is your best friend when it comes to real estate photography.
Tip #9: Declutter the Property
Remove any clutter from the space before taking photos. Clutter can be distracting and take away from the property's appeal. However, be mindful of maintaining a balance. A completely empty room can feel sterile, so aim for a clutter-free yet inviting atmosphere.
Tip #10: Arrange Furniture for Openness
Position furniture in a way that creates an open and welcoming feel. Tilt furniture slightly towards the camera to give the space a more inviting perspective. This technique adds a personal touch to your photos and allows potential buyers to envision themselves in the space.
Tip #11: Embrace Natural Light
Letting in as much natural light as possible can enhance the ambiance of your photos. Bright, natural light can make a space feel inviting and highlight its best features. If the lighting is insufficient, don't hesitate to use flash to brighten up the room. Flash can remove shadows and create a more balanced and appealing look.
Tip #12: Add a Pop of Color
Incorporate pops of color through throw pillows or small decor items. A touch of color can make a photo stand out and draw attention to specific features. It adds personality to the space and prevents potential buyers from scrolling past the listing without a second thought.
 Image: Exterior Lights on House
Tip #13: Capture Exterior Shots at Night
Consider taking exterior shots at night with all the external lights on. This can create a visually appealing atmosphere and showcase any architectural features or landscape lighting. Including both daytime and nighttime shots can give potential buyers a comprehensive view of the property.
Tip #14: Keep the Camera Straight
Ensure that your camera is level and straight when capturing photos. This will result in accurate representations of the space and prevent distortion. It's easier to achieve a straight image during the shoot than to fix it later during editing.
Tip #15: Shoot at Eye-Level
Take most of your photos at eye level to create a natural perspective for viewers. This allows potential buyers to easily envision themselves in the space. Avoid shooting from extreme angles or from above, as it can distort the perception of the room's size and layout.
Tip #16: Pay Attention to Shutter Speed
Adjusting the shutter speed is crucial for capturing sharp images. A fast shutter speed may result in darker photos, while a slow shutter speed can lead to blurry or grainy images. Experiment with different settings to find the perfect balance for each shot.
Tip #17: Be Realistic About Flaws
Be transparent about any flaws or issues within the property. While it may be tempting to hide imperfections, it's essential to provide potential buyers with an accurate representation. By showcasing any flaws, buyers can make informed decisions and have realistic expectations.
 Image: Interior Picture of Home
Post-Production: After Shooting
Tip #18: Straighten and Crop Your Photos
Crop your photos to eliminate any unnecessary elements and ensure the main subject is the focal point. Straighten the images to create a professional and polished look. Basic editing functions can be performed within your camera, or you can use software like Adobe Lightroom to fine-tune your photos.
Tip #19: Adjust Color, Contrast, and Saturation
Enhance your photos by adjusting color, contrast, and saturation. This will make your images more vibrant, realistic, and appealing to potential buyers. Software such as Adobe Lightroom provides automated tools to help you achieve the desired effect. Pay attention to the colors and ensure they appear natural and pleasing to the eye.
Tip #20: Consider Professional Editing
If you're not confident in your photo editing skills, consider hiring a professional to give your images that extra polish. Many online platforms offer affordable editing services, allowing you to improve your photos without investing excessive time and effort.
Tip #21: Explore Digital Staging
Digital staging services and apps can transform your photos by adding virtual furnishings and modifying lighting. This can be helpful if you didn't have the opportunity to physically stage the property. Digital staging creates a vision of what the property could look like, enticing potential buyers.
Image: High Resolution House
Tip #22: Upload High-Resolution Images
Ensure your photos are of high resolution for optimal viewing. High-resolution images allow potential buyers to zoom in and see the details. Aim for a minimum size of 1440 pixels on the smallest side to maintain clarity and detail.
Tip #23: Avoid Excessive Editing
While editing is essential, be mindful of not overdoing it. Excessive editing can make photos look artificial and misrepresent the property. Strive for a balance between enhancing the photos and maintaining their authenticity.
Tip #24: Skip the Filters
Avoid using filters that alter the colors and style of your photos. Filters can make images look unnatural and distract viewers. Stick to realistic editing techniques that enhance the property's features while maintaining their true appearance.
Tip #25: Share on Social Media
Once your real estate photos are ready, share them on social media platforms to maximize exposure. Your photos act as a portfolio, showcasing your skills and attracting potential sellers. Utilize platforms such as Instagram, Facebook, Twitter, and your personal website to reach a wider audience.
FAQs on Tips for Real Estate Photography
How can I improve my real estate photography?
Improving your real estate photography skills involves using the right equipment, framing your shots effectively, and learning basic editing techniques. Consider factors such as lighting, clutter, and composition when capturing photos.
How should I edit my real estate photographs?
Popular editing software like Adobe Lightroom and Adobe Photoshop can help you achieve professional-quality edits. If you prefer a simpler approach, many real estate professionals edit their photos directly on their smartphones using various editing apps.
How much should I edit my real estate photographs?
While editing is essential, it's important to maintain a balance. Focus on correcting framing, color, and lighting to enhance the images without making them appear artificial. Avoid extensive editing unless there's a specific reason, such as removing clutter.
What makes real estate photos look so good?
Wide-angle lenses are essential for capturing the spaciousness and appeal of a property. Additionally, proper lighting, composition, and attention to detail contribute to stunning real estate photos that make properties stand out.
With these 25 epic real estate photography tips, you're well-equipped to take your property photos to the next level. Capture stunning images that leave a lasting impression and attract potential buyers. Happy shooting!


