

Over the past few years, the real estate market has undergone a significant digital transformation. With 90% of potential home buyers relying on the internet for information, it is crucial to have compelling home staging photos that make your property stand out. These photos allow buyers to envision themselves living in your home and can greatly impact the selling process. In this article, we will explore some expert tips and techniques to help you take appealing home staging photos that will leave a lasting impression.
Simplify Your Home's Decor: Less is More
When staging your home for sale, put yourself in the shoes of potential buyers. Take a step back and evaluate your space with a critical eye. Before you start taking photos, it's essential to simplify your decor. Remove any visual clutter, such as dishes, paperwork, and laundry, from tables, counters, refrigerators, and cupboards. Simplify walls and bookshelves for a cleaner and less complicated display. Remember the wise words of professional photographer David Churchill: when in doubt, leave it out.
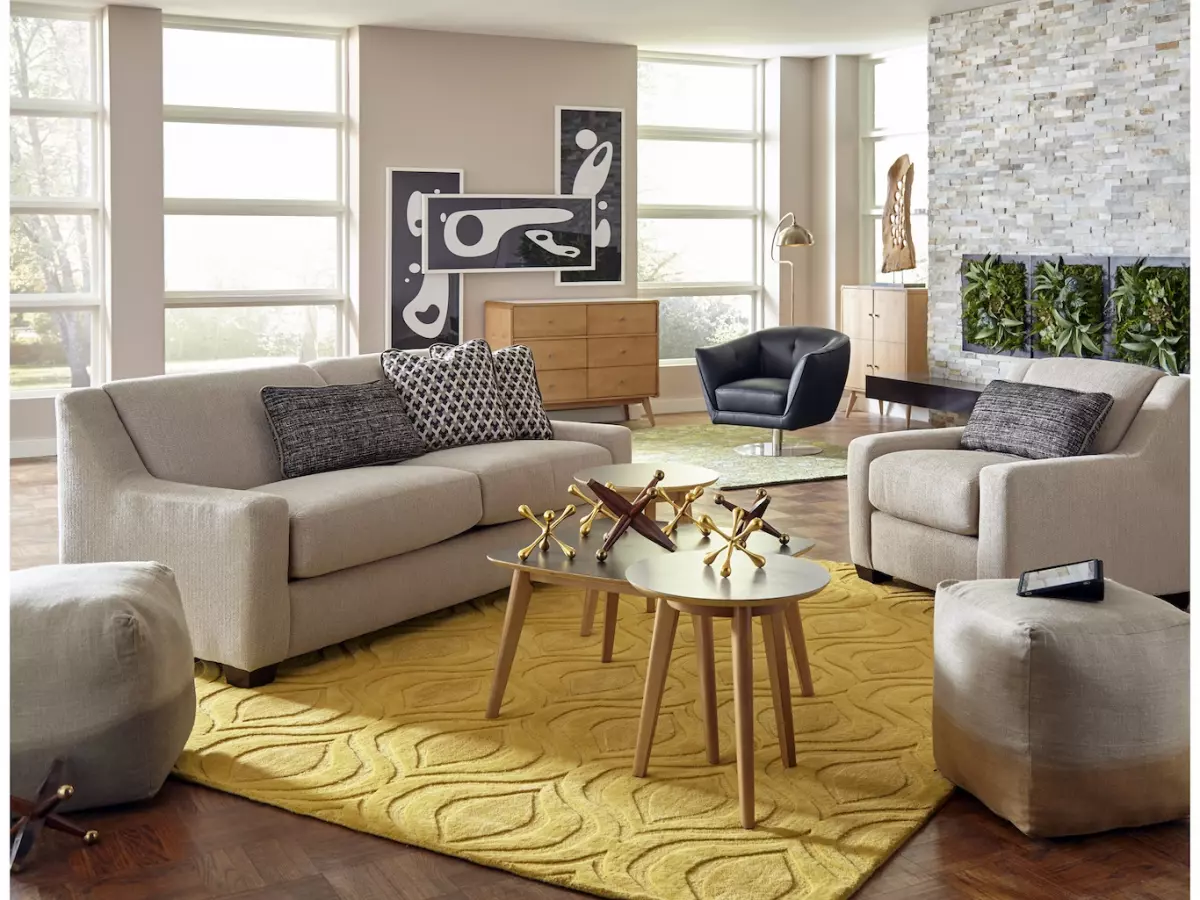 Captivating living room featuring a cozy ambiance.
Stage Furniture for Better Flow: Create Space and Balance
An excess of furniture and too many accessories can make a room appear cluttered. Professional home stagers often reduce the number of furnishings by half to create better flow and make the space feel more spacious. To achieve this, use low-profile furniture and ensure there is a clear pathway around each piece. Leave ample space around beds, dressers, and couches, as it helps create a sense of openness. Instead of pushing furniture against the walls, consider floating them to add visual interest and make the space appear larger.
Bring Out Your Home's Best Light: Natural and Artificial
Natural light adds warmth and a welcoming atmosphere to your home. Take advantage of different times of the day to capture the best lighting for each room. Morning light is ideal for bedrooms, while afternoon light may showcase your kitchen beautifully. For a softer and more appealing lighting effect, consider photographing at dusk or dawn, as suggested by professional photographer Michal Venera.
Artificial lighting is also crucial for creating a captivating ambiance. Increase the wattage of your lamps and light fixtures to ensure ample brightness. Aim for around 100 watts of light for every 50 square feet. Experiment with ambient lighting, task lighting, and accent lighting to create a warm and inviting atmosphere. When capturing photographs, ensure the light source is positioned to your side or behind you to avoid glare.
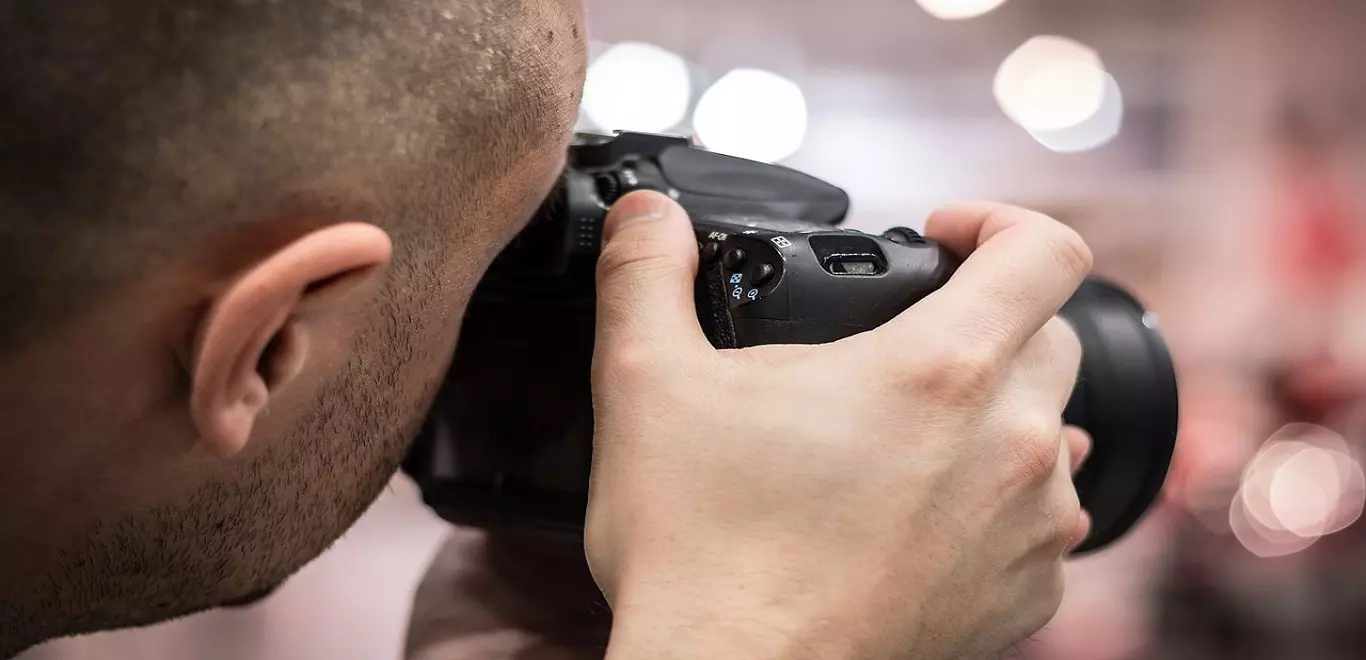 Immerse yourself in the art of capturing the perfect shot.
Shoot Straight On: Composition and Perspective
When taking interior shots, opt for a composition that is straight on. Point your camera towards a wall and use its grid or composition feature as a guide to align the horizontal and vertical features. To keep your camera steady, consider using a tripod for up and down movements. Photographer Matthew Millman suggests shooting from a lower angle, approximately at the level of a light switch. This perspective allows viewers to experience a more intimate view of the room. Remember, photo editing apps can enhance your shots and transform them into works of art.
Learn About Aperture and F-Stop: Mastering Light and Depth
Understanding aperture and f-stop is essential for achieving optimal lighting and depth in your photos. Aperture refers to the opening in your camera lens through which light passes when capturing an image. It affects both the brightness of the photo and the depth of field. A larger aperture creates a brighter photo and a shallower depth of field, resulting in more background blur. Conversely, a smaller aperture produces a darker image with a sharper focus throughout the frame.
Aperture is commonly expressed using f-stop numbers, which may seem counterintuitive. A smaller aperture opening corresponds to a higher f-stop number, and vice versa. To maximize sharpness in your photos, choose a smaller aperture (higher f-stop) setting.
Highlight Architectural Details and Focal Points: Adding Interest and Character
Don't forget to showcase your home's unique architectural details and other focal points. These can include crown molding, distinctive tile work, wooden ceiling beams, exposed brick, unique light fixtures, superior kitchen cabinets, and more. Capturing these features will help potential buyers appreciate the character and value of your property.
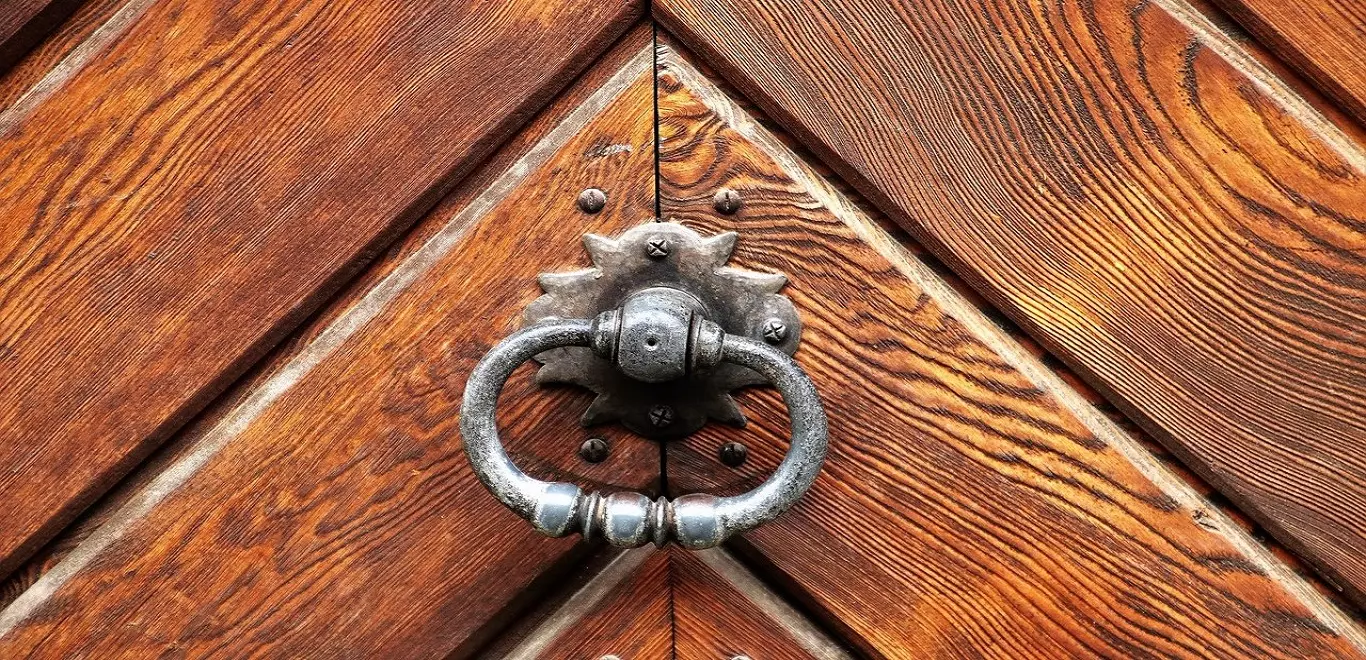 Emphasize the exquisite details that make your home truly special.
Remember, a well-crafted photograph has the power to sell your home. By showcasing the beauty and potential of your space, you can capture the imagination of prospective buyers. And if you're looking for the perfect furniture and accessories to enhance your home staging, CORT Furniture Rental is here to assist you. Let your photos tell a captivating story and create an irresistible connection with potential buyers.


