

Painting oak cabinets and hiding the grain can be a daunting task, but with the right process and materials, you can achieve a smooth and professional finish. In this article, we will guide you through the steps and provide expert insights to help you transform your oak cabinets.
What to Know Before You Begin Your Project
When we first embarked on this project over six years ago, there were limited resources available on painting oak cabinets and hiding the grain. Countless tutorials have since emerged, but we spent months researching and testing various products and processes to find the best solution. We wanted to avoid the grain showing through and achieve a flawless finish.
Filling the Oak Grain: A Crucial Step
One of the key factors that made our project successful was filling in the oak wood grain. We discovered that using a thin layer of Drydex wall spackle effectively concealed the grain. This step was the most challenging but also the most critical for achieving a smooth appearance. Without filler, we noticed black grain showing up after several coats of paint or over time.
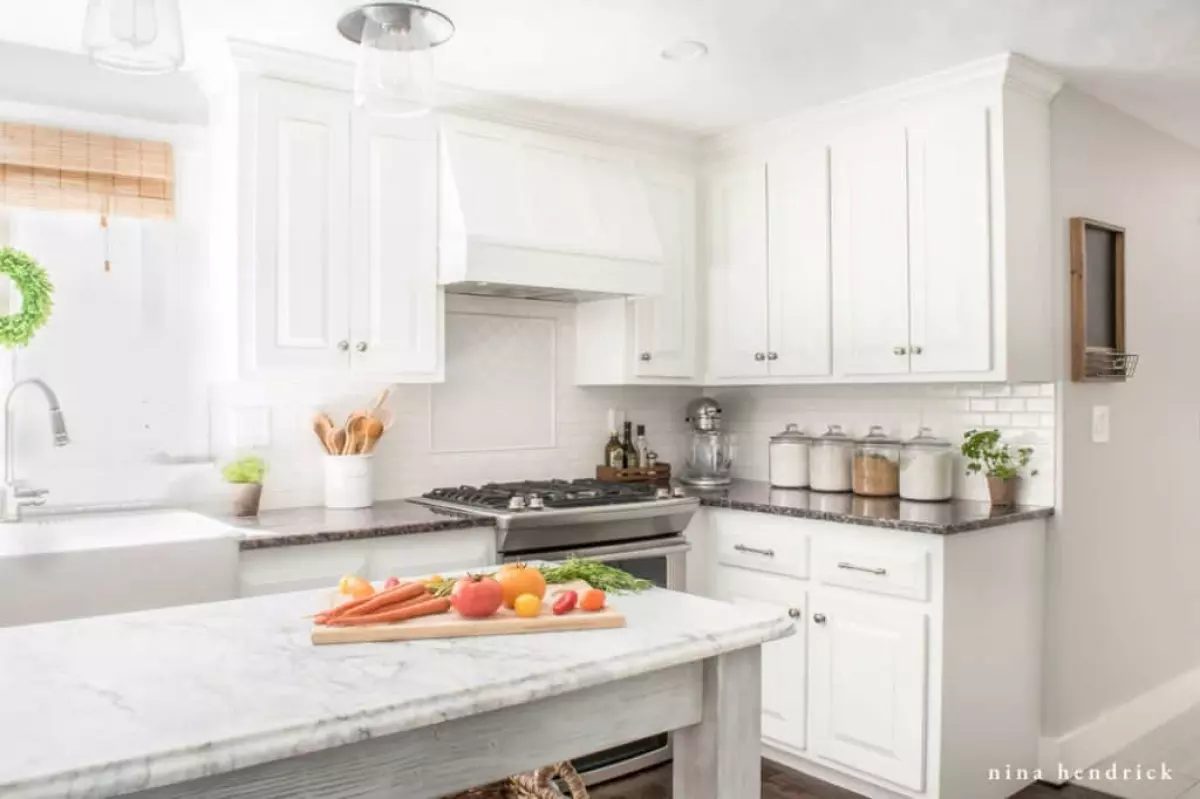 How to Paint Oak Cabinets for a high-end white kitchen on a budget
The Best Paint for Oak Cabinets
After extensive research and testing, we found that Insl-X Cabinet Coat Enamel in satin produced the best results for painting oak cabinets. This acrylic water-based enamel offers excellent self-leveling properties, resulting in a cabinet factory-like finish. It is durable, resistant to chipping and yellowing, and provides a long-lasting solution for your cabinets.
Choosing the Right Primer
To ensure the best results, it's important to use the right primer for oak cabinets. We recommend Kilz primer or Zinsser Cover Stain for their excellent stain-blocking capabilities. These primers create a solid base for your paint and prevent any tannin from bleeding through, resulting in a flawless finish.
The Painting Process
Using a paint sprayer is highly recommended for achieving a smooth and even finish on your oak cabinets. It allows for better coverage and minimizes brush strokes. Diluting the Insl-X Cabinet Coat with distilled water is crucial, but the correct dilution may vary depending on your sprayer. We achieved the best results by diluting it 8% with distilled water.
 How to Paint Oak Cabinets and Hide the Grain
Additional Considerations for Your Project
In addition to painting the cabinets, you may have other tasks to complete in your kitchen remodel. These could include adding trim pieces, replacing shelves, installing crown molding, or fixing and reinforcing damaged cabinets. It's important to account for these additional steps in your project timeline and budget.
Tools and Materials
Before you begin your project, make sure you have all the necessary tools and materials at hand. These include an orbital sander, step ladder, shop-vac, putty knives, paint brushes, mini roller kit, paint sprayer, caulk gun, TSP substitute, sanding blocks and discs, Drydex wall spackle, oil-based primer, Insl-X Cabinet Coat paint, distilled water, and caulk.
Step-by-Step Tutorial
To guide you through the process, here is a step-by-step tutorial:
- Gather all your supplies and make sure you have everything you need.
- Remove all items from the room and thoroughly clean out your cabinets.
- Remove and number the doors and drawers for easy reassembly.
- Vacuum the cabinet boxes and wipe them down with TSP substitute.
- Remove all appliances from the room to ensure an all-over finish.
- Sand the cabinet frames with 80-grit sandpaper to prepare the surface.
- Sand again with 220-grit sandpaper, ensuring a smooth finish.
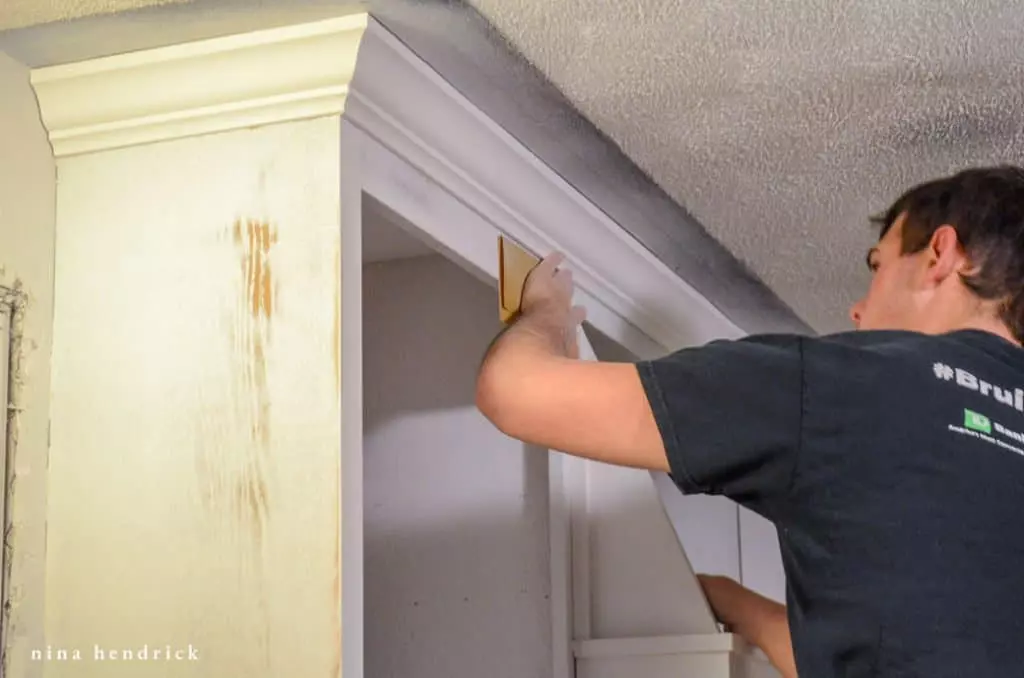
- Apply the first coat of primer using an oil-based primer to block any tannin.
- Sand the surfaces with 320-grit sandpaper for better adhesion.
- Apply additional coats of primer to create a solid white base.
- Prep the doors and drawer fronts, sanding and priming them separately.
- Caulk any cracks or details before applying the final coat of paint.
- Dilute the Insl-X Cabinet Coat with distilled water according to your sprayer's instructions.
- Test the paint sprayer with a test board before spraying the cabinets.
- Set up the doors and drawers and spray them with the diluted paint.
- Allow for drying time before applying additional coats if necessary.
- Rehang the doors and replace the drawers for a finished look.
How to Paint Oak Cabinets Tutorial: Sand with 320 grit sandpaper.
Conclusion
With the right process, materials, and attention to detail, you can achieve a professional finish when painting oak cabinets. The key is to fill in the grain, choose the right paint and primer, and use a paint sprayer for a flawless result. Follow the step-by-step tutorial and refer back to this guide as you undertake your project. Soon, you'll have beautiful, refreshed cabinets that will transform your kitchen.


