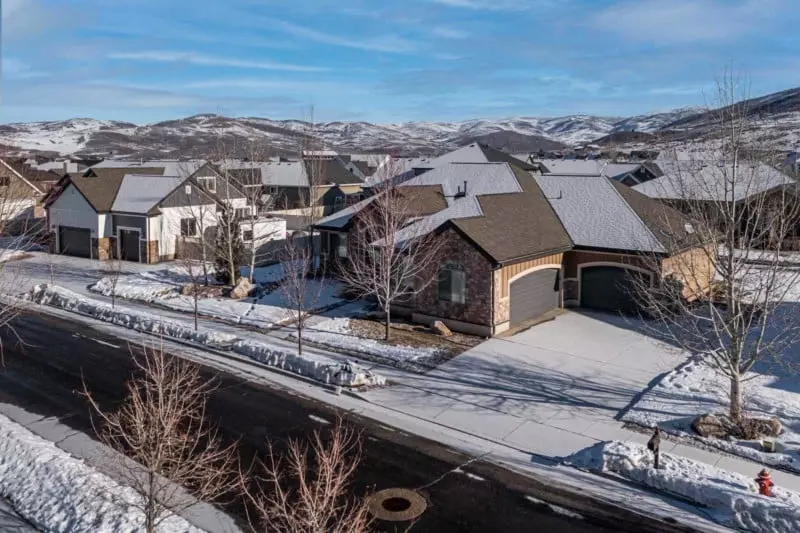
Real estate photography has evolved, and one technique that produces beautiful, high-end results is "flambient" photography. By combining flash and ambient light, you can capture great real estate images using high dynamic range (HDR) and flash techniques. In this article, we will guide you through the process of shooting real estate photos with HDR and flash, from start to finish.
Ethical Considerations in Real Estate Photography
Shooting real estate images involves a unique process and mindset. When photographing homes, efficiency is key, but ethical considerations are equally important. As photographers, our goal is to faithfully represent the property being sold without misrepresentation or alteration. While we can make adjustments to enhance visual appeal, we should refrain from any changes that alter the property structurally. It is essential to find the balance between presenting the property accurately and making it visually appealing.
Shoot Exteriors and Do a Walkthrough
Before you start shooting the interiors, it's important to get familiar with the property. Take a walk through the home to understand how each room flows and think about how to best present them. Pay attention to the lighting in each room and determine where you may need additional light. Keep in mind that starting out, you should avoid shooting directly into harsh lighting environments and be cautious of rooms with mixed lighting sources.
Once you have assessed the property, it's time to shoot the exteriors. Capture a few angles, both in the front and back of the house, to showcase its features. Consider using a drone to get unique aerial views of the property. Before moving on to the interiors, make sure to equip yourself with all the necessary gear.
Gear and Settings in Real Estate Photography
When it comes to cameras, any modern DSLR or mirrorless camera will work. It's not necessary to have a high-megapixel camera, as the final images will typically be 2000px wide. Set your camera to shoot in RAW format for maximum flexibility in post-processing. Use auto white balance (AWB) as modern cameras do an excellent job of judging white balance.
To capture the interiors properly, use a wide-angle lens with a focal length of around 14-24 for full-frame cameras or 10-24 for ASP-C cameras. Set your lens to a mid-stop aperture, ideally between f/7.1 and f/11, to achieve a decent depth of field while accounting for darker spaces. Adjust your ISO as necessary to ensure proper exposure, typically ranging from 250 to 600.
Setting Up for an Interior Real Estate Photo
When setting up your camera for an interior shot, aim to highlight the most interesting features of the room. Instead of shooting from the corners, think about what makes the space unique and compose your shot accordingly. Make sure to level your camera using the built-in level adjust feature to maintain straight, flat, and level shots. Additionally, consider utilizing the rule of thirds for better composition.
Bracket Your Exposure for HDR
To create high dynamic range (HDR) images, you will need to bracket your exposures. By taking multiple shots at different exposures, you can capture a wider range of highlights and shadows. Set your camera to exposure bracketing mode, typically found in the camera's menu or assigned to a function button. Aim for three frames, two stops apart, and experiment with different bracketing methods to find what works best for each situation.
Developing the HDR Photos
Import your bracketed exposures into Lightroom and identify the group of three images that will be merged to create the final HDR image. Make any necessary adjustments to the main image and copy the adjustments to the over and underexposed images. Select all three images, right-click, and choose "Photo Merge" followed by "HDR" to initiate the merging process. Enable auto-align and auto settings to optimize the image alignment and exposure settings. After merging, make any final adjustments to the image to ensure optimal color and clarity.
HDR Photography Pairs Nicely with Flash
While HDR photography can produce stunning results, it's essential to understand how to handle different lighting scenarios. Mastering natural light photography is crucial before incorporating flash techniques. Properly balancing front light, backlight glare, and varying light conditions requires experience and expertise. Taking the time to develop your skills in natural light photography will greatly enhance your ability to create compelling images.
Adding Flash to an HDR Real Estate Photo
To mitigate contrast and bring out details in darker areas, flash can be a valuable tool in real estate photography. Consider using a handheld flash, such as the Godox AD200, to introduce light into the scene. Diffuse the flash with modifiers like the Magmod MagSphere to create soft, even lighting. Take test shots to ensure proper exposure and adjust the flash power as needed. By balancing ambient and flash lighting, you can achieve a natural-looking image.
Combining HDR and Flash in Post-Processing
In post-processing, combine the ambient and flash layers to achieve the final image. Import the adjusted ambient and flash images into Photoshop as layers. Align the layers to correct any camera wobble and apply a black mask to the ambient layer. Use a brush tool with low flow to paint white on the mask where the flash layer should be visible. Blend the flash and ambient layers to create a natural balance of light and color. Once you're satisfied with the result, save the edited image and make any final adjustments in Lightroom.
With the combination of HDR and flash techniques, you can create stunning real estate photos that capture the true essence of the property. Remember to practice and experiment to find your own unique style and develop your skills further. Real estate photography requires a balance of technical expertise and creativity, and the more you learn and explore, the better your results will be.
About the author: Dave Koch is an experienced real estate and commercial photographer based in Utah. With over a decade of photography experience, Dave has received prestigious awards for his commercial work. He shares his expertise through his website, Facebook, and Instagram, while also enjoying exploring Utah with his family and capturing beautiful images.
Image credits: All photographs by Dave Koch.


