

You already know how important high-quality photography is to a real estate listing. But what is it exactly that makes a real estate photo add value to your luxury listing?
In this step-by-step guide, we’ll break down everything you need to know to capture the best features of your real estate listing and capture the imagination of potential buyers. We'll also discuss what to look for in the portfolios of the photographers you work with.
Key Components of Effective Real Estate Photos
If you scroll through the portfolios of your favorite real estate photographers, you’ll likely notice some of the common elements that make the photos so engaging. Professional photographers pay attention to these key components:
- Composition and framing: Elements are arranged within the frame to create balanced and visually appealing images.
- Lighting and mood: Lighting sets the mood and ambiance of the images. Using both natural and artificial light makes the photography in your listing more dynamic and interesting.
- Attention to detail: Include close-ups of a home’s intricate craftsmanship and unique architectural elements.
- Styling and staging: The furniture and decorations tell a visual story of what it’s like to live in the space.
- Emotional connection: Engage potential homebuyers' imaginations about the life they could build in the home.
What You Need to Take Luxury Real Estate Photos Yourself
 If you want to be the one to capture top-quality visuals of your listings, the right gear can make a big difference. Here are the basics of what you’ll need:
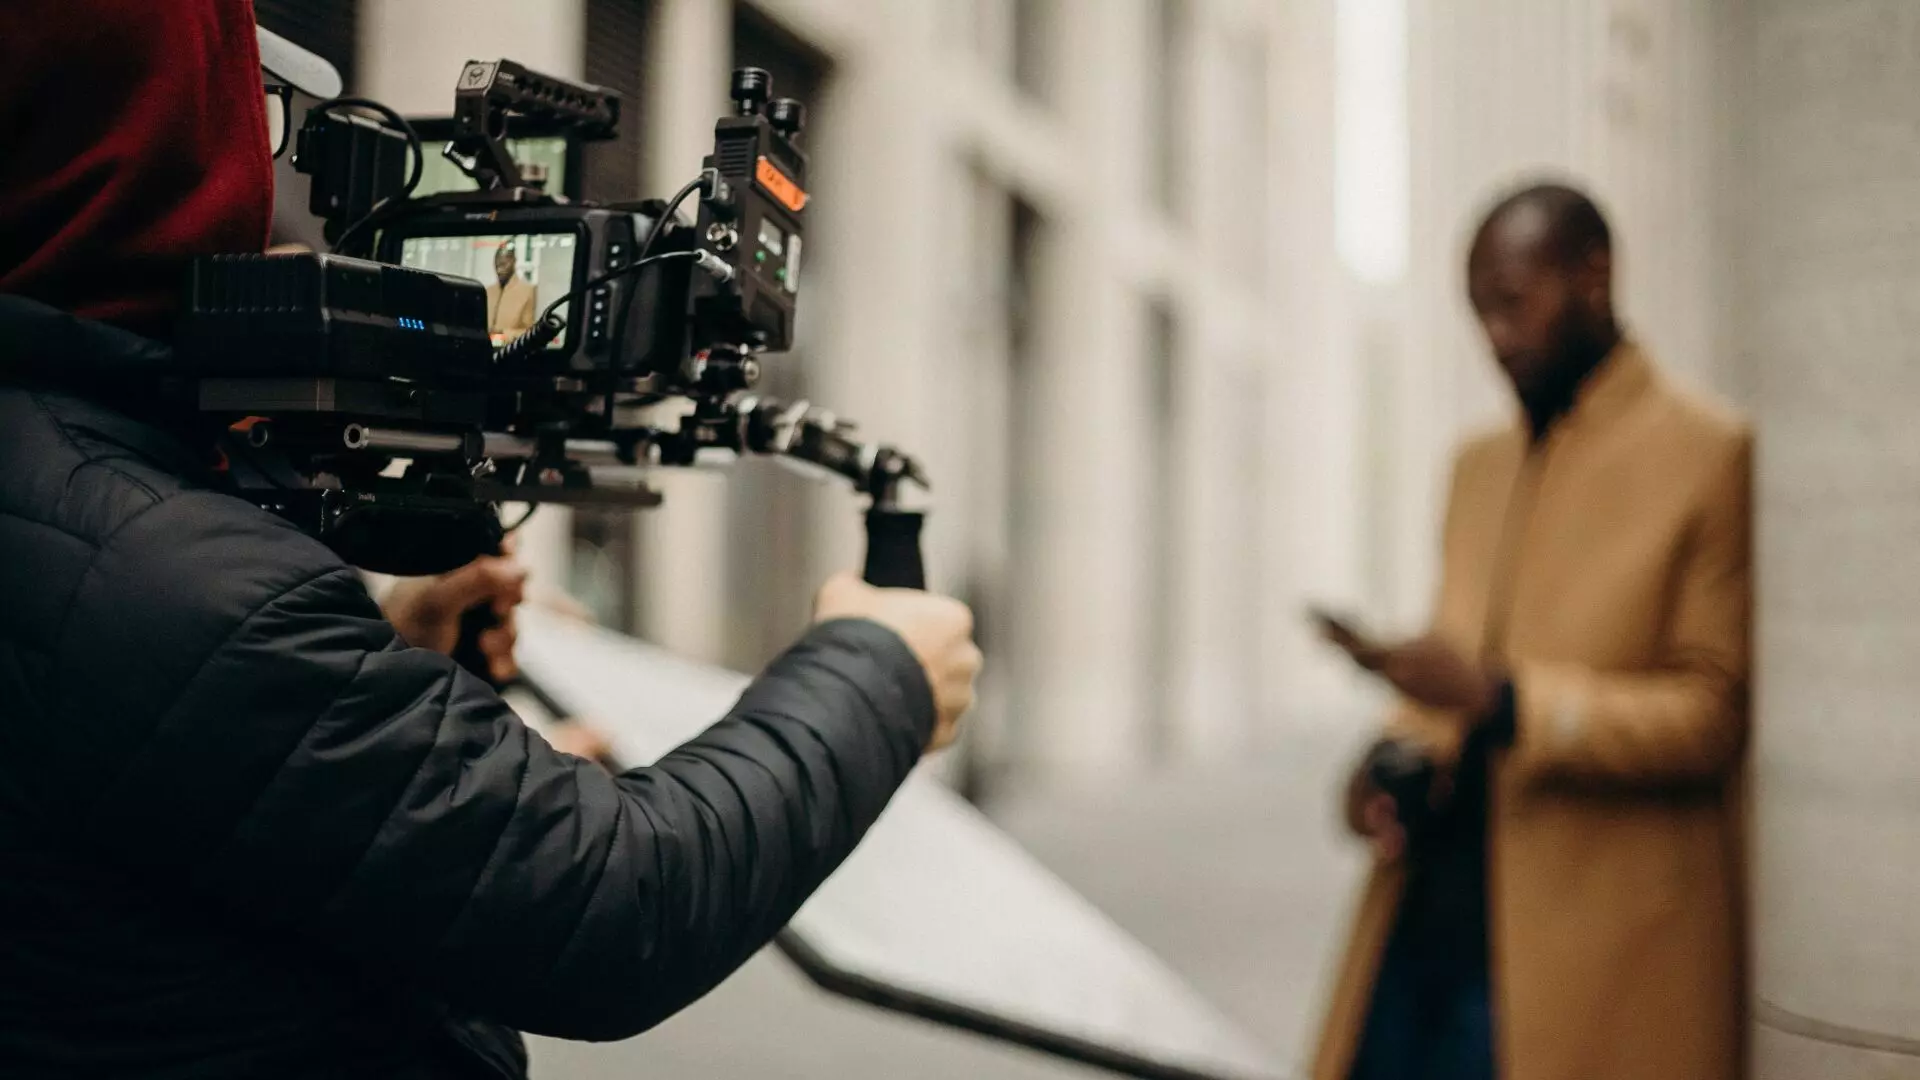
- Professional-grade cameras: The iPhone 14’s camera is excellent, but don’t be tempted. Professional and mirrorless cameras such as DSLRs offer better image quality, higher resolution, and many other advanced features.
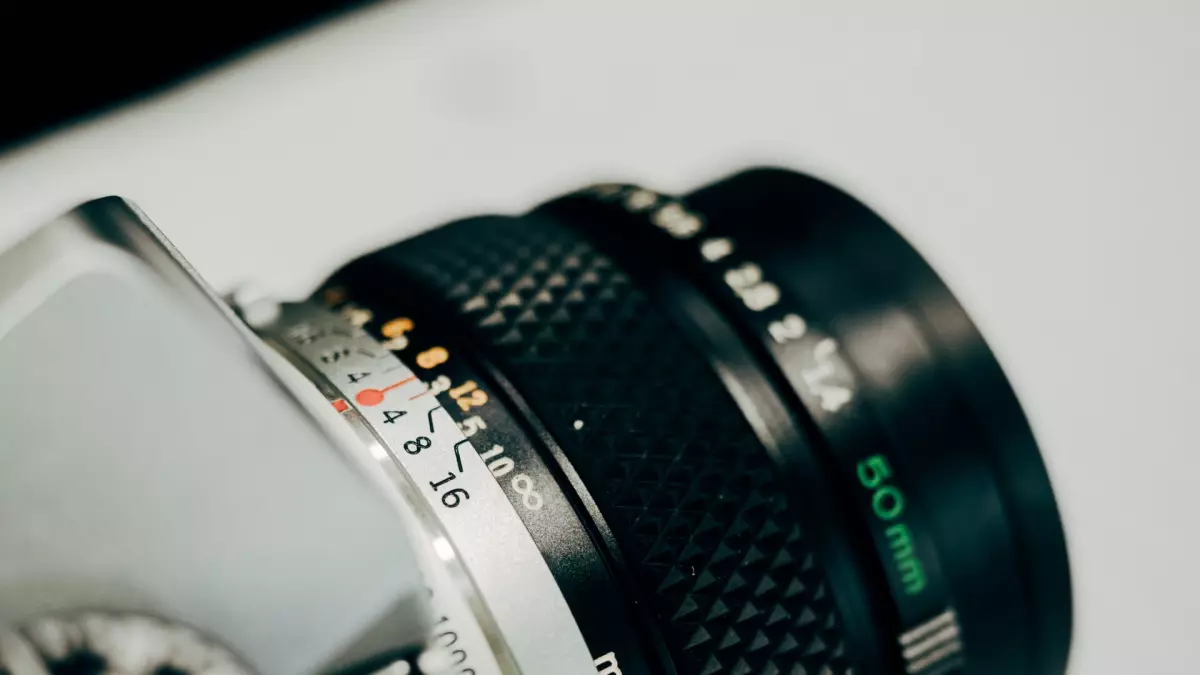
- High-quality interchangeable lenses: Wide-angle lenses capture the exterior grandeur of luxury properties, while low distortion and high optical quality maintain accurate proportions.
- Tripods: Tripods provide stability and eliminate camera shakes for sharper images, especially in low-light conditions or long exposures.
- Drones: Drones are becoming increasingly popular for marketing luxury real estate for their ability to capture unique aerial perspectives and stunning exterior shots of properties and landscapes.
How to Make Your Real Estate Photos Dynamic
Whether you’re taking the photos yourself or selecting images your photographer sends you, make sure to include photos of the home in the daylight and at nighttime. Natural daylight showcases the home’s major features such as the exterior facade and the amount of natural light.
Daytime Photography:
- Natural light: Emphasize how large windows, skylights, and glass doors provide ample light. Soft, diffused natural light enhances textures, colors, and architectural details.
- Fill light: Use artificial lighting such as lamps or sconces to fill in harsh shadows and prevent overly bright or dark spots in a photo.
- Accent lighting: Selectively use accent lighting such as spotlights to draw attention to stylish fixtures or staged art.
Night Photography:
Playing with lighting in your night photography is a great way to bring an element of storytelling into your listing. Night photography can make a home appear warm, cozy, romantic, dramatic, or evoke any other mood you want to emphasize.
- Exterior lighting: Use outdoor lighting such as pathway lights, landscape lights, and uplights to illustrate the property’s appearance at night. Be sure to include well-lit nighttime photos of a pool or any water feature.
- Interior lighting: Use warm and dimmed lights to create an intimate and cozy atmosphere in areas such as living spaces, dining areas, and bedrooms.
Pro tip: Don’t forget to add a picture at twilight-the golden-hour lighting is flattering for houses too.
How to Frame Real Estate Photos
People may have different aesthetic tastes, but for the most part, the human eye is drawn to certain visual compositions. There’s a reason why some pictures look right while others don’t. You don’t have to have a degree in photography to learn the basics of using composition techniques to your advantage.
The Golden Ratio
The golden ratio is a mathematical concept used in composition for balanced images. Many famous pieces of artwork follow the golden ratio, including the Mona Lisa. People tend to find images that adhere to the golden ratio to be visually pleasing.
To use the golden ratio, divide the frame into thirds using vertical and horizontal lines to create a grid of nine sections. Place key elements along these lines or intersections to guide the viewer’s eye and create harmony.
Leading Lines
Leading lines guide the viewer’s gaze to specific parts of the image, creating a sense of visual flow. Leading lines can be natural, such as a stream or large tree branch, or manufactured, such as roads, pathways, staircases, or architectural lines.
Strategic Framing
Use elements within a home-such as doorways, arches, or windows-to create a frame within the photograph, drawing attention to the main subject and adding depth to the image.
How to Stage Luxury Real Estate Photos
Like lighting, staging is an area where you can do some creative storytelling to capture potential buyers’ attention. Depending on your level of design experience, it might be a good idea to collaborate with interior designers or professional stagers. They offer expertise in design principles, furniture selection, and market trends to ensure that the property is presented in the best possible way.
Professional-level staging can:
- Enhance a property’s potential: Buyers can envision the space’s potential and imagine how they would decorate it themselves.
- Create an emotional connection: Potential buyers can visualize their day-to-day lives in the property.
- Highlight key features: Strategically positioned furniture and tasteful decoration can demonstrate the size and scale of rooms, staircases, and windows.
- Create consistency and cohesion: A careful selection of furniture, artwork, and accessories provides a seamless visual experience for potential buyers.
- Broaden the market appeal: Professional staging makes a property appealing to a broad range of buyers by avoiding anything too trendy or niche.
A Room-by-Room Guide to Capturing Luxury Real Estate Photos
Here's a room-by-room guide to help you capture the best features of each area:
Entrance and Exterior
Take wide shots that capture the full breadth of the property. Showcase the architecture of the home and include any landscape features such as a well-maintained garden.
Living Room
Highlight the room’s unique features such as fireplaces, columns, or views. Showcase the space’s dimensions using wide-angle shots. Offer various perspectives, such as standing in the doorway, a corner, or even the center of the room.
Kitchen
Feature high-end appliances, quality materials, and storage. Try a panoramic shot to include all the details, from counter space to lighting fixtures. Include close-ups of designer fixtures or high-tech appliances.
Dining Room
Use a wide shot to capture the size of the dining area and its relationship to other parts of the house. Take close-ups of detailed fixtures such as chandeliers or intricate door frames. Stage the room with a fully set table to allow potential buyers to visualize themselves hosting a dinner party.
Bedrooms
Capture the entire room from the corner to show the size and space. Stage the room tastefully, showcasing features such as walk-in closets or en-suite bathrooms. If the view from the bedroom window is impressive, be sure to include it.
Bathrooms
Ensure the bathroom is spotless and the fixtures are gleaming. Highlight spa tubs, rain showers, marble tiles, or custom vanities. Use lighting and mirrors to your advantage to make the rooms look large and airy.
Home Office
Include detailed photos of any built-in custom shelving or desk spaces. Arrange the office neatly and ensure any cables or equipment are hidden. Capture the view from the office window if it is impressive.
Gym/Spa/Swimming Pool
Emphasize any professional gym equipment, spa features, or pool design. Show the space as ready to use—a yoga mat rolled out, towels by the spa, etc. Include any adjoining locker rooms or relaxation areas.
Outdoor Spaces
Take wide shots of the backyard, garden, patio, or balcony, emphasizing space and layout. Highlight luxury outdoor features like an outdoor bar, fire pits, water features, or unique garden installations. For the best natural lighting, photograph these areas during the golden hour-just after sunrise or before sunset.
Unique Features
Focus on what makes the property stand out, such as a home theater or wine cellar. Include both close-ups and wide shots to provide different perspectives.
Bonus Tips
In all rooms, remember to:
- Use a tripod to ensure steady and precise shots.
- Take shots from multiple angles and select the best ones.
- Use natural light as much as possible.
- Pay attention to the details; everything should be in its place, clean, and tastefully staged.
- Enhance photos in post-processing, but avoid over-editing.
How to Edit Your Real Estate Photos to Perfection
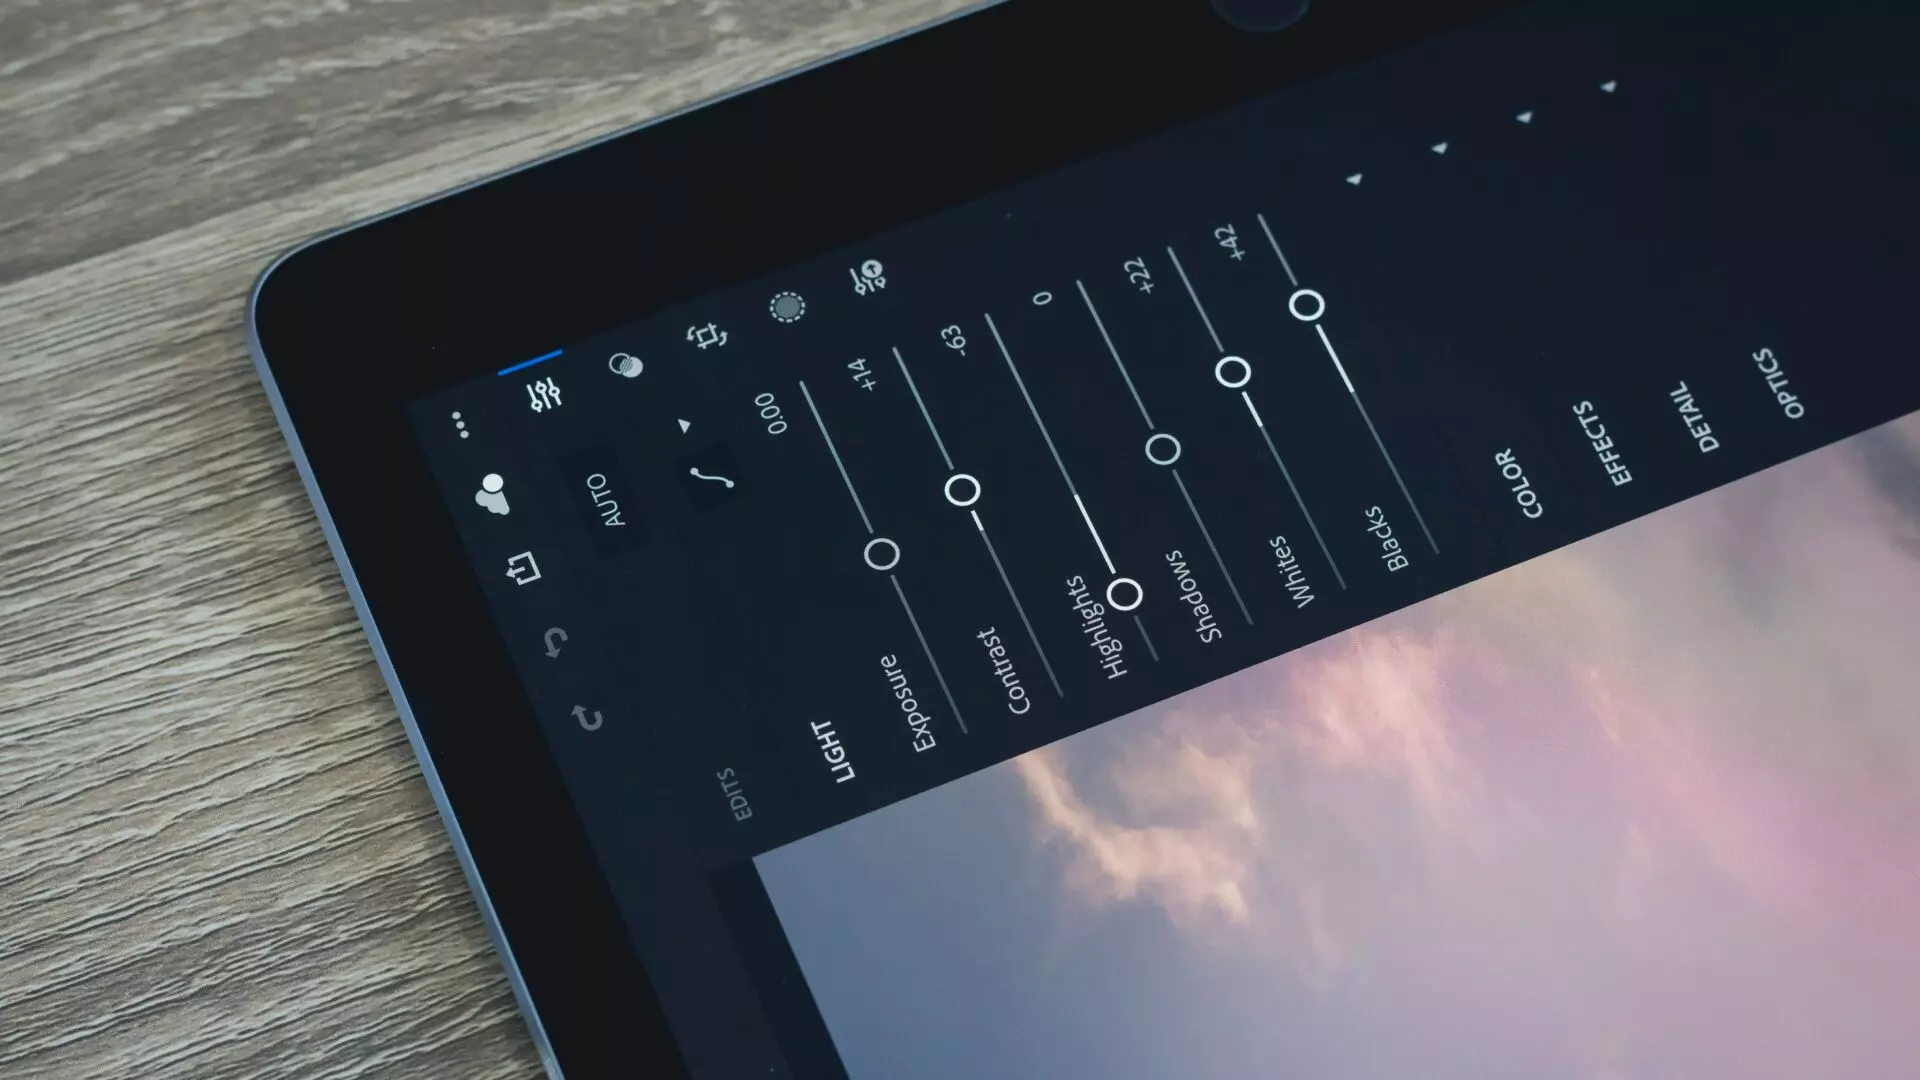
Sometimes the thing that makes a professional photographer’s portfolio look so incredible is post-production editing. You can balance color, adjust contrast, crop images, and refine other details "in post."
Software and Editing Tools
There are many options for software and editing tools. Here are some of the best tools for editing real estate photos:
- Adobe Lightroom: Loved by professionals for its ease of use and advanced features such as color correction and light adjustments.
- Adobe Photoshop: Great for complex edits, such as removing objects and blending exposures.
- Photomatix Pro: Creates HDR images, ideal for balancing lighting in real estate photography.
- DxO PhotoLab: Provides high-quality denoising and optical corrections.
- Luminar AI: Automates editing tasks such as sky replacements and details enhancement.
- PTGui: Stitches together panoramic images for virtual tours and 360-degree views.
- Canva: Handy for creating collages and adding text overlays.
- PicMonkey: Great for quick edits and offers many template designs.
- Skylum AirMagic: Designed for drone photographers, makes it easier to edit aerial photographs.
Learning to use post-production tools requires practice and experimentation. Be patient as you explore the capabilities of these programs.
Common Post-Production Mistakes to Avoid
Remember, people can often tell when a photo is over-edited. If you find yourself doing more than a couple of edits on a photo, it may not be the best photo to include. Post-production aims to enhance your photos’ quality, not alter them completely. It’s always best to start with high-quality images and use post-production editing as the final touch.
When using post-production tools, try to avoid over-editing, inconsistent white balance, oversaturating colors, excessive HDR, lens distortions, removing all shadows, subpar image quality, inconsistent editing style, misrepresentation of the property, not backing up original photos, and rushing through edits.
How to Choose a Professional Real Estate Photographer
The photos you put on your website build your brand and reputation. Even if you’re a good photographer, it may be worth the peace of mind to hire a professional real estate photographer.
Still, there’s an art to choosing your photographer. Here are some things to keep in mind:
- Portfolio and experience: Find someone whose photography resonates with you. Look for experience in real estate photography in their portfolio.
- Understanding of luxury real estate: Make sure the photographer knows how to appropriately highlight upscale amenities and fine details.
- Equipment and technical expertise: A professional photographer should have top-notch equipment and the technical skills to capture shots in any lighting condition.
- Attention to detail and composition: Ensure the photographer's photos look good at a glance as well as under more detailed inspection.
- Professionalism and communication: Choose a professional, reliable, and responsive photographer who understands the creative vision for your listing.
- Reviews and recommendations: Positive testimonials and referrals can provide valuable insights into their professionalism and the quality of their work.
- Pricing: As with any professional service, the price should reflect the quality of the work and the potential return on investment.
Level Up Your Marketing Strategy with Luxury Presence
Photography can make or break your luxury real estate listing, but if you follow our expert tips, your listings will stand out in the best way possible. Exceptional real estate photography not only tells a visual story that allows potential buyers to envision their lives on the property but also speaks to your professionalism and brand.
Luckily, Luxury Presence is here to help you create the best luxury real estate listings every step of the way. Reach out to our team of experts for more helpful advice for marketing your listings.


