


Are you ready to take your real estate photography to the next level? Look no further! In this article, we'll provide you with invaluable tips to enhance your skills and capture professional-looking photos that will attract potential clients.
What is Real Estate Photography?
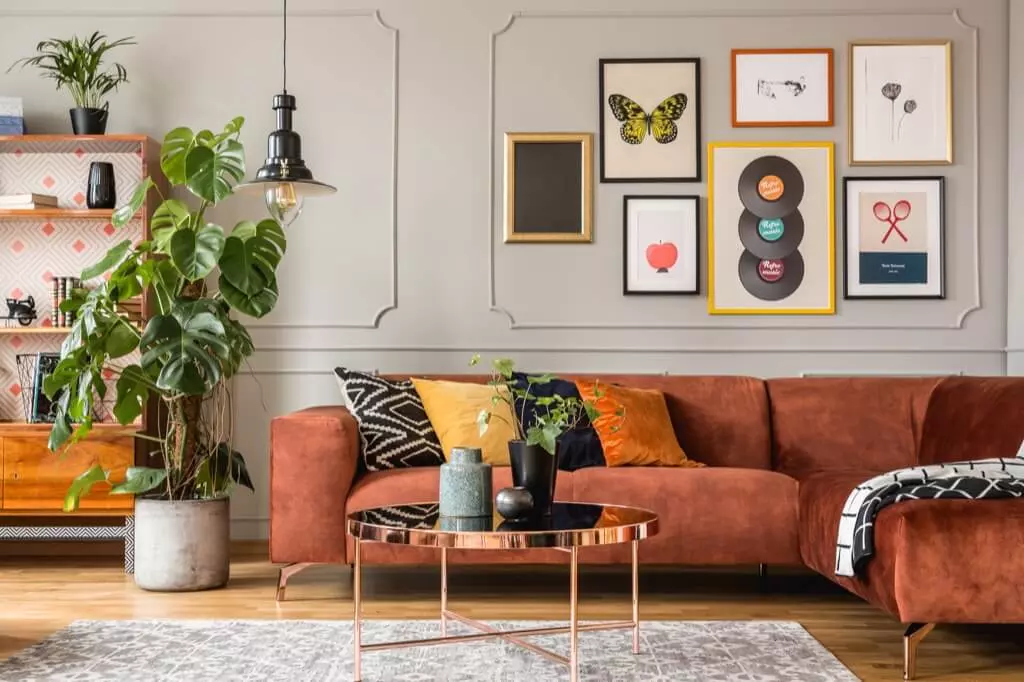
Real estate photography is a specialized branch of commercial photography that focuses on capturing properties for sale, rent, or sublet. From residential homes to commercial and industrial spaces, each property category comes with its own unique set of requirements.
The goal of real estate photography is to showcase the property's features and allure potential buyers or renters. Unlike architecture and interior photography, which emphasize artistic expression, real estate photography strives for objectivity.
Real Estate Vs. Architecture and Interior Photography
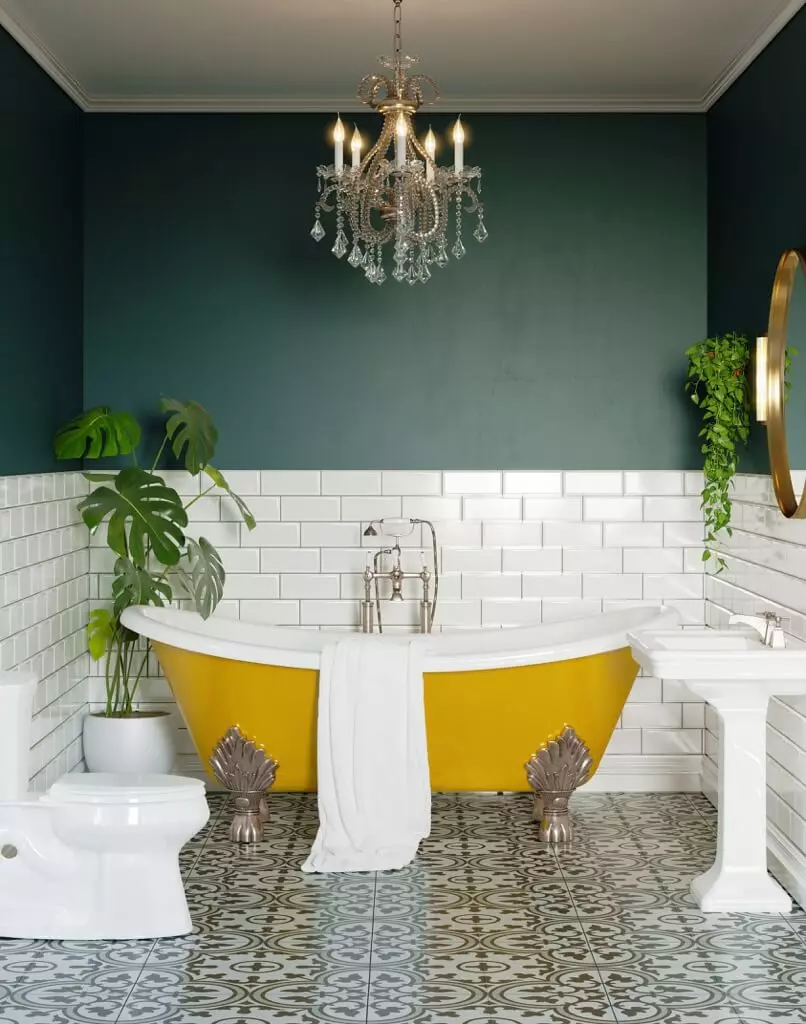
It's important to distinguish real estate photography from architecture and interior photography. While they may seem similar, the purpose and execution of these types differ significantly.
Real estate photography aims to attract potential buyers or renters by highlighting the property's selling points. On the other hand, architecture and interior photography often serve artistic or portfolio purposes.
The level of detail, time investment, and creative approach also differentiate these types. Real estate photography tends to be more objective, while architecture photography offers a unique perspective. Consequently, architecture photographers generally command higher fees due to their artistic approach.
Real Estate Photography Tips
If you're looking to improve your real estate photography skills, here are some valuable tips to consider and enhance your results:
1. Use a Shot List
Creating a shot list is essential for organizing your photography packages and improving efficiency. Tailor your shot list to the specific property type, considering factors such as the number of rooms and outdoor spaces.
For example, a shot list for a residential property could include outdoor shots, bedroom photos, living room shots, bathroom images, and more. Customize the list to accommodate each property's unique features and adjust your rate accordingly for additional images.
2. Ensure the Property is Clean Before the Shoot
A clean and well-prepared space is essential for capturing appealing real estate photos. Coordinate with the property owner to ensure the house is clean and ready for photography. It's important to clarify that your services do not include cleaning and tidying up the house unless specified and compensated separately.
While minor adjustments like moving furniture for better composition are acceptable, your primary focus should be on capturing the property itself, not on housekeeping tasks.
3. Find a Good Home Stager
Consider collaborating with a professional home stager to enhance the property's visual appeal. Home staging involves rearranging furniture and decor to make the space more enticing to potential buyers. Offering home staging services can attract high-end clients but should be priced separately from your photography package.
If a client already has a trusted home stager, you may need to work with them. However, having a preferred home stager you trust can be beneficial. You can also learn valuable tips from professional home stagers to enhance your photography skills.
4. Choose the Right Time to Shoot
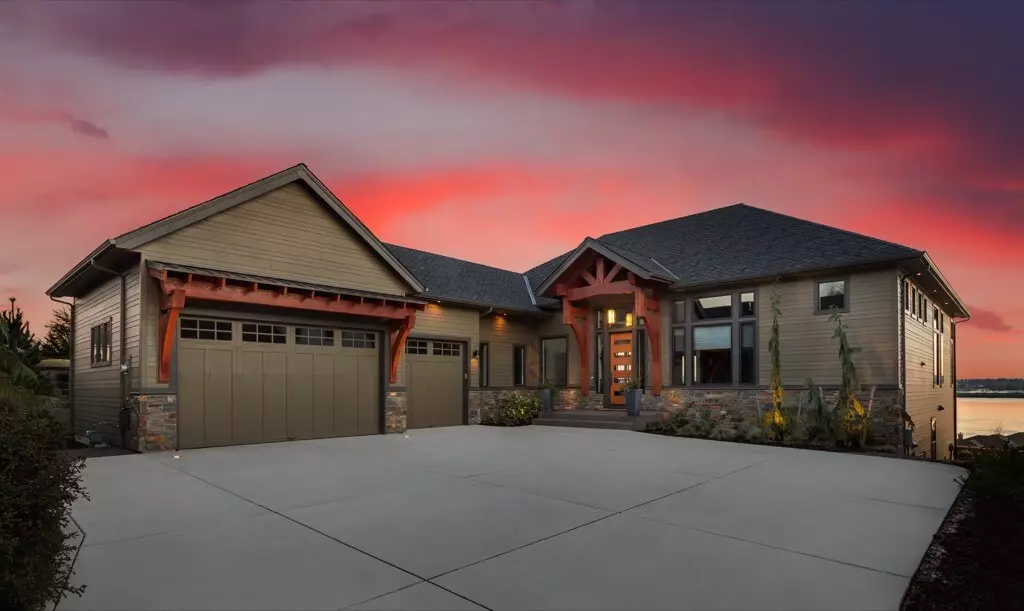
Timing is crucial in real estate photography, as you often need to coordinate with homeowners and realtors. Whenever possible, aim to shoot during the early morning or late afternoon golden hours. These times offer soft shadows and warm tones that enhance the property's appeal.
Cloudy days also provide excellent lighting conditions for capturing indoor shots. However, be prepared to address the dull sky in post-processing using sky overlays or other techniques. Shooting in the evening or challenging lighting conditions may require additional equipment and adjustments to your rate.
5. Use a Tripod
A tripod is a crucial accessory for real estate photography. It provides stability and allows for precise framing, minimizing perspective distortion. Additionally, a tripod is essential in low-light conditions, ensuring sharp images without blur.
When shooting for photo composites and HDR images, both popular techniques in real estate photography, a tripod becomes indispensable. These techniques involve capturing multiple images with the same framing, which is best achieved using a tripod.
6. Choose the Right Lens
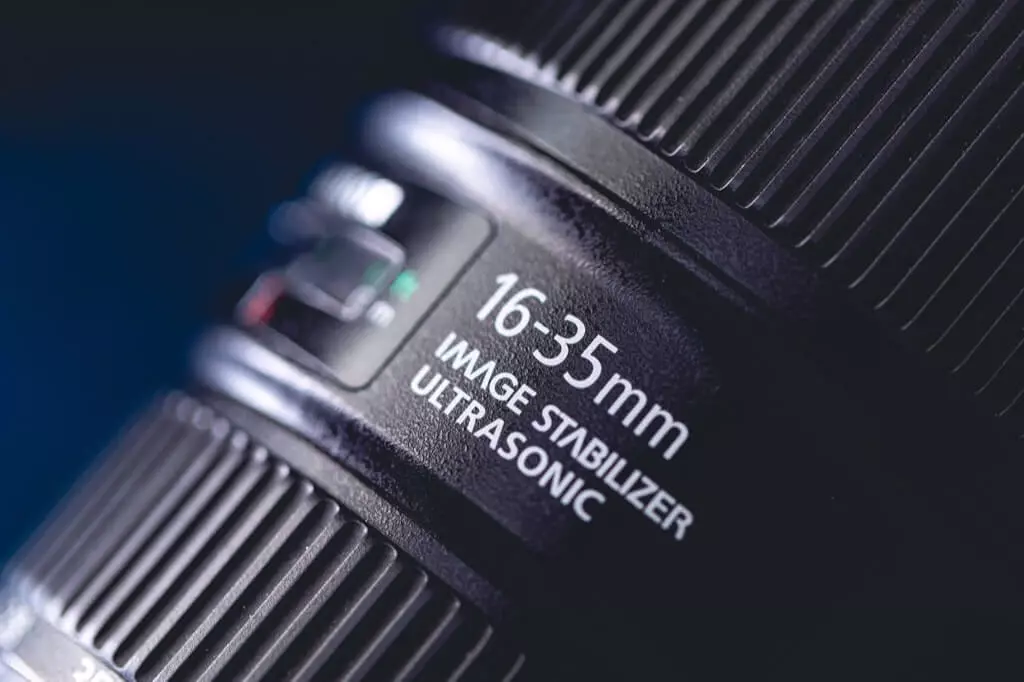
A wide-angle lens is a must-have for real estate photography. It allows you to capture more of the property within a single frame, showcasing its entirety and creating context.
A 16-35mm zoom lens is an excellent choice for most situations in real estate photography. The wide-angle perspective (107 to 64 degrees view) works well on a full-frame camera, providing a broad field of view. Remember to consider potential distortion when using shorter focal lengths.
7. Use Ambient Light When Possible
Leveraging ambient light can save time and resources in lighting large spaces. Rather than setting up extensive artificial lighting setups, try utilizing available natural light.
Position yourself at an angle to the windows, avoiding direct front or back-lighting situations. Adjust curtains or blinds to minimize excessive contrast. Whenever possible, keep indoor lights off to maintain consistent lighting temperatures. For outdoor shots, ensure the light illuminates the front of the property.
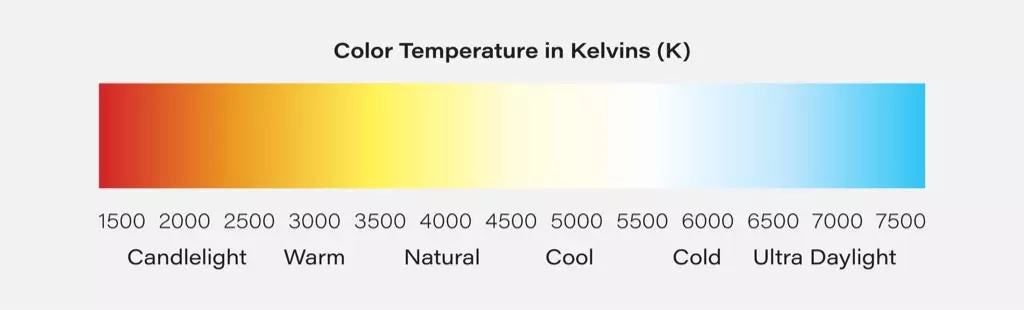
8. Be Careful Mixing Color Temperatures
Managing white balance can be challenging when dealing with natural and artificial light sources. Different light sources have varying color temperatures, which can result in mixed tones.
To maintain a neutral color balance, it's best to stick to one type of light source. If abundant natural light is present, turn off indoor lights and utilize the natural light. Alternatively, you can use indoor lighting and flash to override natural light.
9. Choose the Best Perspective
When setting up your tripod, consider the property's unique features and aim for objective representation. Balancing the property's characteristics with capturing viewer interest is crucial.
In smaller spaces, shooting from the doorway may be necessary to capture the entire room. Utilize wide-angle lenses to maximize the view and always include three walls whenever possible for better spatial understanding.
10. Shoot at the Right Height
Achieving a leveled camera position is essential to minimize perspective distortion. Use a double bubble level and a tilt-shift head to ensure verticals, like doorways and wall corners, appear straight.
Finding the optimal shooting height can vary from room to room. Shooting at chest height is the standard, but it may result in excessive ceilings and limited foreground. Experiment with different heights to find the most flattering perspective for each shot. The height of a doorknob is a recommended starting point.
11. Correct Perspective Distortion in Post-Production
If you can't eliminate perspective distortion during the shoot, you can correct or reduce it in post-processing. Converging lines are glaring signs of amateur photography, and correcting this distortion is vital, especially in real estate photography.
Applications like Lightroom and Photoshop offer lens and perspective correction tools. Use the profile correction feature to fix lens distortion, and utilize the perspective correction tools to straighten converging lines. Mobile apps like SKRWT, Lightroom Mobile, and Snapseed also provide distortion correction features.
12. Use HDR
HDR (High Dynamic Range) photography is a technique widely used in real estate photography. It involves merging multiple images of the same shot, each taken at different exposures, to create a final image with balanced exposure.
Using a tripod is essential for HDR photography. Take at least three shots at different exposures, proper exposures for highlights, mid-tones, and shadows. More images may yield better results, capturing the full dynamic range.
Post-process the images using dedicated HDR programs like Luminar NEO or Photoshop's HDR feature. Exercise caution when applying HDR to avoid creating unnatural or overly processed images.
13. Photo Compositing
Photo compositing is a more advanced technique in real estate photography, used when lighting conditions pose significant challenges. This technique involves capturing multiple images with different flash positions and combining them in post-processing.
Secure your camera on a tripod, frame your shot, and use a flash to illuminate different sections of the room. Take multiple images from various positions, ensuring you capture the best lighting for each area.
In post-processing, combine the images as layers in Photoshop, utilizing only the parts illuminated by the flash. Hide unwanted elements using layer masks. This technique requires more time and expertise but can yield exceptional results for challenging lighting situations.

Conclusion
Whether you're an aspiring real estate photographer, a realtor, or a homeowner eager to capture stunning property images, these tips will undoubtedly elevate your skills. Remember, practice makes perfect, so keep refining your techniques and experimenting with different approaches.
If you have any questions or want to share your own tips, please leave a comment below. We love hearing from you!
And don't forget to share this article with your friends and colleagues using the social sharing buttons. Your support is greatly appreciated!


