

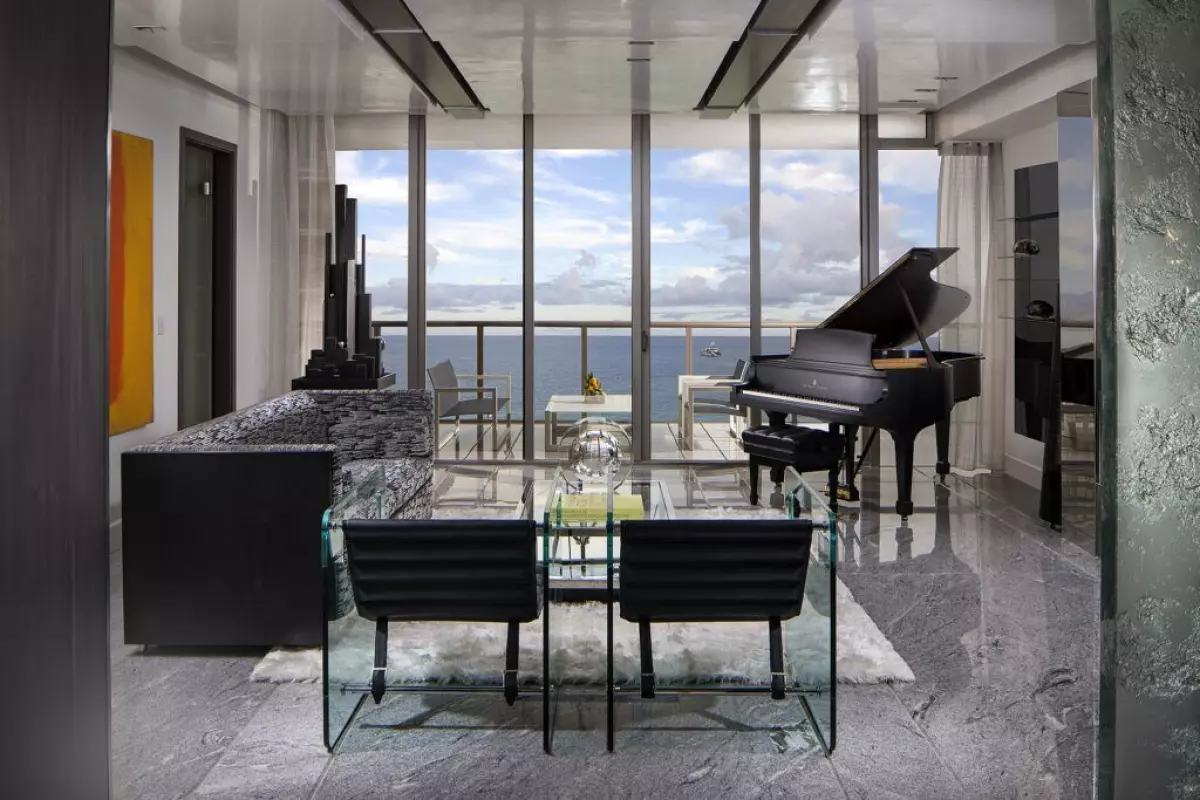
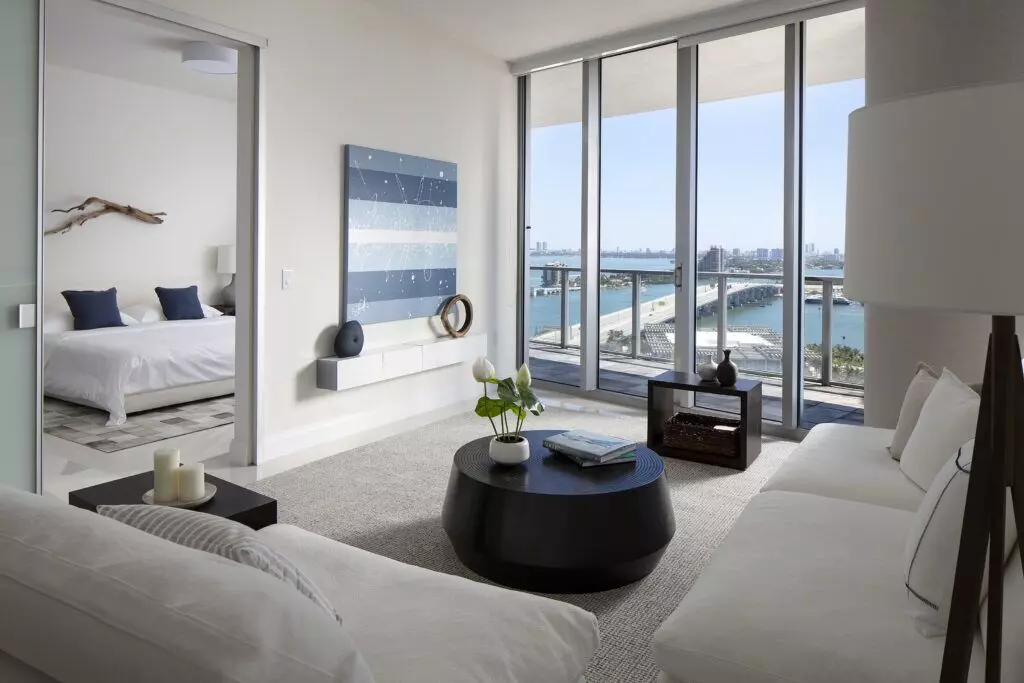
Interior design photography is a captivating art form that allows you to capture the beauty and essence of interior spaces. Whether you want to showcase your own home or promote the work of interior designers, this definitive guide will provide you with valuable insights and tips to master the art of interior design photography.
What is Interior Design Photography and Why is it Important?
Interior design photography involves capturing still images of interior spaces to promote or sell them for various purposes. It plays a crucial role in providing potential buyers or clients with a realistic view of what the interior will look like, showcasing the space's aesthetic appeal and functionality.
Similar to commercial photography, interior design photography requires the skill to capture the space in an attractive and inviting manner while accurately representing its size and dimensions. Skilled photographers can create the illusion of larger spaces and highlight the furniture's proper perspective within the room.
The importance of interior design photography spans from real estate sales and interior designer portfolios to marketing campaigns, branding initiatives, and even interior design magazines or books. It enables viewers to appreciate the space's beauty and envision themselves in it.
Tips for Taking Beautiful Interior Design Photos
Taking stunning interior design photos might seem challenging, but with the right techniques, you can capture the beauty of your interior design work. Here are some valuable tips to help you get started:
Choose the Right Location for the Photos
Select a location that highlights your work in the best light. Opt for spaces with abundant natural light or use bright artificial light sources to ensure evenly lit photos.
Use a Wide Aperture
A wide aperture creates a shallow depth of field, drawing attention to your subject. This technique can make small spaces appear larger and minimalistic designs more striking.
Over-Expose Your Photos
Slightly over-exposing your photos can enhance their beauty by brightening the entire image. This technique helps prevent shadows from turning into distracting black holes, preserving texture and detail.
Use a Tripod
Using a tripod ensures stable shots free from blur and shakiness. Even the slightest camera movement can ruin an otherwise splendid photo. Take your time when framing shots to avoid camera shake.
Avoid Lens Flare
To prevent unwanted lens flare, use lens hoods or keep your hand in front of the lens when shooting with natural light. Lens flare can create an undesirable bright glow that affects the overall quality of your photos.
Use Smaller Apertures
Using smaller apertures (f-stops) helps achieve more depth of field, allowing you to blur out distracting elements and focus on what truly matters in your photos.
Add Texture With Props
While emphasizing form over function, strategically placed props can add depth and tell a more complete story. For instance, incorporating a cutting board and knife in an under-lit kitchen can create a sense of realism.
Experiment With Angles
Explore different angles to capture unique perspectives of each room. Don't limit yourself to eye-level shots. Go up or down stairwells, stoop down, or shoot from a high angle to add interest to otherwise flat spaces.
Be Creative With Shadows
Pay attention to shadows created by natural light. Utilizing shadows can add depth, texture, and highlight architectural features that might go unnoticed in regular photos.
Watch Perspective
Take multiple shots from different angles of the same object or scene. This gives you options during the editing process, allowing you to accentuate certain objects to tell a cohesive story.
Avoid Filling Shadows When Shooting at Night
During night photography, avoid filling shadows with props or accessories as they can diminish texture and detail. Instead, imagine how objects would look illuminated by moonlight or candlelight, capturing a more captivating ambiance.
How to Post-Process and Edit Your Interior Design Photography
Post-processing is a significant part of interior design photography. By following a few simple editing tips, you can create stunning images that truly showcase your design work.
Color Grading
Experiment with colors to set the desired atmosphere of the room in your images. Convert photos to black and white while leaving specific colors untouched, such as electric blue, to create a strong contrast. You can also add a sepia tone for a mellow or romantic look.
Contrast and Exposure
Adjust contrast and exposure to create different moods or atmospheres in your photos. Increase exposure to make images pop and seem more vibrant, while decreasing contrast offers a softer and natural-looking effect.
Noise Reduction
Interior design photos captured in raw format can often suffer from noise problems. While raw files retain more detail, reducing noise may be necessary. Strive for an acceptable balance or convert the image to black and white if noise is still prominent.
Perspective Correction
If photographing furniture or objects, perspective correction can add a dynamic and interesting element to your images. Use photo editing software like Photoshop to adjust the perspective, creating visually appealing compositions.
We hope this definitive guide to interior design photography has provided you with valuable insights and inspiration to capture beautiful and evocative images of your work. Feel free to explore more in-depth tutorials on our blog and do not hesitate to reach out if you need further assistance.


