

Real estate photography has evolved over the years, and one technique that has gained popularity among professionals is real estate flambient photography. In this article, we will explore the basics of this advanced method and provide you with everything you need to get started.
Understanding Flambient Photography
Flambient photography, also known as flash ambient photography, is a technique that combines the use of natural lighting and flash to capture stunning images of properties. While it is commonly used for high-end luxury properties, anyone can master the flambient shooting approach with the right knowledge and equipment.
Essential Equipment for Flambient Photography
Before diving into the world of flambient photography, it's important to have the right equipment. Here are some essentials you'll need:
Basic Equipment
- Tripod: A sturdy tripod is essential for aligning your exposures during the editing process. It provides stability and ensures sharp images.
- Remote shutter trigger: While optional, a remote shutter trigger helps prevent any unwanted movement when capturing images. It allows you to release the shutter from a distance, reducing the risk of camera shake.
Required Equipment for the Flambient Method
-
Flash: The Godox AD200 is a popular flash among real estate flambient photographers. Its power and versatility make it a great choice for enhancing your images.
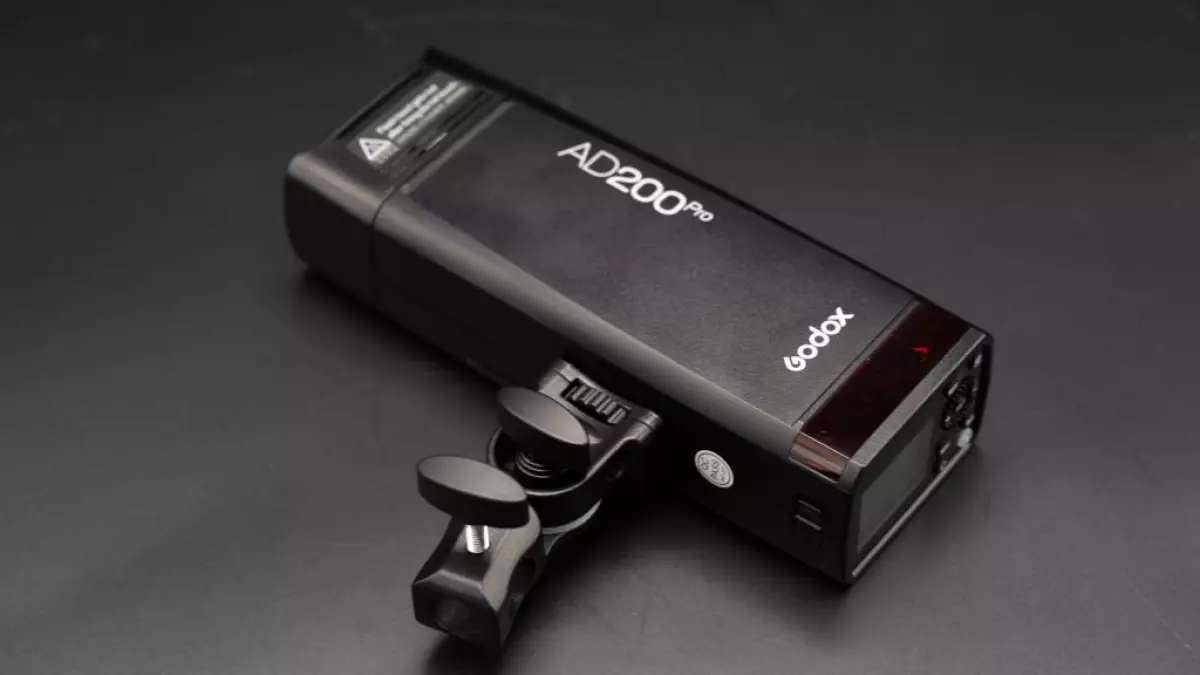 Godox AD200 is a well-known gear for real estate flambient photographers
 -
Flash Trigger: A flash trigger is a device that mounts onto your camera and allows you to remotely control your flash. It enables you to adjust the flash's intensity and fire it when needed.
-
Light Stand and Reflector: Although not always necessary, having a light stand and reflector can be handy if you need to brighten up the space or counterbalance dark ceilings.
Camera Settings for Flambient Photography
To achieve the best results in real estate flambient photography, it's important to have control over your camera settings. Here are some recommended settings to get you started:
- Aperture: Set your aperture between f/5.6 to f/8. This range allows you to balance the flash and ambient light, resulting in well-exposed images. Keep in mind that a wide-angle lens can help you capture more of the space within this aperture range.
- ISO: Keep your ISO at 400 for optimal image quality.
- Shutter Speed: Adjust your shutter speed on-site to achieve the desired exposure. Experiment with different settings to find the perfect balance between ambient light and flash.
- Focus: Set your camera focus to "Wide" for capturing a wider depth of field.
- White Balance: Auto white balance can be a good starting point, but you can also experiment with manual settings to achieve the desired color temperature.
Shooting a Flambient Photo: Step by Step
Now that you have the right equipment and camera settings, let's dive into the process of capturing a flambient photo. Here are three simple steps to follow:
The Ambient Shot(s)
Start by capturing the ambient shot without using the flash. This shot allows you to capture the natural lighting and overall atmosphere of the space. Shoot in RAW format to maximize the dynamic range of your images.
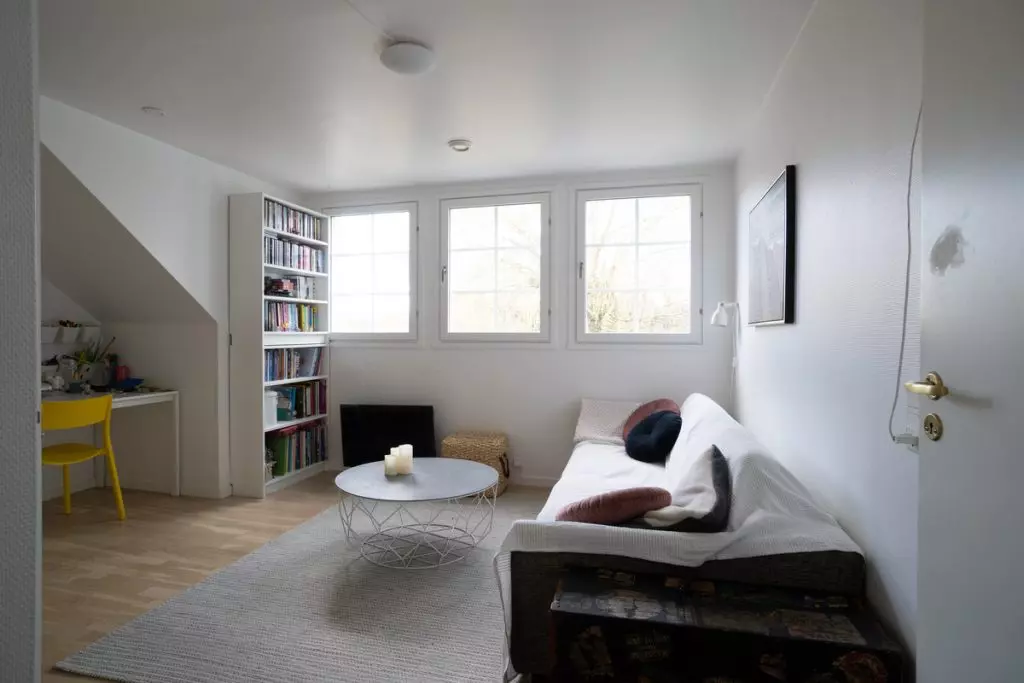 Ambient shot: shoot it as it is!
You can take multiple ambient shots, depending on the property's lighting conditions. In some cases, one shot may be enough, while in others, a bracket of three images (at -2, 0, and +2 exposure) can help capture a wider dynamic range.
The Flash Shot(s)
Next, it's time to introduce the flash to enhance specific areas of the property. The goal is to bring out the authentic colors, brighten the interiors, and ensure clear window views. Place the flash off-camera, about 18 inches to 2 feet below the white ceiling, pointing upward. Adjust the flash power to achieve the desired exposure.
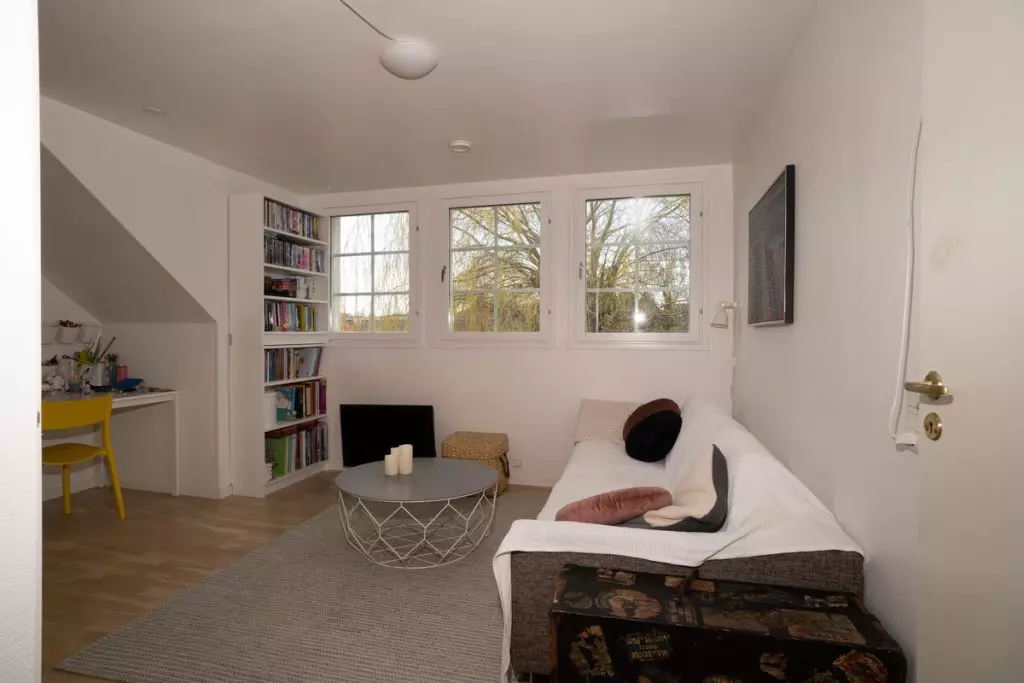 Flash shot: shoot it with flash light
Remember, using the flash directly on the camera may create unwanted shadows. Experiment with the flash's position and power to find the perfect balance between adding light and maintaining a natural look.
The Window Shot(s)
If the property has a beautiful window view, it's essential to capture it properly. Start by exposing the window correctly and then use a high-powered flash directed towards the window frames. This technique ensures the views are clear and eliminates any distractions.
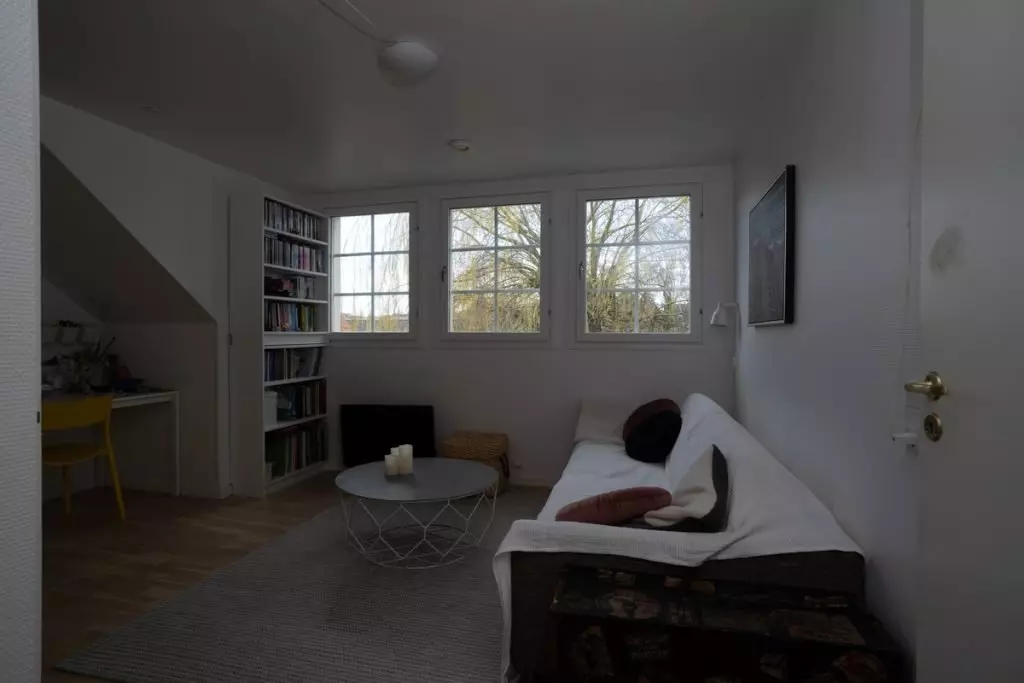 Window shot: focus on the window view!
To minimize flash reflections, try different shooting angles. If you want to eliminate all reflections, take one additional shot with the flash turned off. Make sure to keep the camera exposure unchanged for this shot.
Flambient Blending: Bringing It All Together
Once you have captured your flambient shots, it's time to blend them together in the post-production process. Blending is an essential part of the flambient method and allows you to create stunning final images.
 Final work: after blending and editing
You can choose to handle the post-production in-house or consider outsourcing to professional photo editing services. Either way, the goal is to blend the ambient and flash shots seamlessly, creating a final image that showcases the property's best features.
Conclusion
Congratulations! You now have a solid foundation in real estate flambient photography. As you continue to practice and gain experience, you'll be able to master more advanced techniques. Remember, this is just the beginning of your journey in creating stunning real estate images that captivate potential buyers. Happy shooting!


