HDR photography is a powerful technique that brings out the deepest shadows and the brightest highlights in a scene. It's widely used in outdoor locations, real estate photography, and creative photo manipulation to add a touch of fantasy. However, HDR photography is often overdone, resulting in unnatural-looking images. In this article, we'll show you how to use HDR correctly to create stunning, natural-looking photographs.
Understanding HDR Photography
High Dynamic Range (HDR) photography involves merging multiple images taken at different exposures to create a final photo. By capturing the scene at different exposures and combining them, HDR photography produces an image with an overall correct exposure. Typically, this process requires at least three images: one for mid-range exposure, one for highlights, and one for shadows.
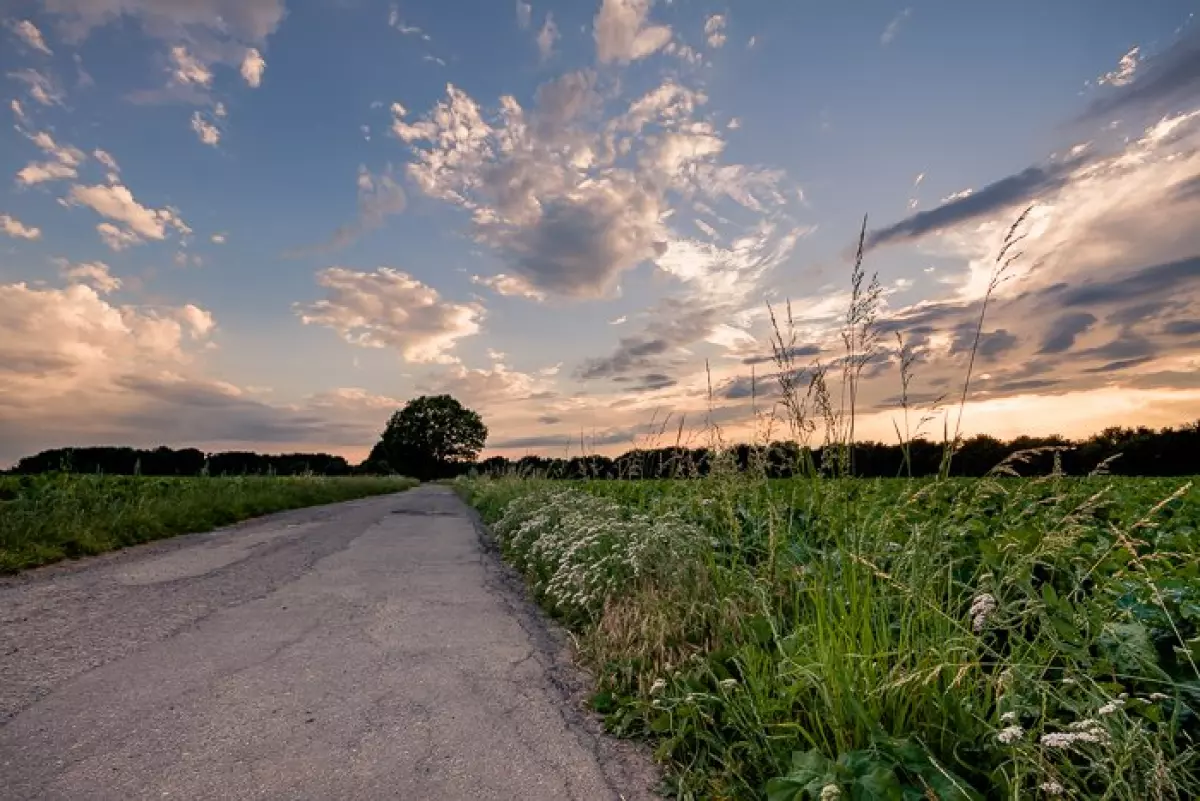
 Image: A compelling sunset over a countryside road and fields
HDR vs Non-HDR Photos
Modern sensors can capture a wide dynamic range, but a single exposure may not capture all the details in the scene. By comparing a single exposure and an HDR version of the same scene, we can see the benefits of HDR photography. The HDR image has more detail in the shadows, vibrant colors, and improved saturation compared to the single exposure.
 Image: A diptych of the same street scene shot at a single exposure 0EV (top) vs -2EV, 0EV and +2EV exposures (bottom)
Why HDR Photography Has a Bad Reputation
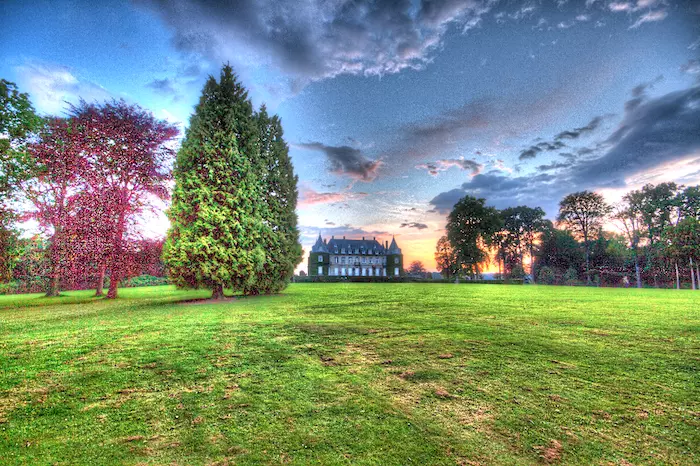
Unfortunately, HDR photography gained a bad reputation due to the abundance of poorly processed and oversaturated images on the internet. Many photographers used automated tools and presets without considering the natural look of the final images. However, HDR is a technical tool, not a style. Its purpose is to expand the dynamic range of your photos while maintaining a natural look.
 Image: Classic overcooked HDR landscape
When to Use HDR Photography
HDR photography can be particularly useful in various situations such as interior photography, nightscapes, and capturing dramatic skies. Sunrise and sunset provide perfect opportunities for stunning HDR images, as they often result in high contrast scenes where a single exposure cannot capture all the details. HDR helps balance the exposure between the sky and the foreground, resulting in captivating images.
How to Make HDR Photos
To create HDR photos, it is best to manually control your camera settings rather than relying on built-in HDR modes. Here are some basic settings to use for HDR photography:
Camera Settings for HDR Photography
- Save photos in RAW format and use manual mode for full control.
- Set the ISO to the lowest possible setting to maximize dynamic range.
- Keep the aperture consistent for all photos to maintain a consistent depth of field.
- Take multiple images at different exposures, adjusting the shutter speed for each shot.
- Use a tripod and remote shutter to minimize camera shake.
Use Multiple Exposures to Capture All the Details
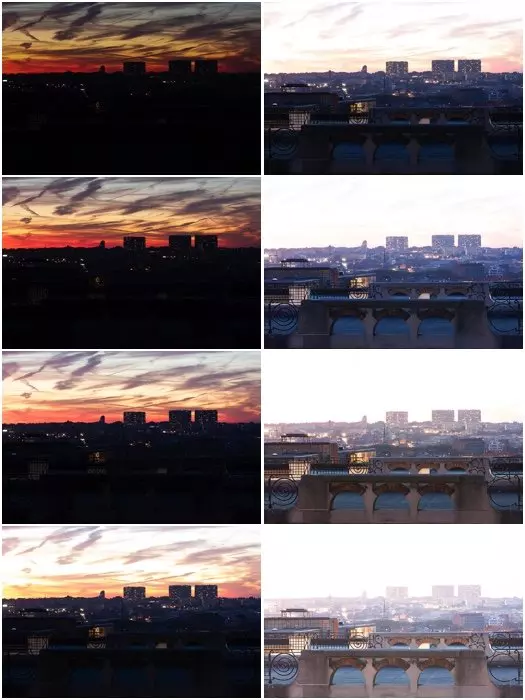
Creating high-dynamic range photos using multiple exposures allows you to capture a wide range of details. The number of underexposed and overexposed images depends on the scene you're photographing. By combining different exposures, you can capture the best details in both the bright and dark areas of the image.
 Image: Multiple photographs of a cityscape with different exposures. All photos were taken 1 EV apart.
Use De-Ghosting to Correct Movement
To ensure a seamless blend of images, it's essential to minimize movement between frames. However, if there is some movement, de-ghosting procedures can correct it. De-ghosting is a feature available in most HDR software that helps eliminate artifacts caused by movement during the image capture process.
 Image: Comparison between simple HDR fusion (top) and fusion with de-ghosting (bottom)
HDR Photography Software
Several software options are available for editing HDR photos. Here are a few popular choices:
Adobe Lightroom and Photoshop
Adobe Lightroom and Photoshop offer a built-in Photo Merge mode that allows you to combine multiple photos into an HDR image. While the options for tweaking the HDR are limited, you can auto-align the images, apply auto settings, and adjust de-ghosting level.
 Image: The HDR Merge panel in Adobe Lightroom
Photomatix or Photomatix Pro
Photomatix is a widely recognized HDR software that offers various options and presets for creating HDR images. Photomatix Pro even comes with a Lightroom plugin called "Merge 32-bit" that allows you to edit a basic 32-bit HDR image in Lightroom.
Phone Apps for HDR Photography
Many phone cameras have built-in HDR modes, but dedicated apps like HDR Max by Womatica offer more control and options for capturing HDR images on Android and iOS devices.
Common HDR Issues
When editing HDR photos, there are a few common issues to be aware of:
Flattening Your Image
While HDR allows you to extract a significant amount of detail, it's important to avoid over-processing the image. Flattening the image by reducing contrast excessively can make it look unnatural and unappealing. It's best to retain some contrast to keep the image interesting and natural.
Black Clouds
In landscape photography, it's common to see images with black clouds due to over-processing. Puffy clouds in a blue sky are mostly white, so it's important to keep them as such in HDR images to maintain realism.
Halos
Halos are artifacts that appear around highly contrasted edges in an over-processed image. These halos are often seen in poorly edited HDR photos and should be avoided. A more gentle approach to editing will result in a more pleasing image without halos.
Conclusion
Learning HDR photography can significantly enhance your ability to capture stunning images with greater detail. Remember, the key to creating impressive HDR photos is to maintain a natural look and avoid over-processing. By following the tips and techniques outlined in this guide, you'll be able to create breathtaking HDR images that stand out from the rest.


